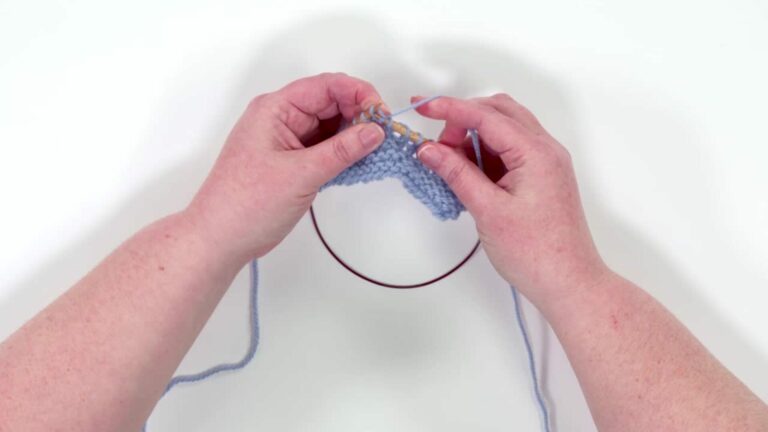
Working a Slip, Slip, Knit (ssk) Stitch
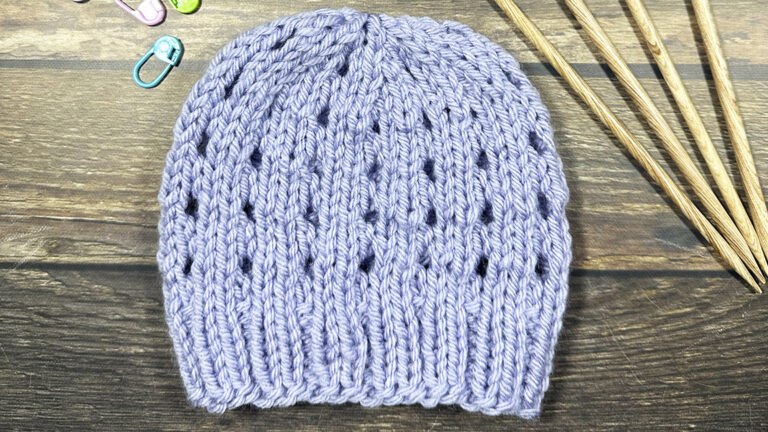
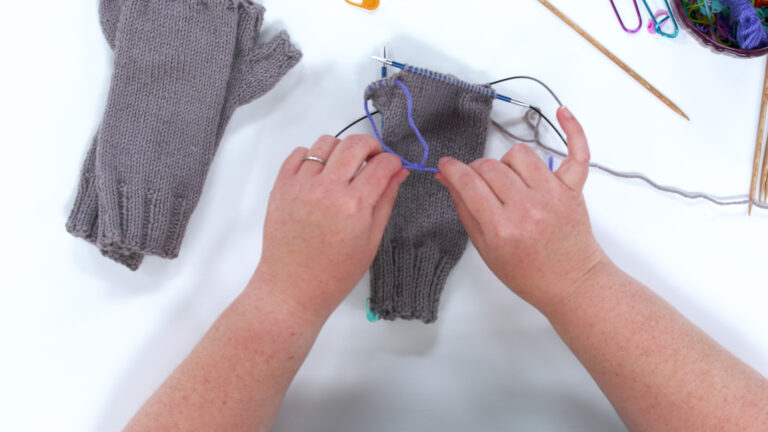
Jen LucasOnce you’ve learned how to knit and purl, you can explore other stitches that will help you in creating all sorts of knitting projects. By learning a few decrease stitches, you’ll be able to make all sort of things, like hats and socks. In this video, Jen Lucas shows you a common single decrease and demonstrates the slip, slip, knit (ssk) decrease.
SLIP, SLIP, KNIT (SSK)
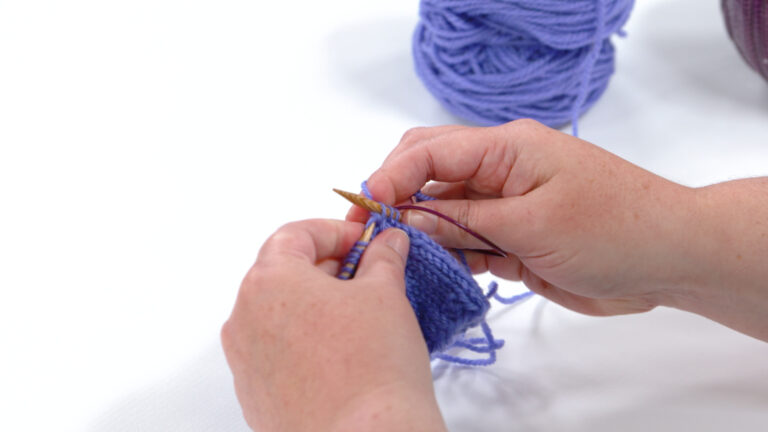
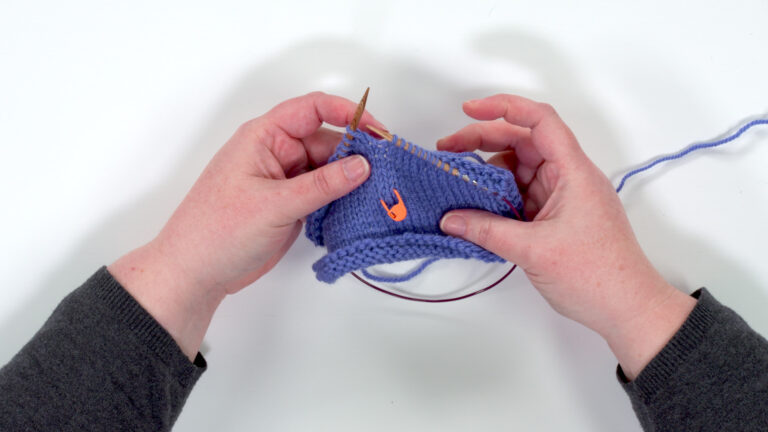
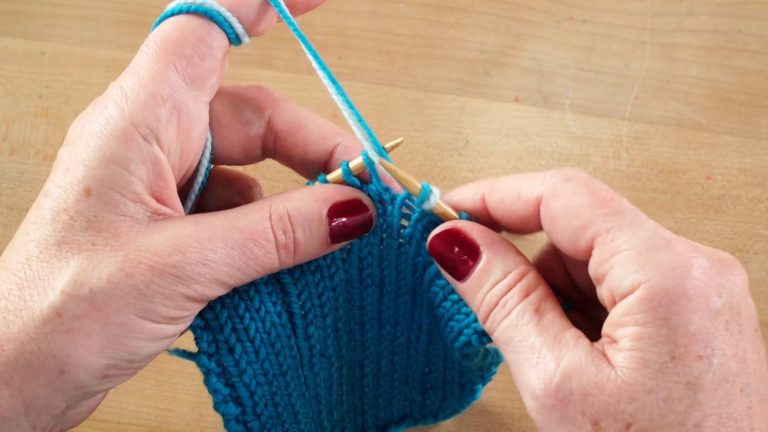
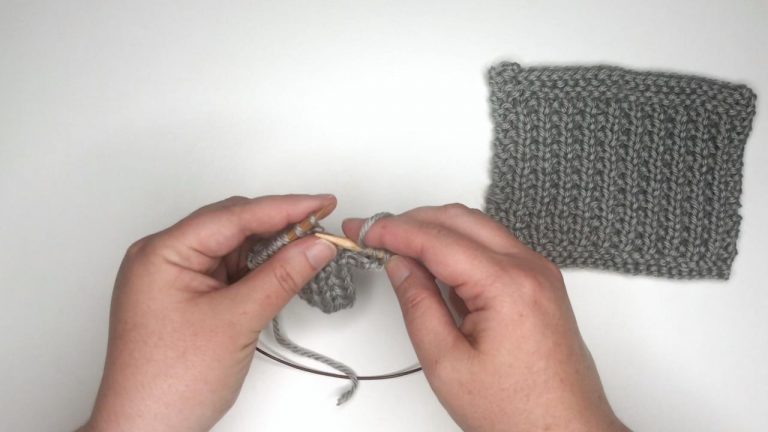
This decrease is commonly worked on the right side of your work, where you would be working knit stitches. That’s not always the case through; sometimes you’ll use it on the wrong side of your work if you are working in Reverse Stockinette Stitch or working it in a specific stitch pattern. In the video, Jen specially demonstrates the slip, slip, knit decrease when worked on the right side of the fabric in Stockinette stitch.
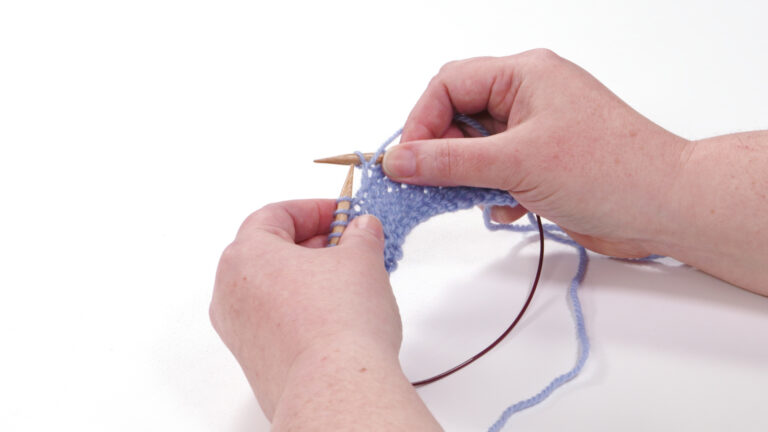
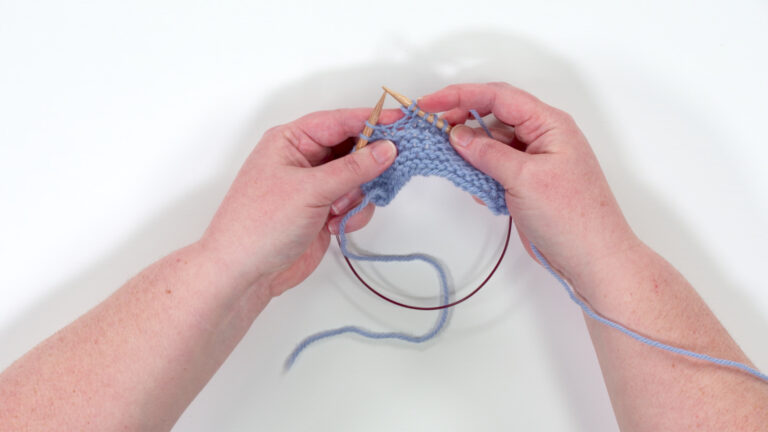
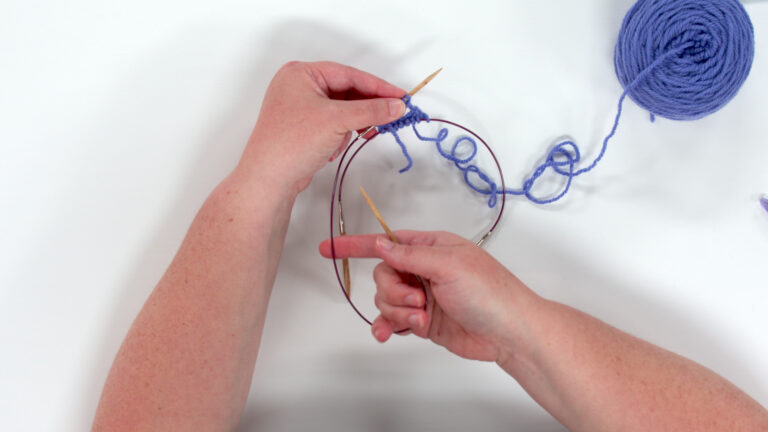
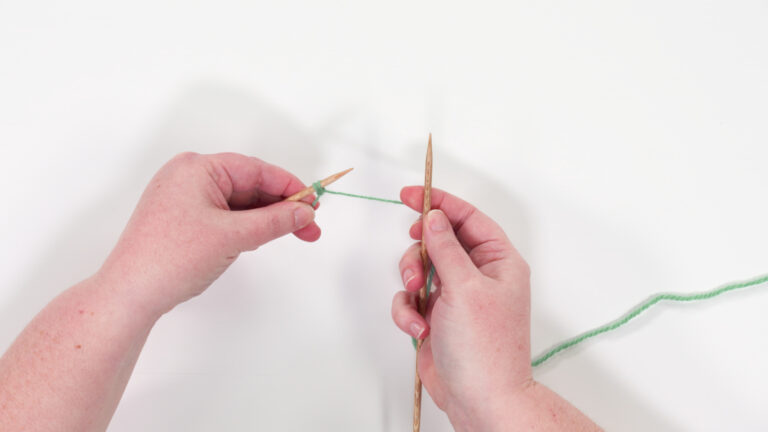
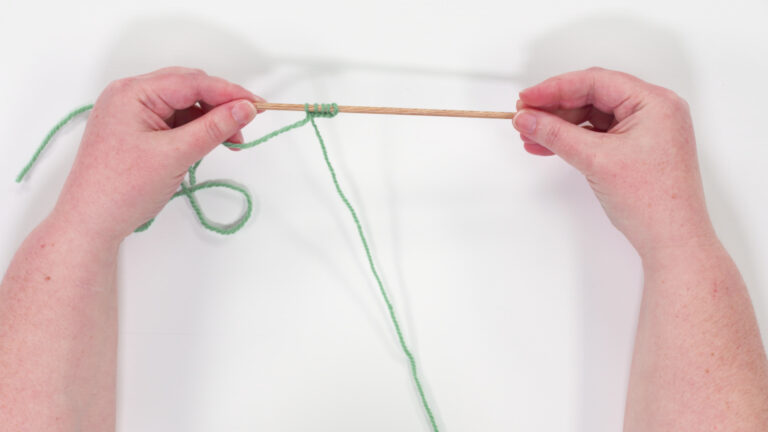
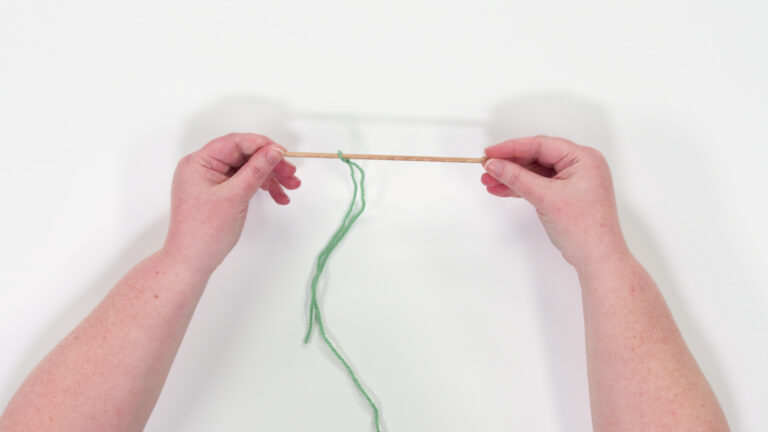
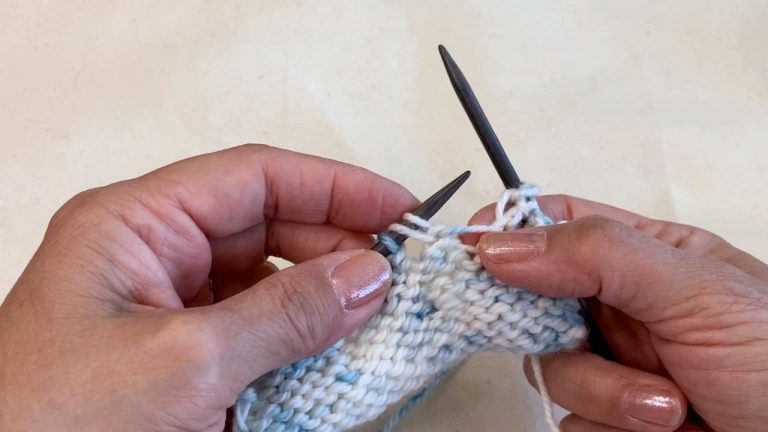
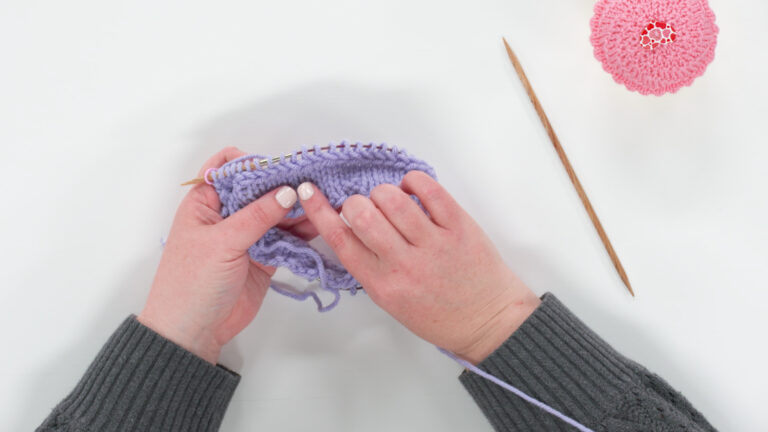
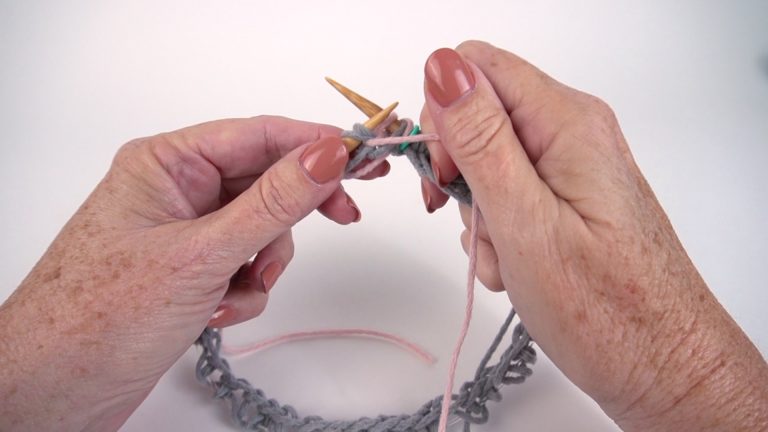
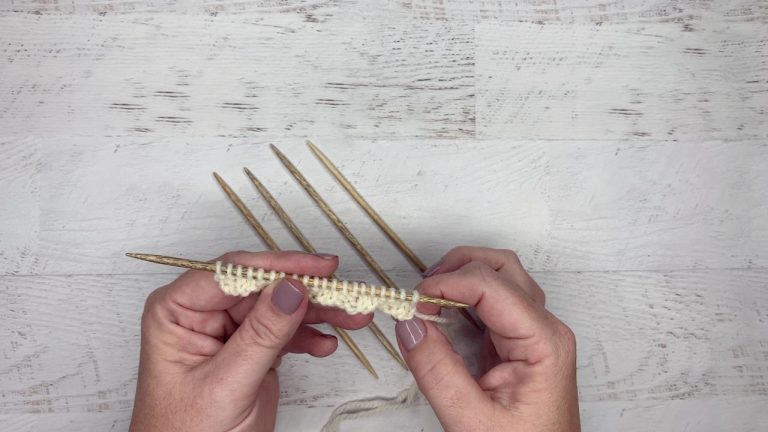
Work the slip, slip, knit using these steps:
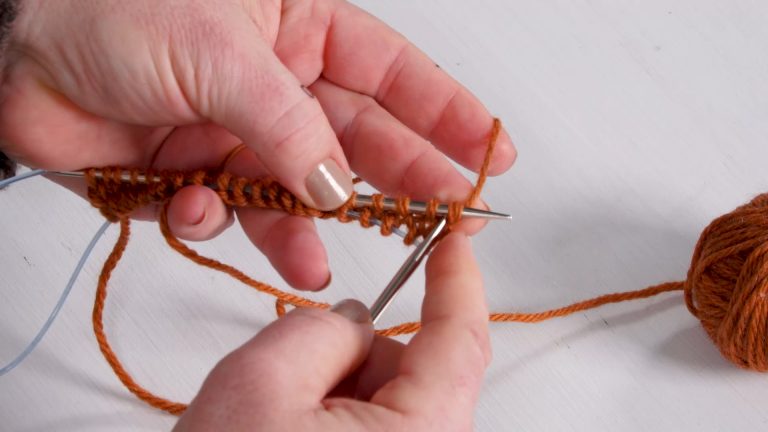
– Slip a stitch from the left needle as if to knit to right needle
– Slip a second stitch from the left needle as if to knit to right needle
– Slip both stitches back to left needle and knit together through the back loops
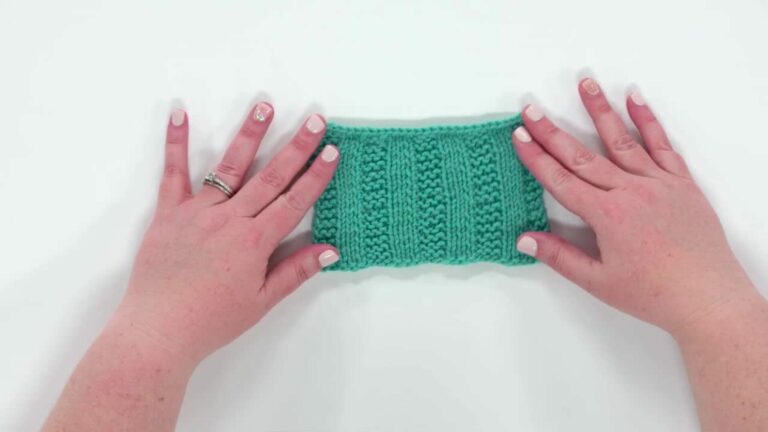
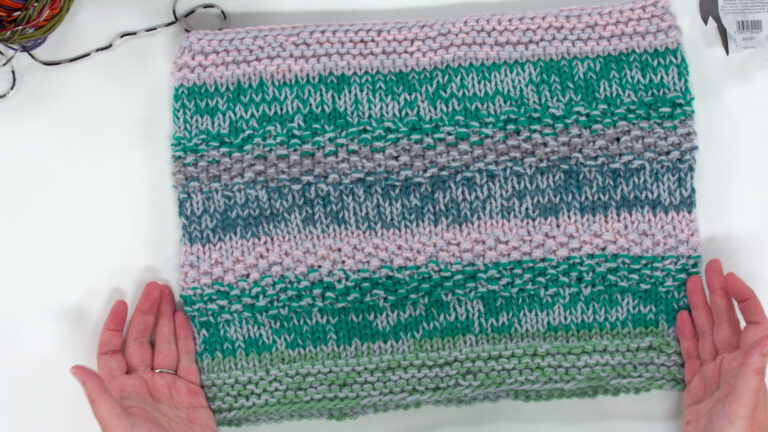
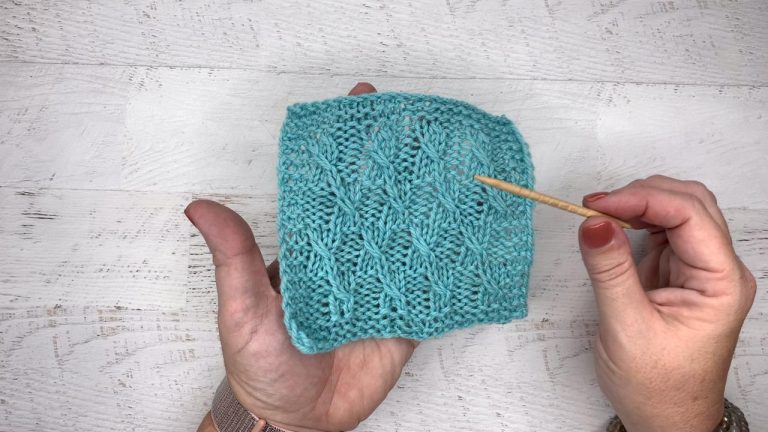
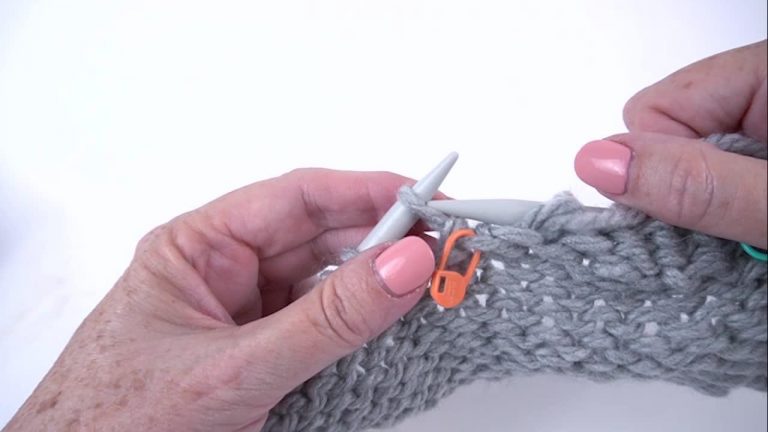
The slip, slip, knit creates one stitch where there were two, making it a single decrease. When looking at this decrease, you’ll notice that it leans to the left. It’s often paired with the knit two together (k2tog) decrease since that decrease leans to the right. Using these two decreases together creates mirror image decreases, which makes your knitting look very polished.

Share tips, start a discussion or ask one of our experts or other students a question.
Already a member? Sign in
One Response to “Working a Slip, Slip, Knit (ssk) Stitch”
Explore videos by Jen Lucas


You may be interested in

Premium Membership
Unlock exclusive member content from our industry experts.
- 24/7 Access to Premium Knitting Videos, Projects, and Tips
- Step-by-Step Instructional Demos, Patterns, and Tutorials
- 50% Off Video Downloads Purchased in The Knitting Cirlce Shop
- Access to Ask the Expert Program
Unlock exclusive member content from our industry experts.
- 24/7 Access to Premium Knitting Videos, Projects, and Tips
- Step-by-Step Instructional Demos, Patterns, and Tutorials
- 50% Off Video Downloads Purchased in The Knitting Cirlce Shop
- 2 Full-Length Video Downloads to Watch Offline
- Access to Ask the Expert Program
Gold Membership
$379 Value
Get everything included in Premium plus exclusive Gold Membership benefits.
- 24/7 Access to Premium Knitting Videos, Projects, and Tips
- Step-by-Step Instructional Demos, Patterns, and Tutorials
- 3 Full-Length Video Downloads to Watch Offline
- 5 Full-Length Knitting Classes to Keep for Life
- 10 Printable Knitting Patterns
- Discounts on Purchase-to-Own Content in The Knitting Circle Shop
- Access to Ask the Expert Program
- Exclusive GOLD LIVE Streaming Events
Hi Jen...I enjoy watching your demo's....explained well and slowly for me to catch it...your amazing...thanks for all your help.