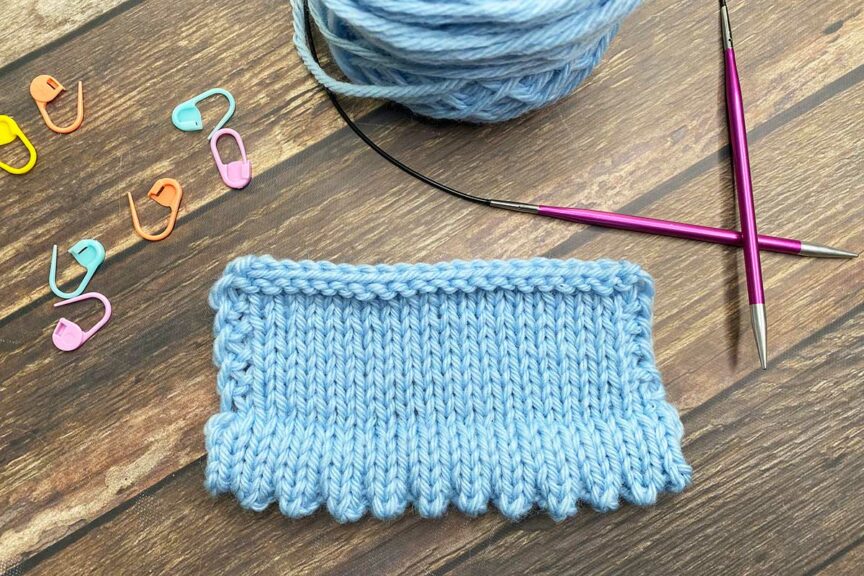
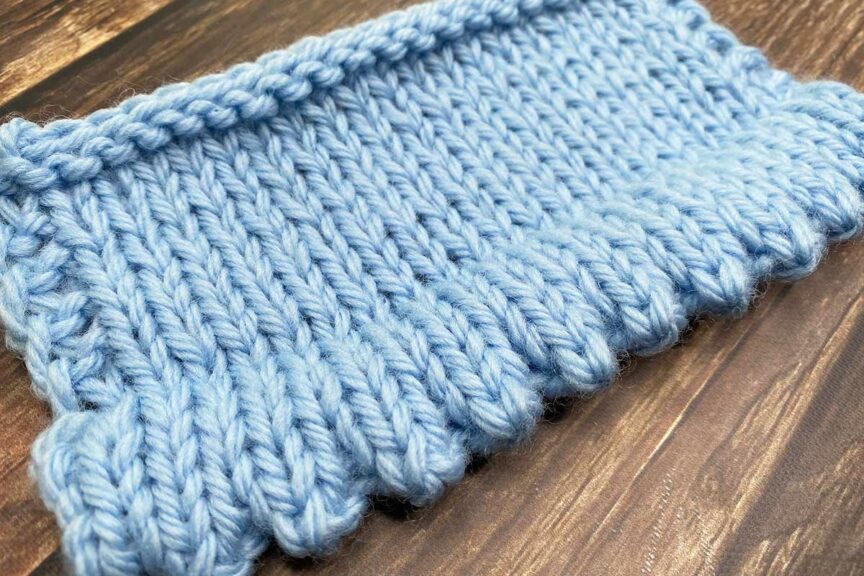
The folded picot cast on is a great way to start so many knitting projects. Use it for baby knitting patterns such as hats or sweaters or add a little sweetness to the collar of a top-down sweater. There are many applications where this edging can be used, and the best part? It’s very easy to work. Let’s look at how to knit a folded picot edging.
Using the backwards loop cast on, cast on an odd number of stitches.
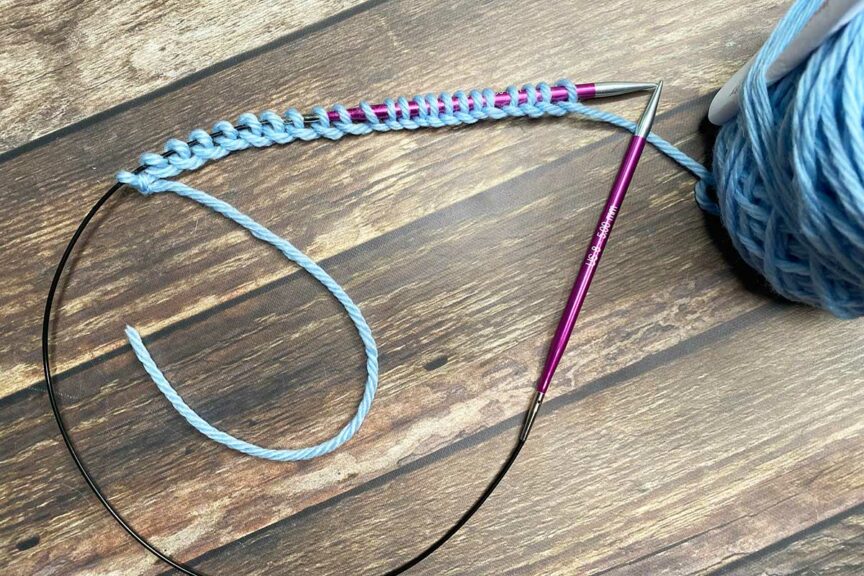
Row 1 (WS): Purl all stitches.
Row 2 (RS): Knit all stitches.
Row 3: Purl all stitches.
Row 4: Knit all stitches.
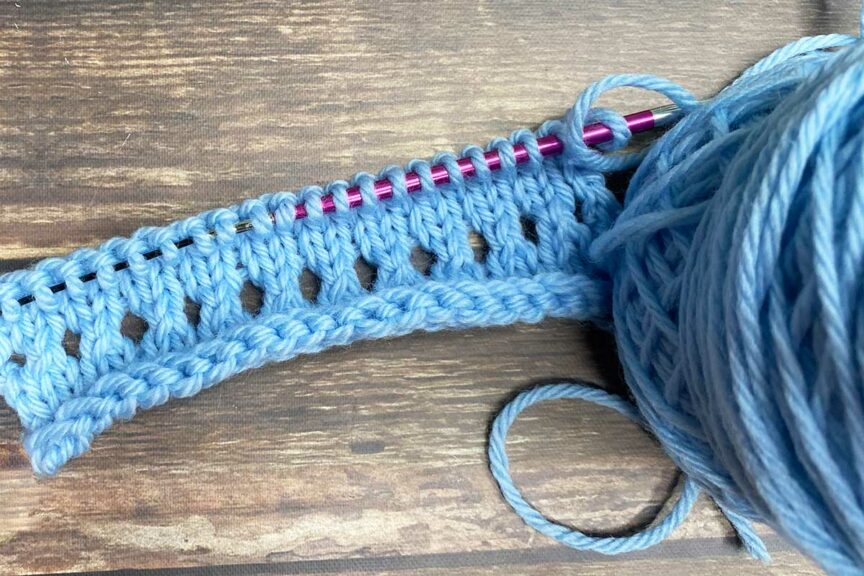
Row 5: Purl all stitches.
Row 6: *K2tog, yo; rep from * to last stitch, k1.
Rows 7 – 10: Rep Rows 1 and 2 twice.
Row 11: Purl all stitches.
With RS facing, fold the fabric, bringing the cast on edge behind the stitches on the needle.
Row 12 (RS): Knit each stitch on the needle together with the next cast on loop.
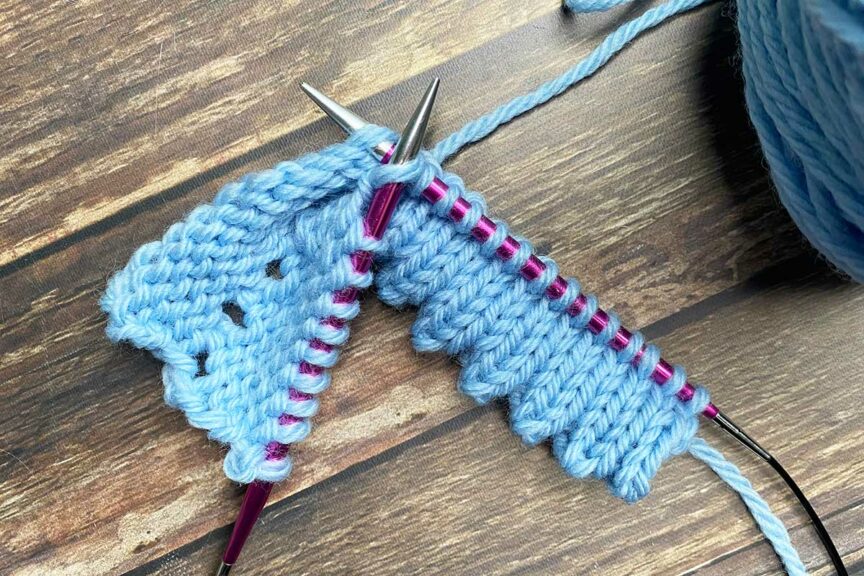
The folded picot cast on is complete and you’re ready to work a Wrong Side Row.
Want to work this in the round? You can do that too! For working the folded picot edging in the round, cast on an even number of stitches using the backwards loop cast on. Knit for 5 rounds. Work Round 6 by working (k2tog, yo) around. Knit for another 5 rounds. With RS facing, fold the fabric, bringing the cast on edge behind the stitches on the needle. For Round 12, Knit each stitch on the needle together with the next cast on loop.
Abbreviations:
k: knit
k2tog: knit two stitches together
rep: repeat
RS: Right Side
WS: Wrong Side
yo: yarn over
Have you ever used this edging? Tell us about it in the comments!

Looking forward to seeing how to do this
thank you
This is a gorgeous pattern!! Want to try it now.
Super cute!! I’m working on a bunch of baby things now that this little edging would be perfect for!! AWESOME!!!