Knitting stripes is a great way to use up leftover yarn, and just about any project type looks great when stripes are worked. When knitting stripes in a ribbing pattern, like 2×2 ribbing (that’s k2, p2, or knit two stitches, purl two stitches), you can get little “flecks” of color from the previous color popping through your purl stitches on the Right Side of the fabric.
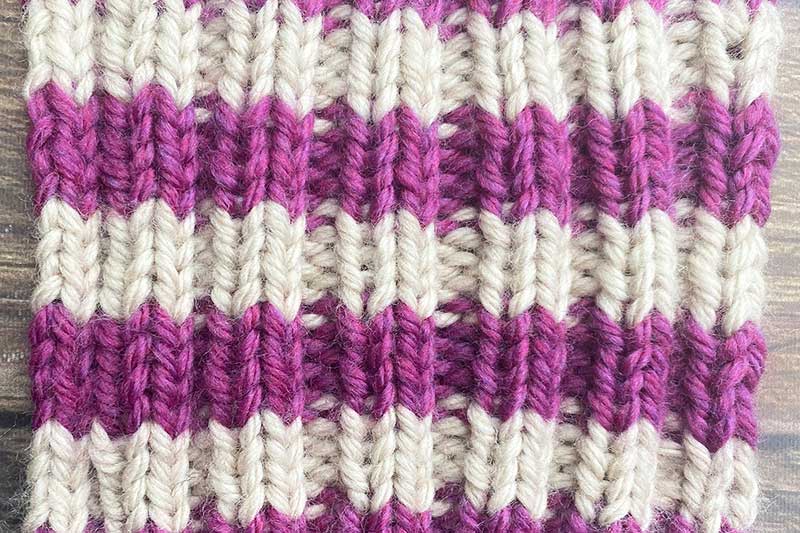
The above swatch contains 26 stitches, switching colors every 4 rows. The following pattern was used to knit it:
Cast on a multiple of 4 plus 2 stitches.
Right Side Rows: (K2, p2) to the last 2 stitches, k2.
Wrong Side Rows: (P2, k2) to the last 2 stitches, k2.
Repeat these two rows, switching colors every 4 rows, on a Right Side Row.
While this certainly isn’t a problem, and projects still look great, you can eliminate this and get super crisp stripes in your ribbing. The solution? Knit all the stitches on the first row of your color change (when this row is going to be a Right Side).
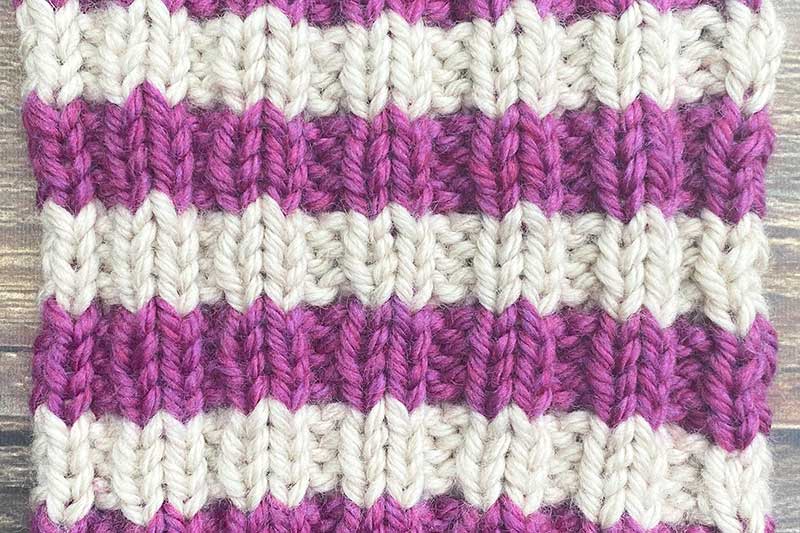
The swatch above also contains 26 stitches, switching colors every 4 rows, just like the previous swatch. However, a slightly different pattern was used:
Cast on a multiple of 4 plus 2 stitches. Switch colors every 4 rows, on Row 1 (Right Side).
Row 1 (RS): Knit all stitches.
Row 2 (WS): (P2, k2) to the last 2 stitches, k2.
Row 3: (K2, p2) to the last 2 stitches, k2.
Row 4: Repeat Row 2.
Repeat these 4 rows, switching colors on Row 1.
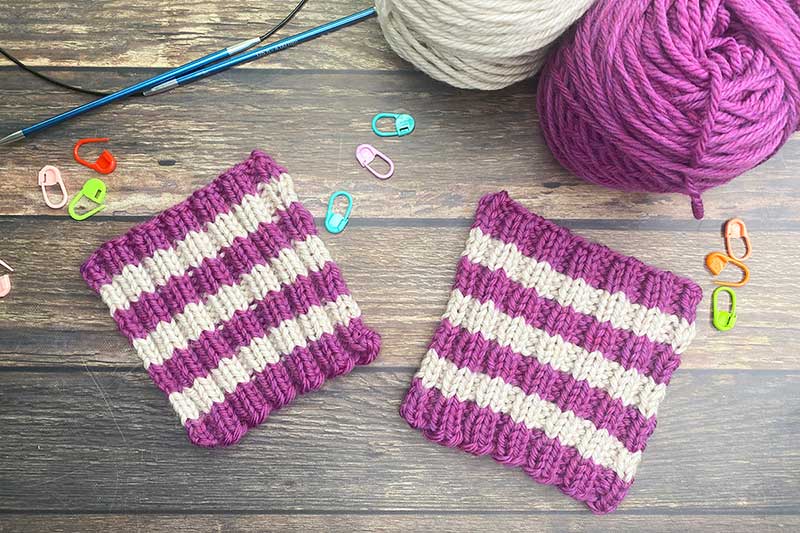
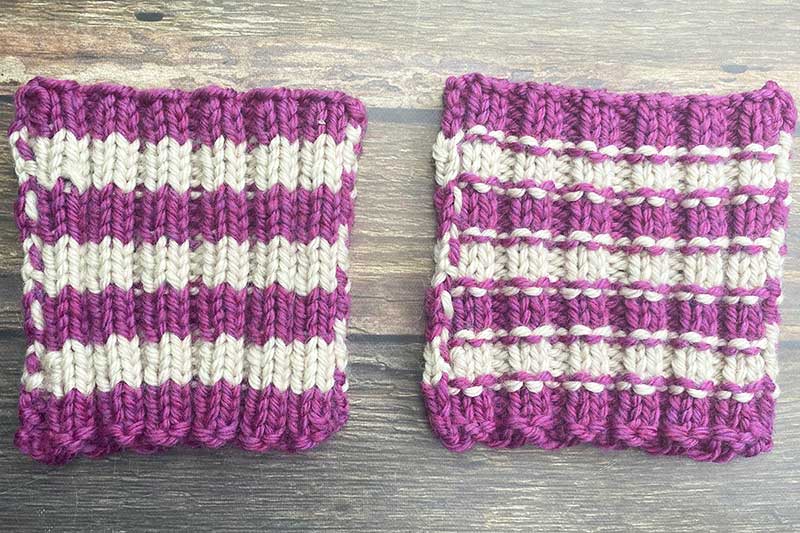
Taking a closer look at the swatches. You can see the second swatch eliminates those little bits of color poking through.
Left side: Traditional 2×2 Ribbing Swatch. Right side: 2×2 Ribbing with one row of knit stitches.
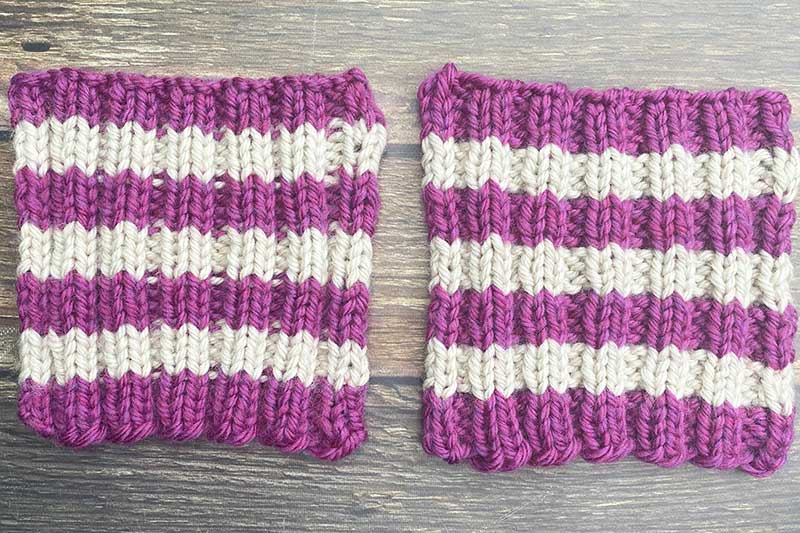
But what about the Wrong Side? The Wrong Sides actually look quite different. I like the Wrong Side of both swatches, but you might find that knitting all the stitches on the first row of the color change is best used when only the Right Side of the fabric is going to be visible in the project (like for a hat).
Left side: Wrong Side of Fabrics with Traditional 2×2 Ribbing Swatch. Right side: 2×2 Ribbing with one row of knit stitches.
You can use this technique for larger, thicker stripes as well. Just make sure that first row of the color change is all knit stitches on the Right Side!
Do you like to incorporate stripes into your projects? Tell us all about it in the comments!

Love the tip !!! Thank you !
My grandmother used to knit basks in broken rib or fisherman’s rib. I would like to find directions for these. Can you please help me?
What a great tip! I use this for knitting socks (toe up) when doing a contrast yarn for the cuff by adding the new yarn and knitting a row of stockinette before starting the ribbing. I didn't think of using it this way when striping in ribbing.
Thanks. Looks nice and tidy. How do you do this in the round and prevent the step up to next color?
Thanks for the clear tip with visuals. I have done this many times. And ye, it does depend on the project. It works great!
Great information. Shows that even 86 yr.old knitter can learn something clever.
How do you carry the different colors for stripes or graph patterns