Visible Mending: The Knitted Patch
Brenda K.B. Anderson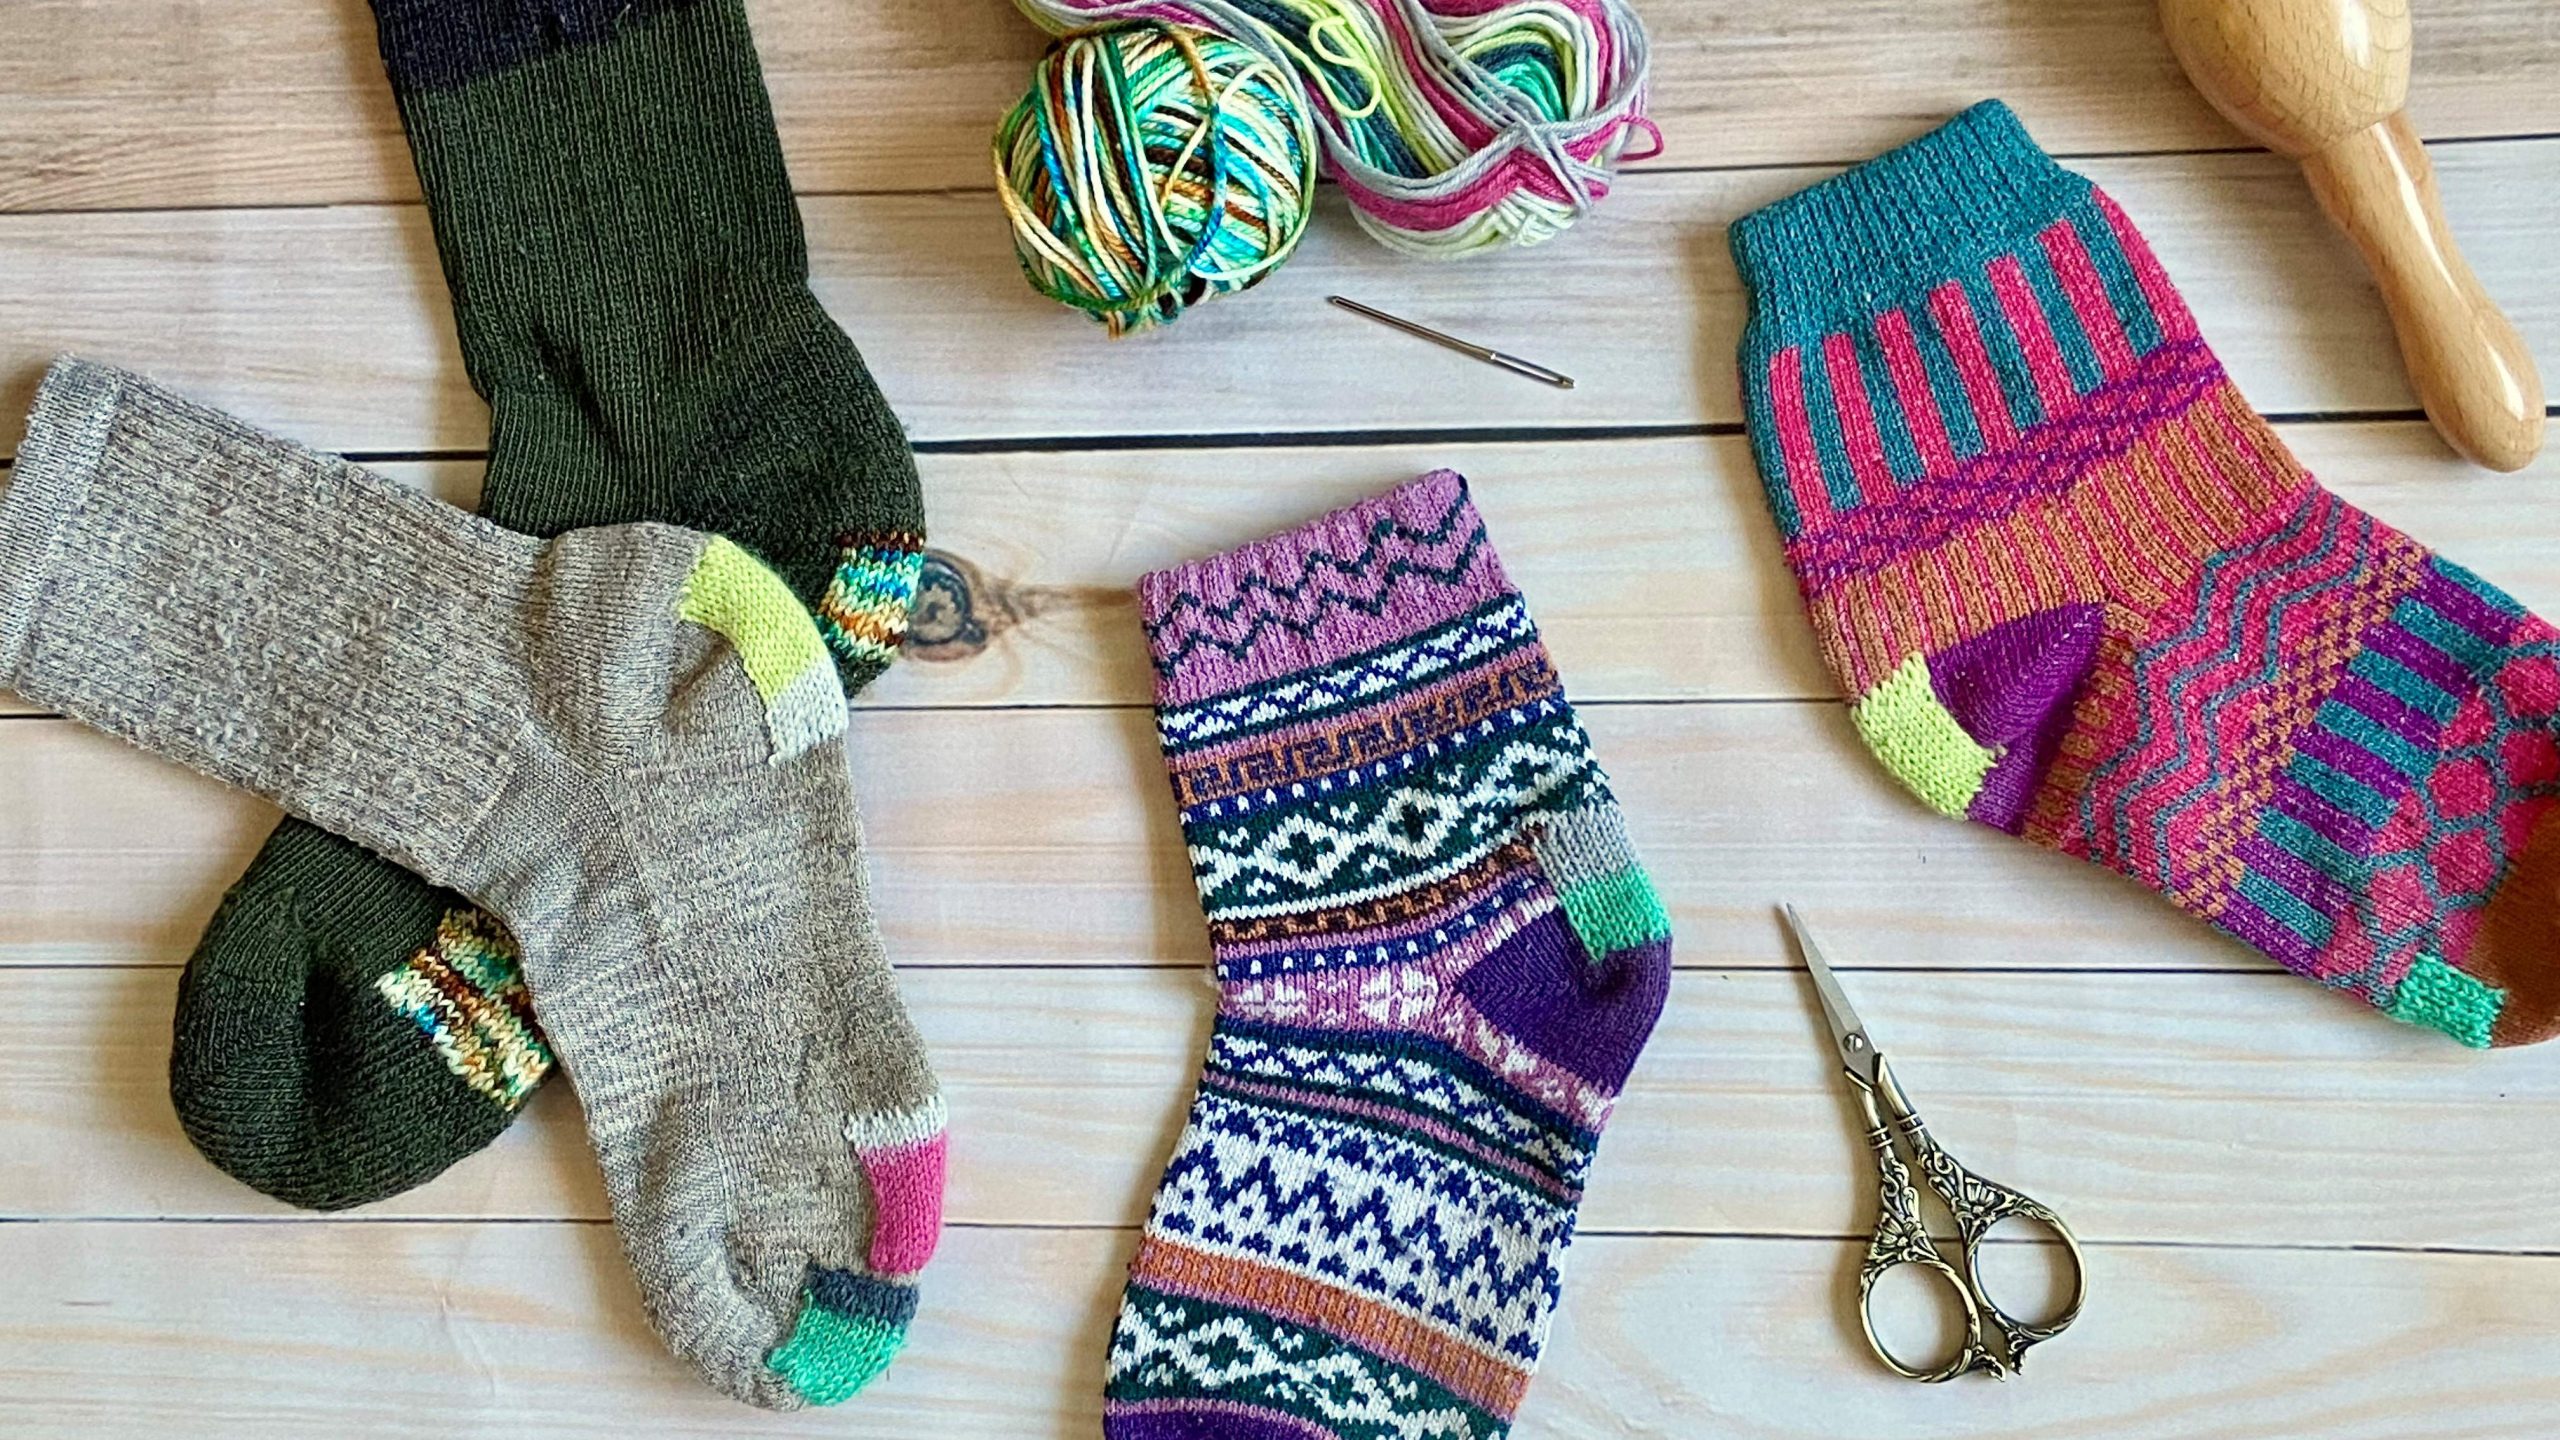
Member Access Only
Sign in to view the full video.
Learn how to mend your knits with this lesser-known technique which results in a knitted patch that is integrated into the fabric as it is made- no need to sew it on later! This method uses a crochet hook to create the knit stitches, similar to picking up dropped knit stitches. Surprisingly, you do not need to have any prior knitting or crocheting experience to mend your projects in this way!
Log in to your member account to view the tutorial or join today.

