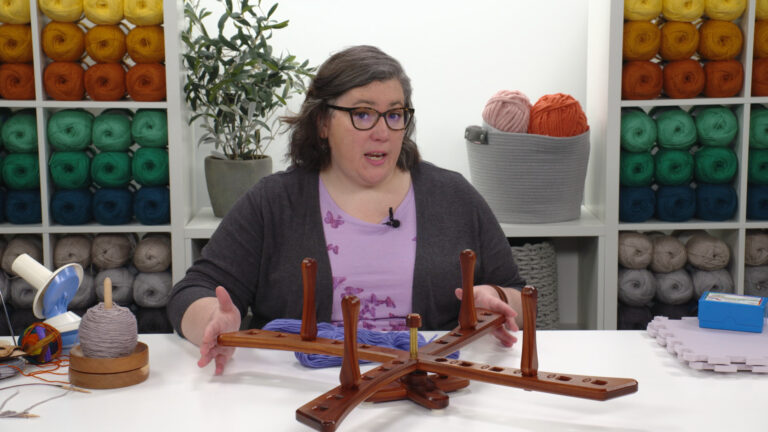
Magic Knot
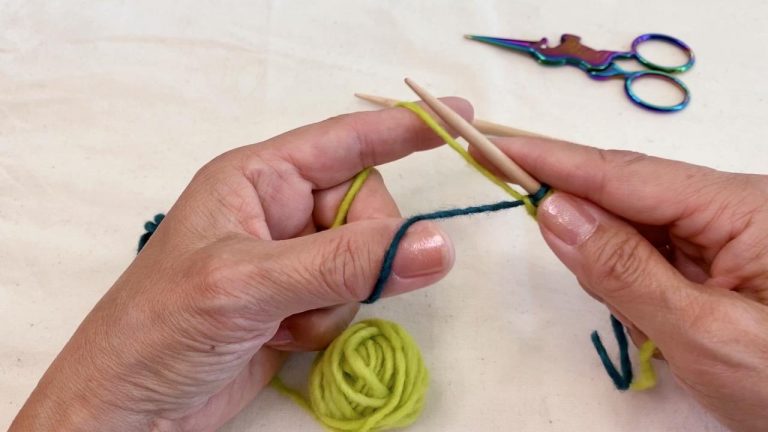
Michele Lee BernsteinYou may have been told that you should never put knots in your knitting. In general, knots in a knitting project are less than ideal, but in this video, Michele Lee Bernstein shows you a knot that can be used in your knitting projects. She demonstrates how to work a magic knot.
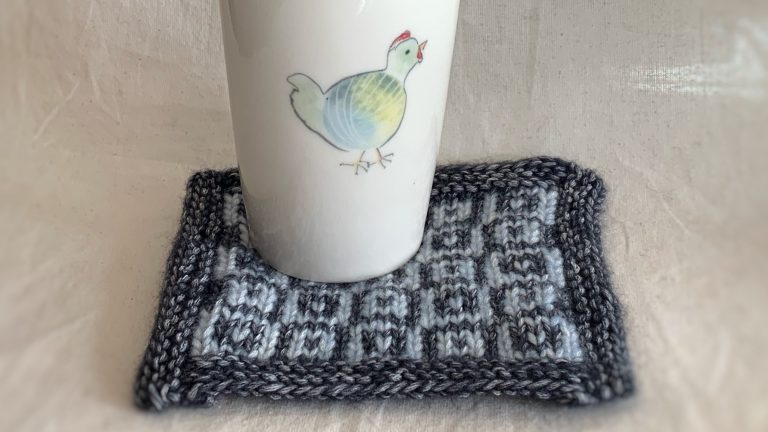
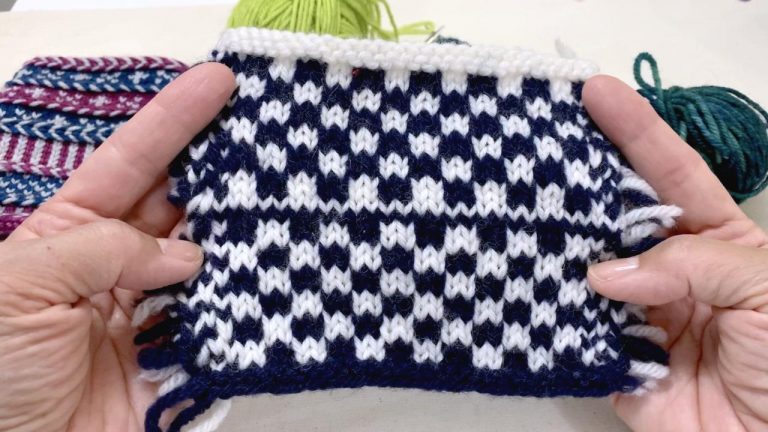
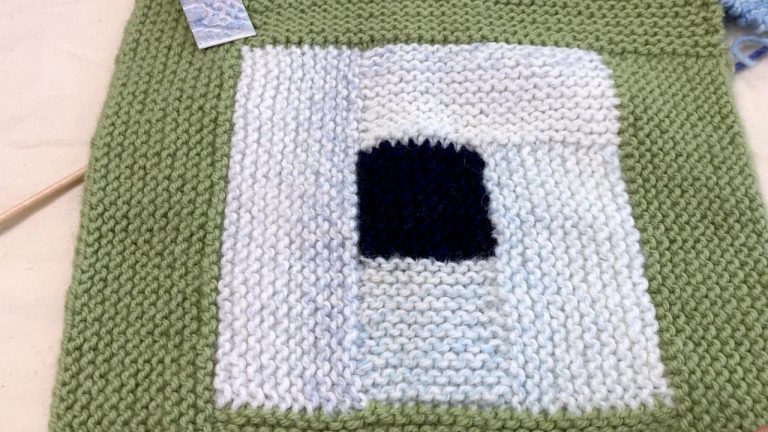
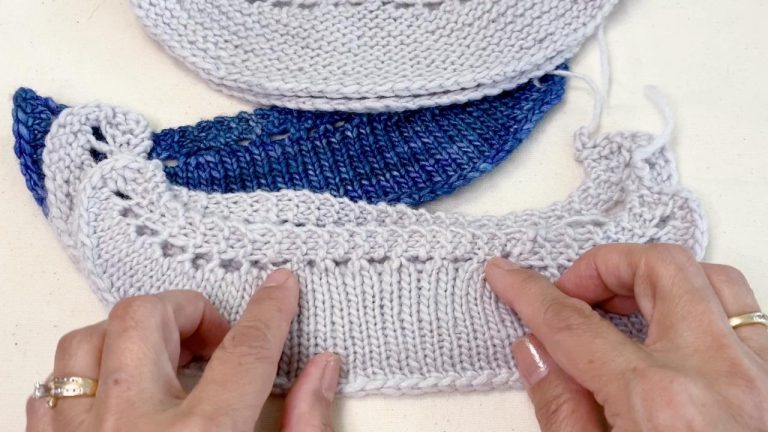
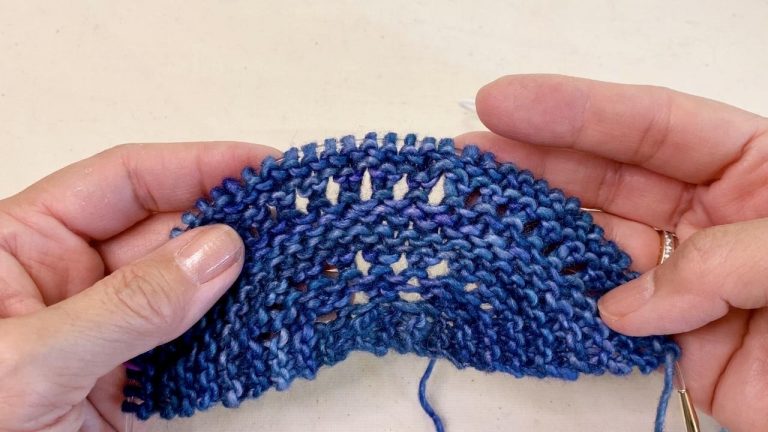
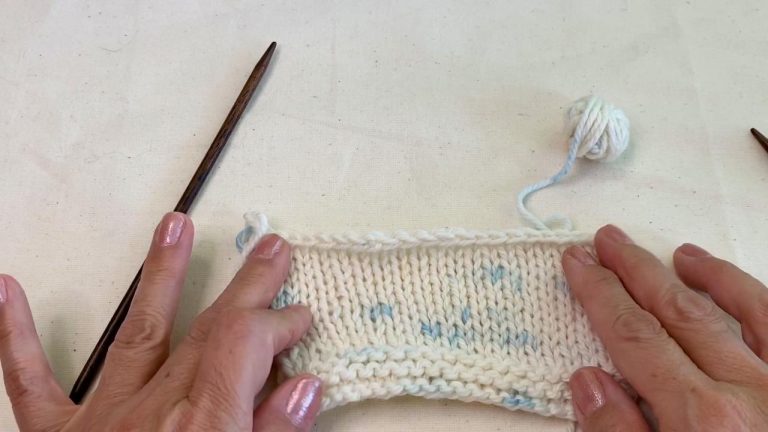
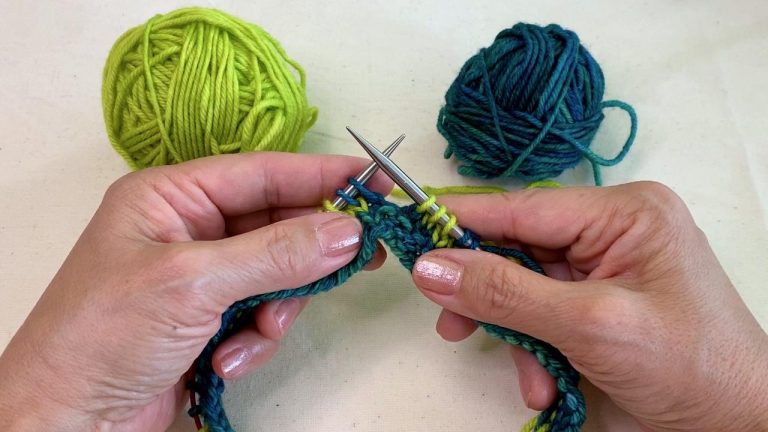
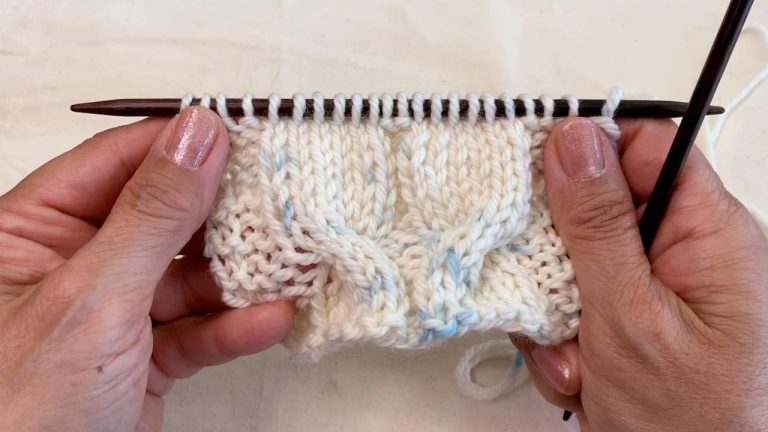
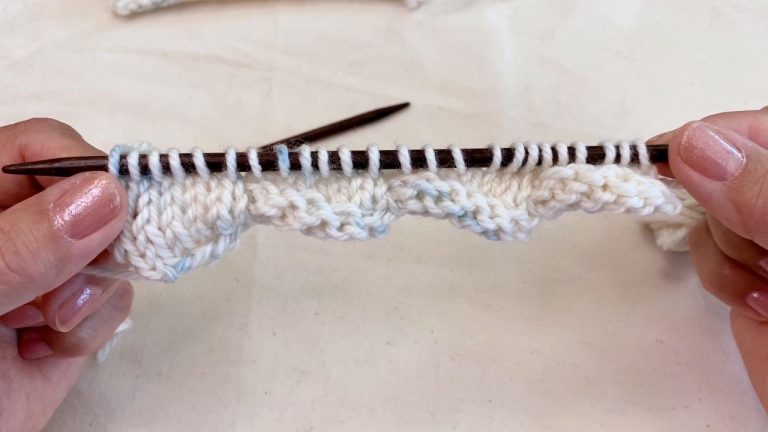
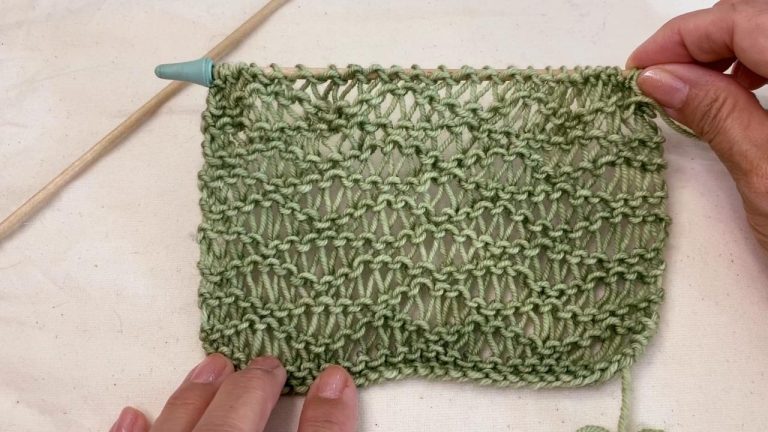
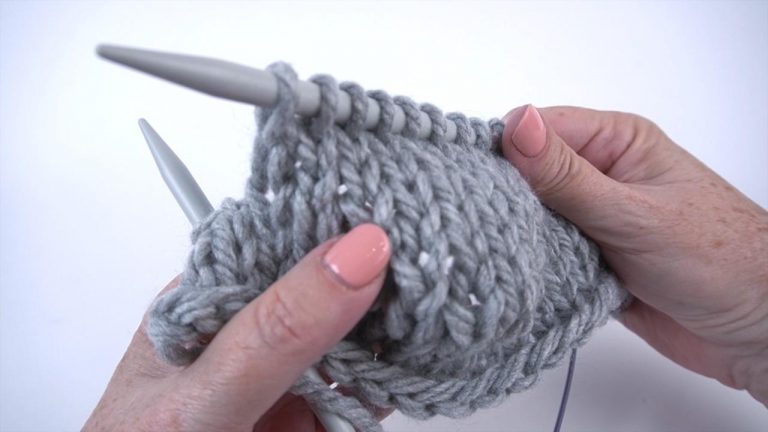
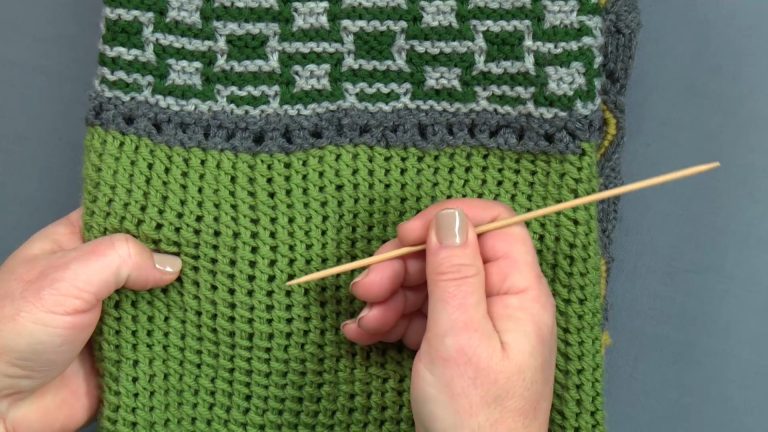
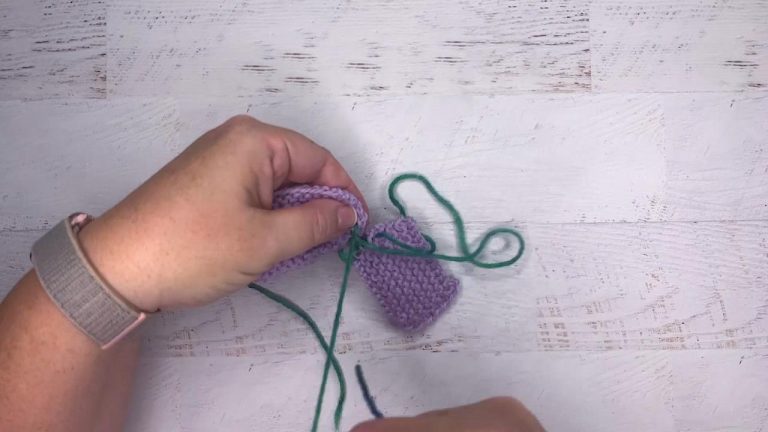
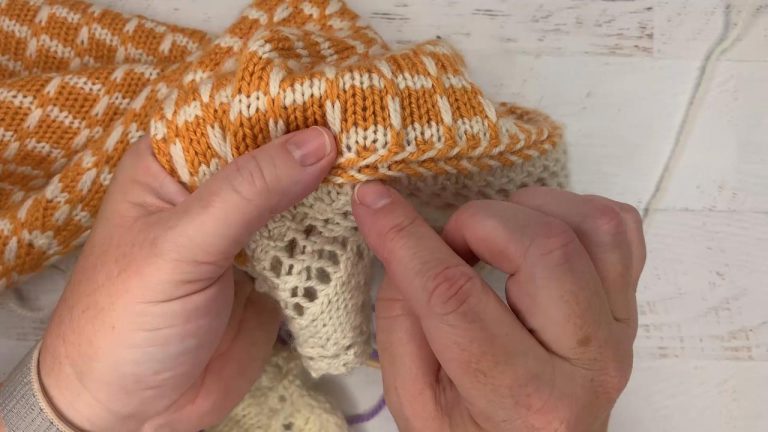
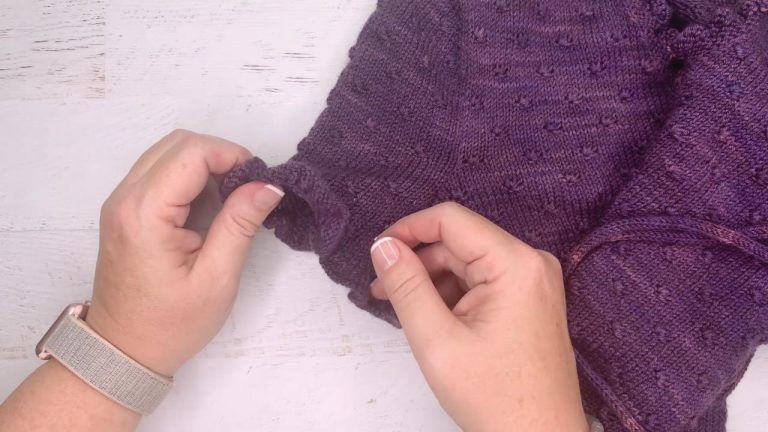
Michele recommends using the magic knot on garter stitch projects, as the knot blends into the stitches and is nearly invisible. She would not typically use the magic knot on a Stockinette stitch project, as the knot may show on your work. This technique can be used when you simply need to change to a new ball of yarn for a project and it can also be used when changing to a different color. In the video, Michele demonstrates the magic knot when switching colors in a project.
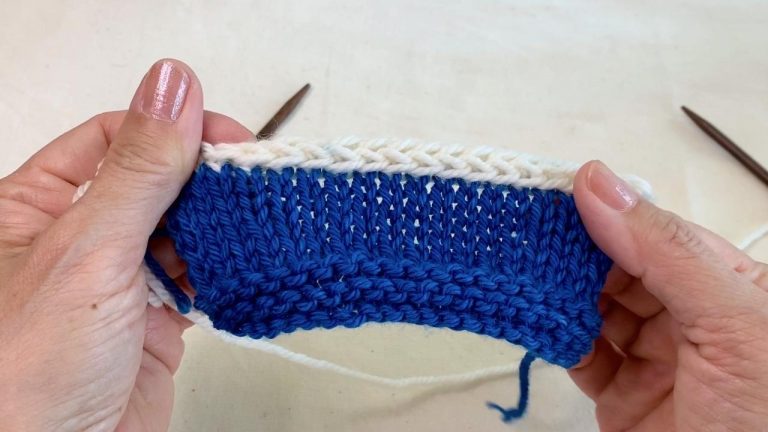
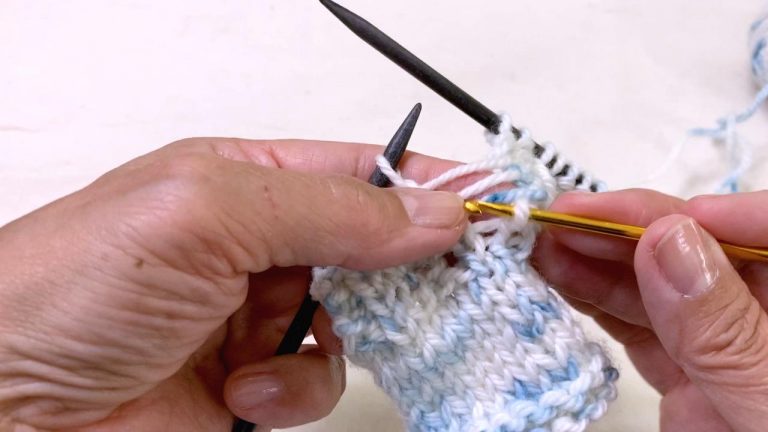
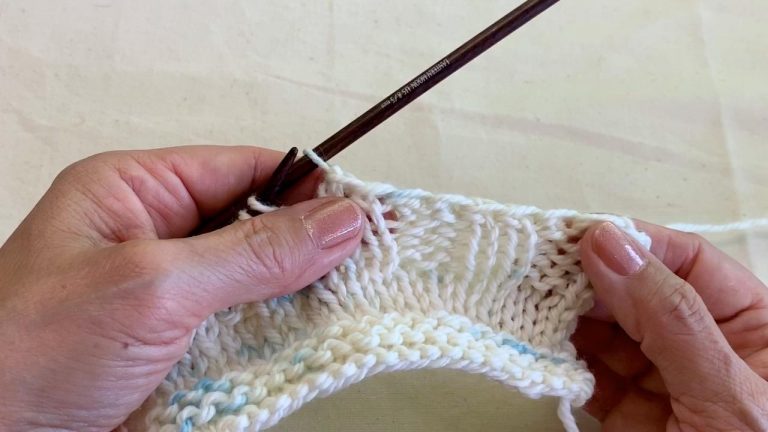
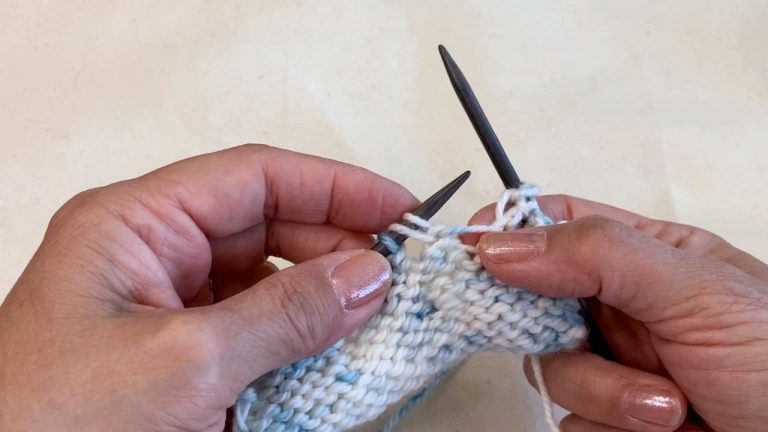
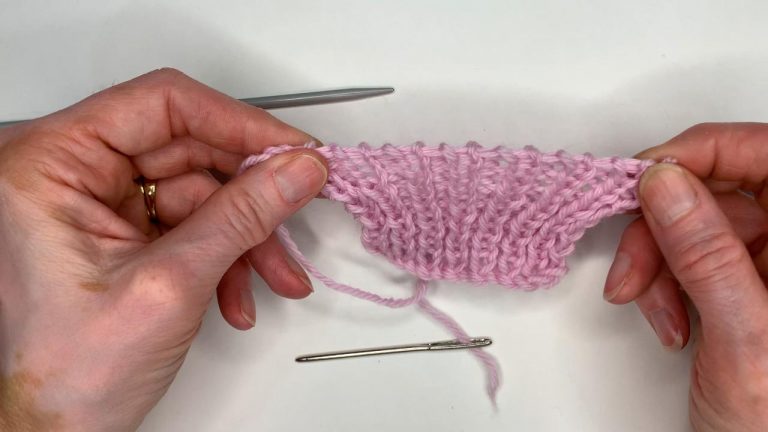
If using the magic knot when switching colors, Michele recommends making the knot about 4 stitches away from the end of the row on a Wrong Side. She works the magic knot following these steps:
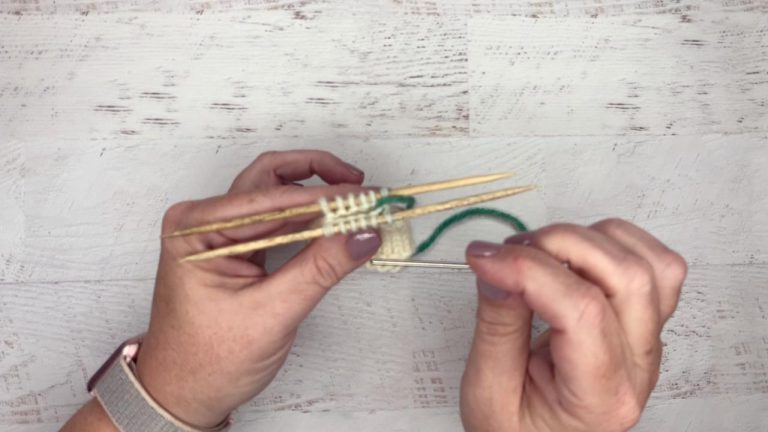
- 1. Cut old yarn, leaving a tail of approximately 8 inches.
- 2. Bring new yarn under old yarn.
- 3. Tie a simple overhand knot with the new yarn, tying it around the old yarn.
- 4. Bring old yarn under new yarn.
- 5. Tie a simple overhand knot with the old yarn, tying it around the new yarn.
- 6. Hold the two yarns (not the tails) and pull to slide the knots together.
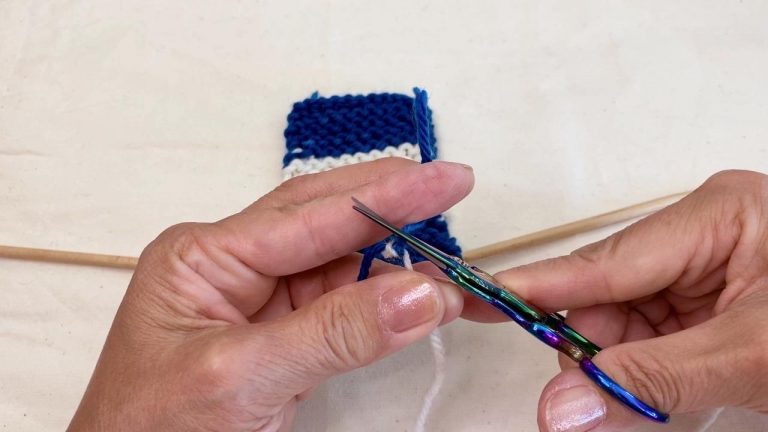
- 7. Trim the yarn tails, getting close to the knot and taking care not to cut the knot.
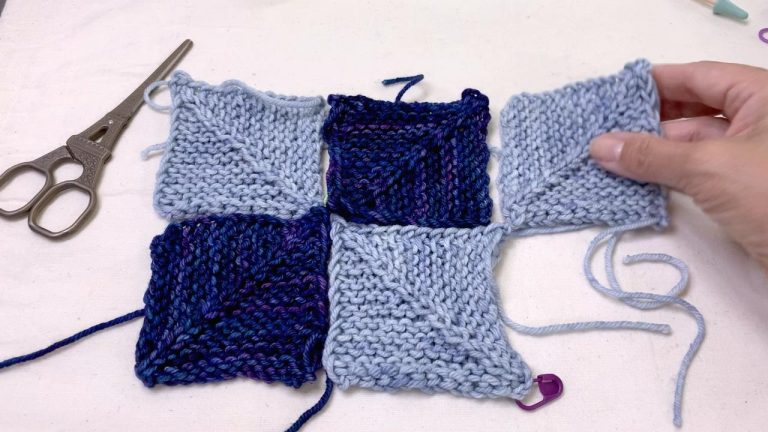
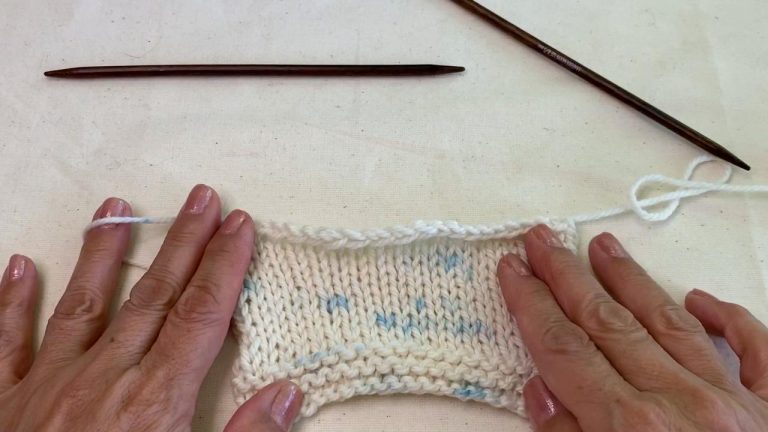
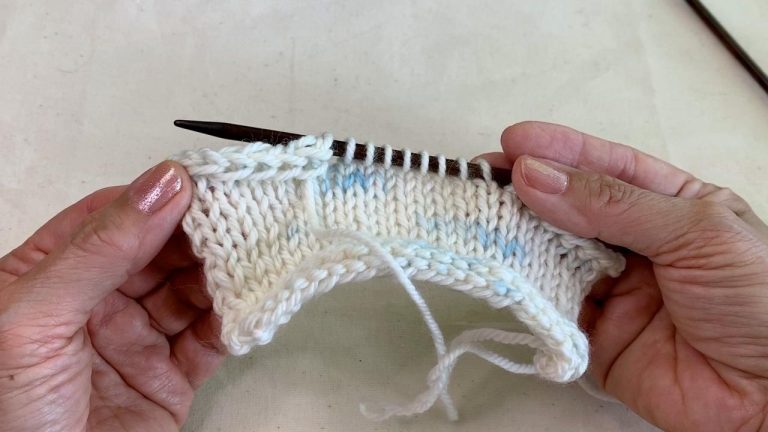
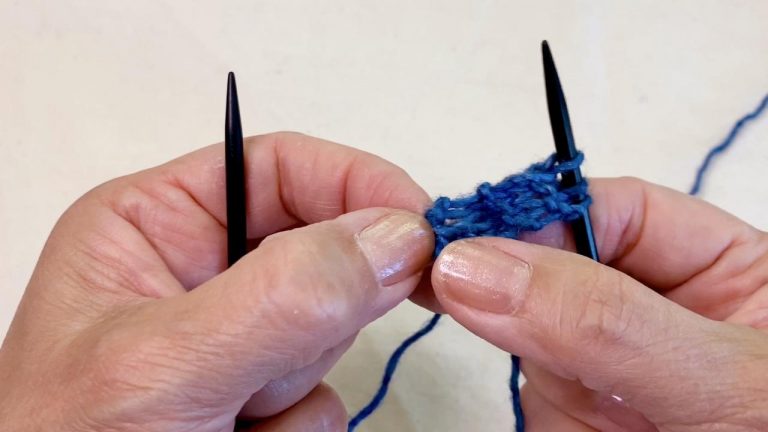
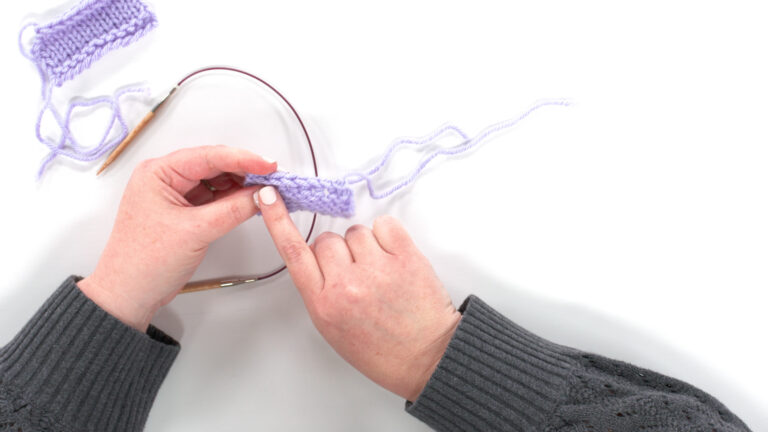
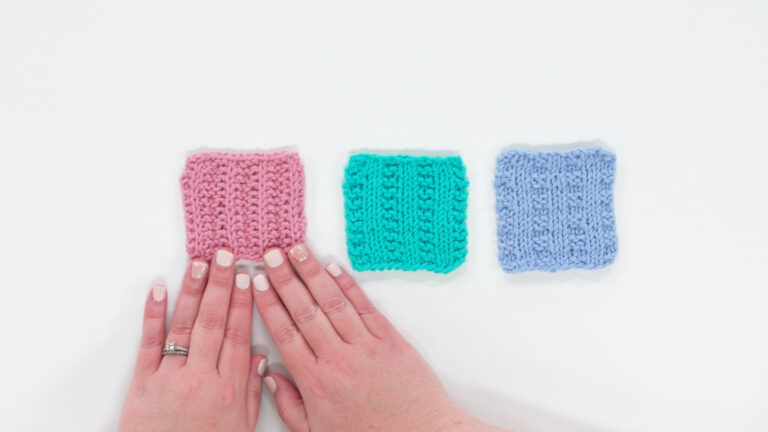
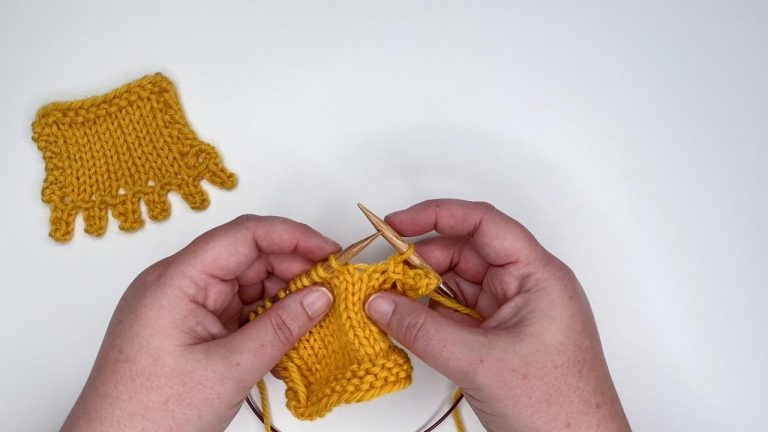
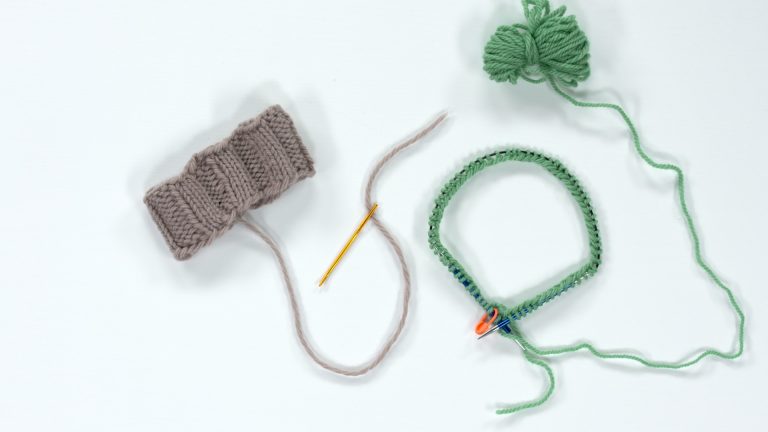
The magic knot has been created, and Michele continues knitting her swatch. She adjusts her tension slightly as she works so that the knot will naturally go to the back (or Wrong Side) of the piece. She then shows all the knots worked into her swatch and shares a few projects that she’s made where she used the magic knot when changing colors.
Explore videos by Michele Lee Bernstein


You may be interested in

Premium Membership
Unlock exclusive member content from our industry experts.
- 24/7 Access to Premium Knitting Videos, Projects, and Tips
- Step-by-Step Instructional Demos, Patterns, and Tutorials
- 50% Off Video Downloads Purchased in The Knitting Cirlce Shop
- Access to Ask the Expert Program
Unlock exclusive member content from our industry experts.
- 24/7 Access to Premium Knitting Videos, Projects, and Tips
- Step-by-Step Instructional Demos, Patterns, and Tutorials
- 50% Off Video Downloads Purchased in The Knitting Cirlce Shop
- 2 Full-Length Video Downloads to Watch Offline
- Access to Ask the Expert Program
Gold Membership
$379 Value
Get everything included in Premium plus exclusive Gold Membership benefits.
- 24/7 Access to Premium Knitting Videos, Projects, and Tips
- Step-by-Step Instructional Demos, Patterns, and Tutorials
- 3 Full-Length Video Downloads to Watch Offline
- 5 Full-Length Knitting Classes to Keep for Life
- 10 Printable Knitting Patterns
- Discounts on Purchase-to-Own Content in The Knitting Circle Shop
- Access to Ask the Expert Program
- Exclusive GOLD LIVE Streaming Events