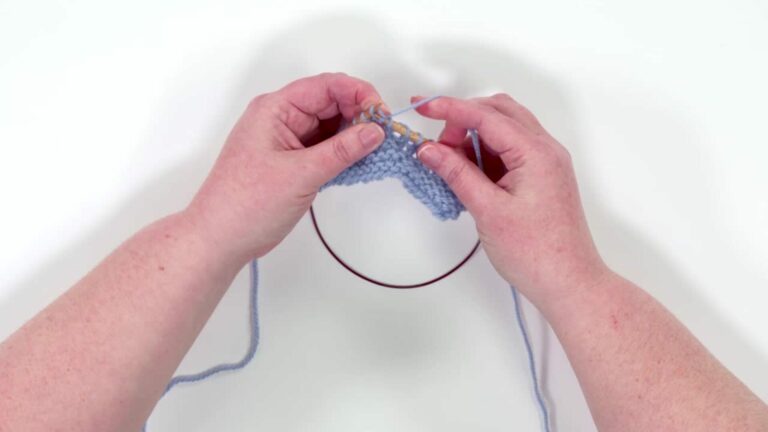
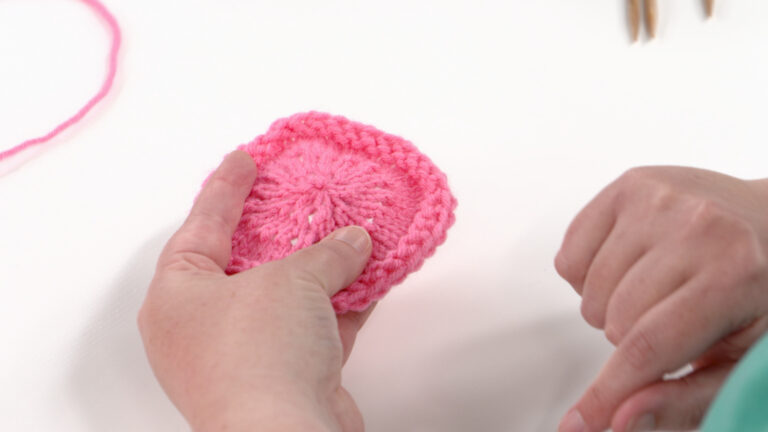
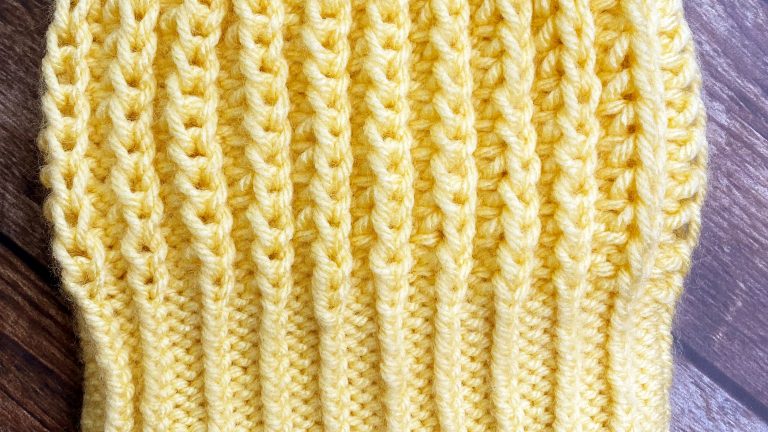
Jen Lucas

The Purl Stitch

Jen Lucas
Duration:   5  mins

The second stitch that you’ll need to know to create your knitting project is the purl stitch. Jen Lucas will demonstrate how to work this stitch using both the English and Continental methods.

When knitting, it’s important to find the method that is most comfortable for you. There are two common ways to create stitches:

– English/Throwing: yarn is held in right hand
– Continental/Picking: yarn is held in left hand

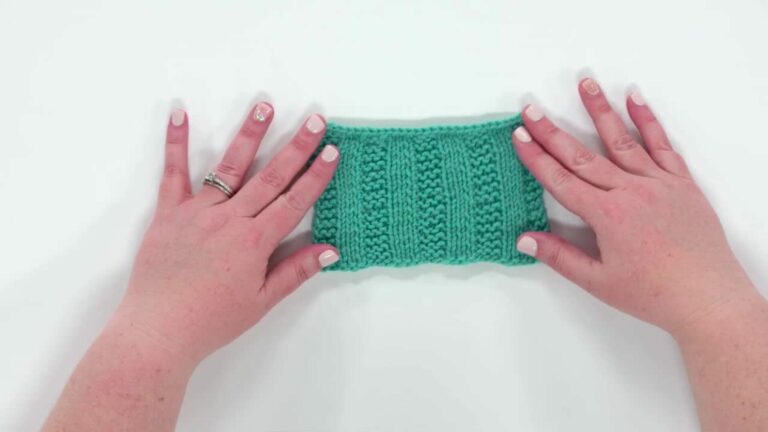
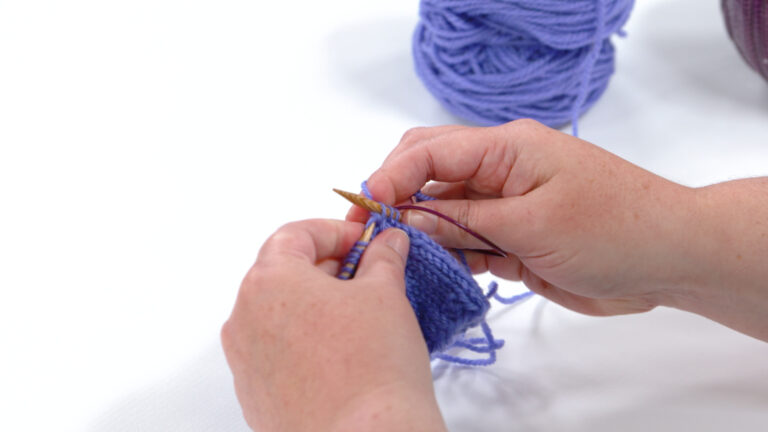
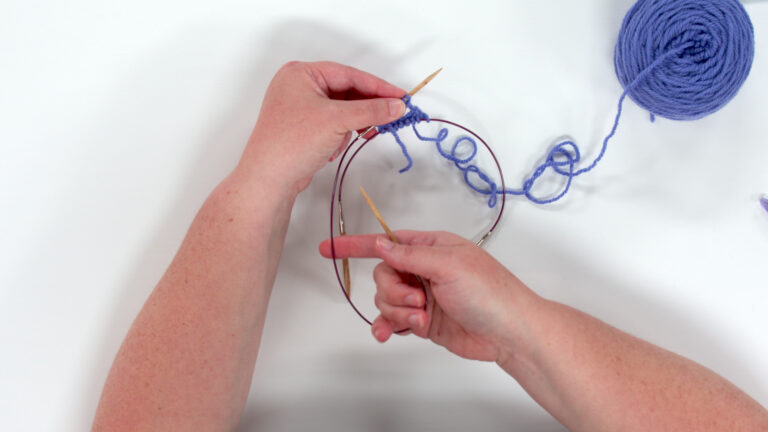
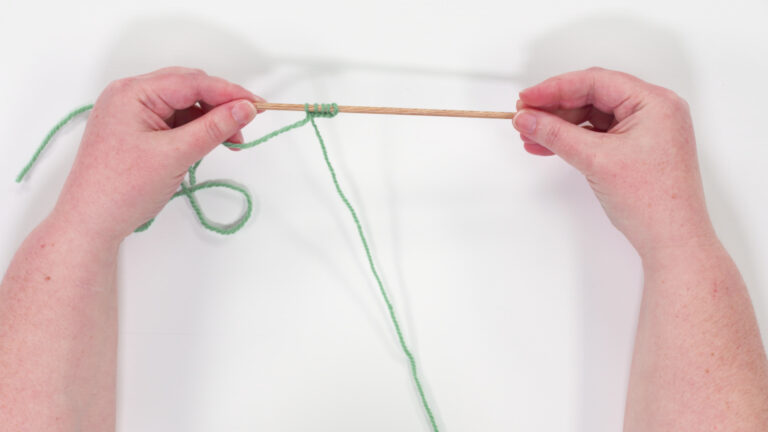
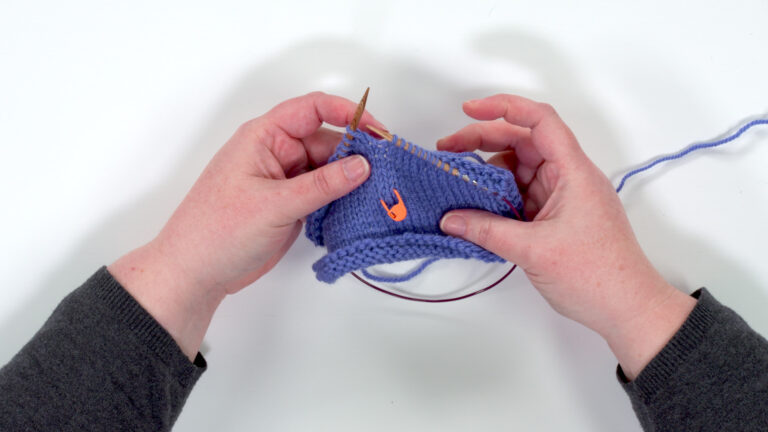
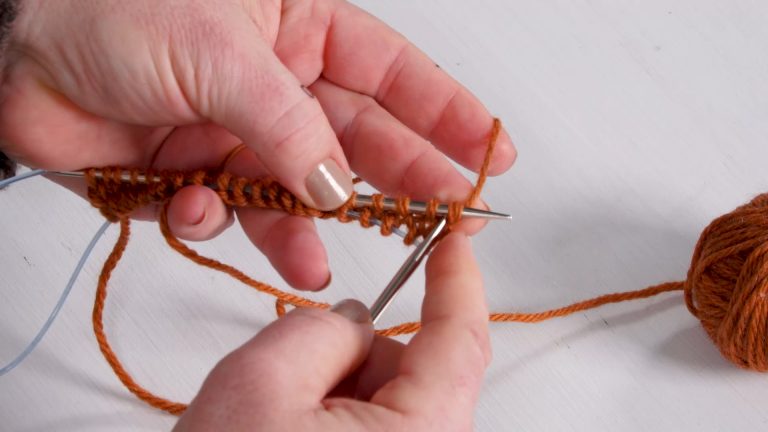
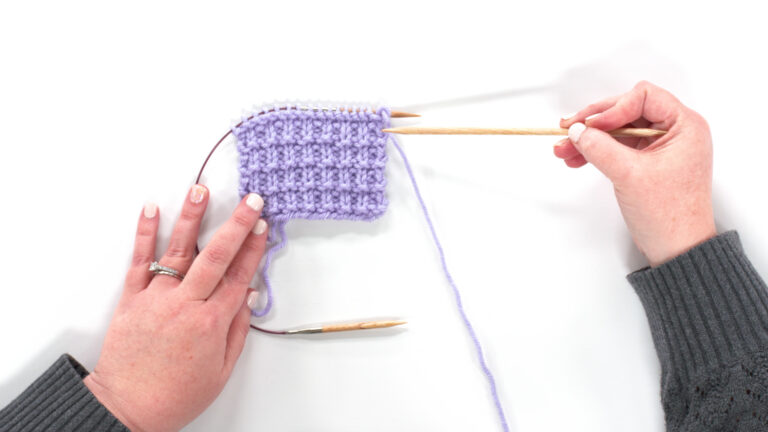
Whatever method you choose, the purl stitches are created the same way:

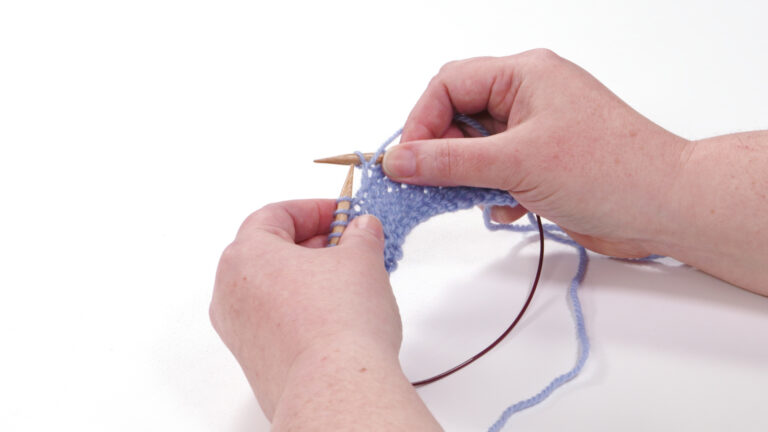
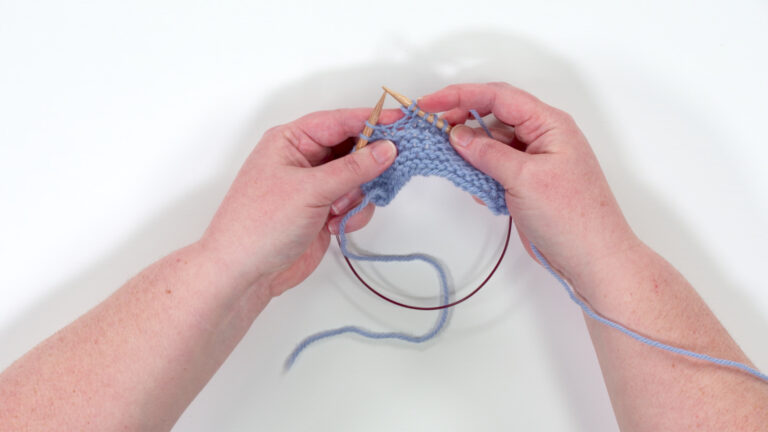
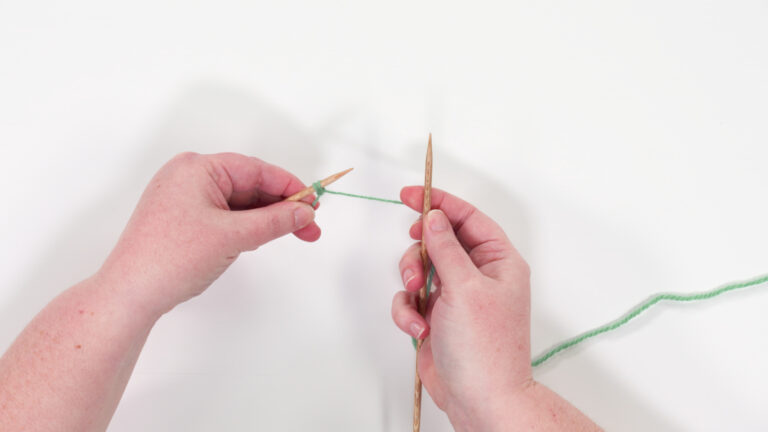
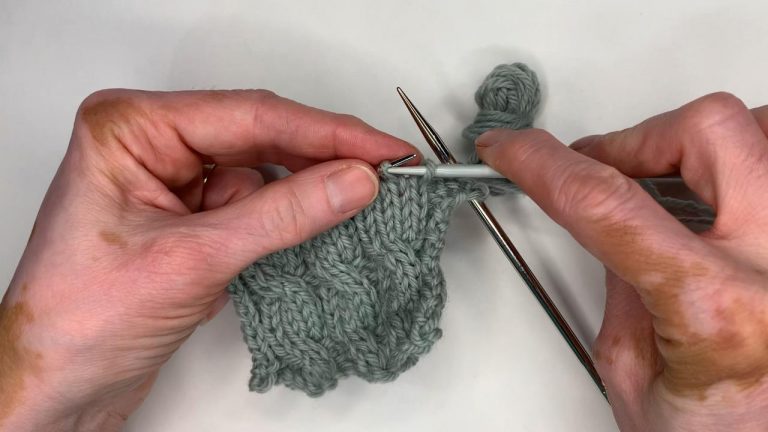
– With yarn in front, insert right needle from right to left into the first stitch on the left needle
– Wrap yarn around the right needle counterclockwise
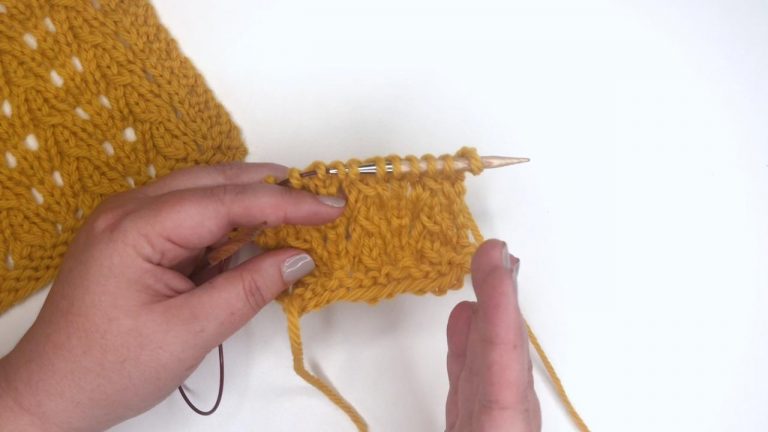
– Bring right needle through the loop on the left needle, making a new stitch on the right needle
– Drop stitch off the left needle
– New purl stitch has been created on the right needle

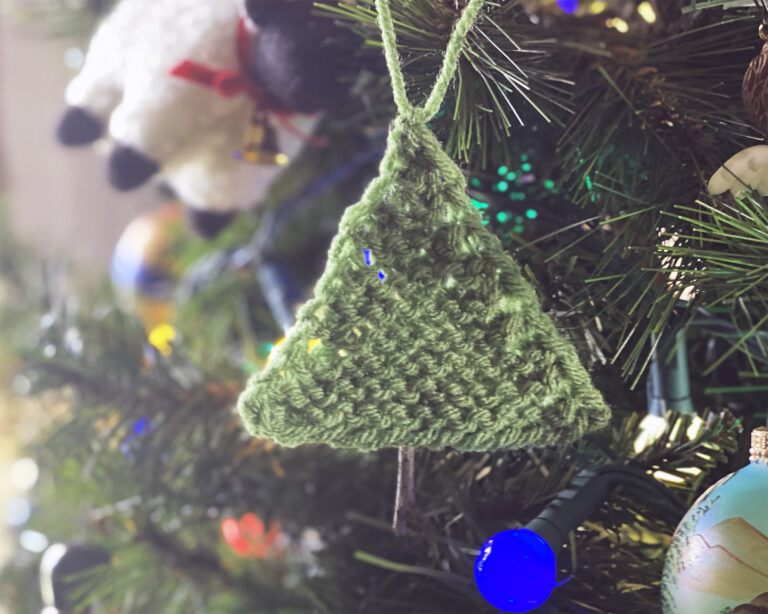
Remember that learning any new skill takes time and practice. With a little patience and practice, you’ll be creating beautiful pieces with your purl stitches in no time!

Share tips, start a discussion or ask other students a question. If you have a question for the instructor, please click here.

Make a comment:
characters remaining

2 Responses to “The Purl Stitch”

  1. Judith Merryfield

    Thank you. I didn't know if I was doing the purl stitch right or wrong? But there is more than one way, (left handed) to do the purl stitch. I guess you can use your right hand also.

  2. Dennis Eyjolfsson

    How to correct loose purl stitches.

Hello everyone. I'm Jen Lucas for "The Knitting Circle." In this video I'm going to show you how to work the purl stitch. In knitting, there are two basic stitches, the knit and the purl. Once you have these two stitches mastered you can knit just about anything you want. In this video we're going to focus on the purl stitch.

I'm going to show you how to knit it two different ways, using both the English or throwing method, as well as the continental or picking method. And then you could figure out, which one works best for you when you're knitting your purls. So let's go ahead and take a look at the purl stitch. Purl stitches are traditionally worked on the wrong side of your work. That's not always the case, but, a lot of the time you will be doing purl stitches on the wrong side.

So here I have a swatch of stockinette stitch where I've knit on the right side and then I've purled on the wrong side. And what the purl stitch does is create these bumps. You'll often hear them referred to as purl bumps. So we're going to go ahead and do the purl stitch. Now there's lots of different ways to accomplish the purl stitch.

The most common ways are to use the English or throwing method, which has the working yarn in your right hand, or to use the continental or picking method, and that is to have the yarn in your left hand. Both create the same exact stitch. It really is about personal preference and what feels comfortable to you. So I'm going to go ahead and show you how to do the purl stitch, using first, the English or throwing method. So we're going to want to have our working yarn to the front of our fabric.

So, to the side facing us. So we have it, facing us on the front. We're going to go ahead and tension the yarn. You can wrap it around your pinky, if you like, and then bring it up to your index finger. And then to purl, we're going to insert the needle from back to front.

We're going, also, from right to left. So again, we're inserting the needle. Now we're going to take this yarn and we're going to wrap it around the needle over the top and down, just like that. And we're going to pull this loop through the stitch that's on our left needle, and now we're going to take the stitch that's on our left needle off, and just like that, and right there, we've created our new purl stitch. You can see here, we sort of have this little bump and again, it creates these bumps that you're seeing here.

So again, we're going to insert the needle, this way, from right to left, take the yarn, wrap it around over the top of the needle, bring the right needle through that loop, and then take the stitch on the left needle off. And we've created this new stitch that's now on the right needle. Insert, wrap around, pull the loop through, and off. And so that's using the English method with the yarn in your right hand. You can also do this with the yarn in your left hand.

So again, I'm going to use my pinky just to tension the yarn, wrapping it around and then bringing the yarn up to my index finger. Again, cause we're doing the same exact stitch, just have the yarn in our other hand. We're going to have the yarn in the front facing us, we're going to insert our needle. Now you can see our yarns kind of right here and we just need to bring the yarn down, insert it through the loop, and off. And there's lots of different ways to accomplish this.

Some people will use their middle finger to help with this. Some people use their thumb. It's really, again, about finding the method that's comfortable for you and that finds a nice even tension in your knitting. So again, we're going to insert the needle. We're bringing the yarn around, bringing that loop through the stitch that's on our left needle and then we're taking that stitch off the left needle.

And now it's on the right needle. Again, insert, wrap the yarn around, bring that loop through, and off the needle. And that's the purl stitch. And there you go. Now you're purling.

Be sure to try it both ways, both the English and the continental, both are going to give you the exact same stitch and, really, it's about figuring out which method works best for you and your knitting. And that's really, what's important. And don't be discouraged if you don't get the purl stitch right away. For some reason, many people find this one to be a little bit more tricky than the knit stitch. So, just take some time and practice and you'll have it mastered in no time.

I'm Jen Lucas for The Knitting Circle. I hope that you enjoyed this video and be sure to take a look around our website for lots of great knitting content. I'll see you again soon.

Get exclusive premium content! Sign up for a membership now!