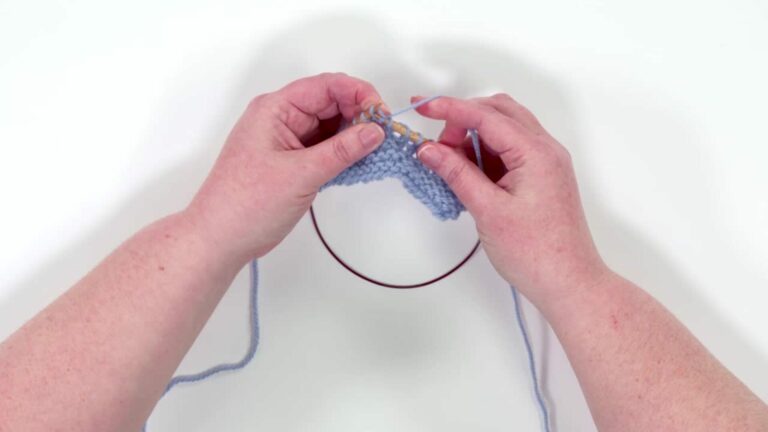
How to Work the Make One (m1) Increase
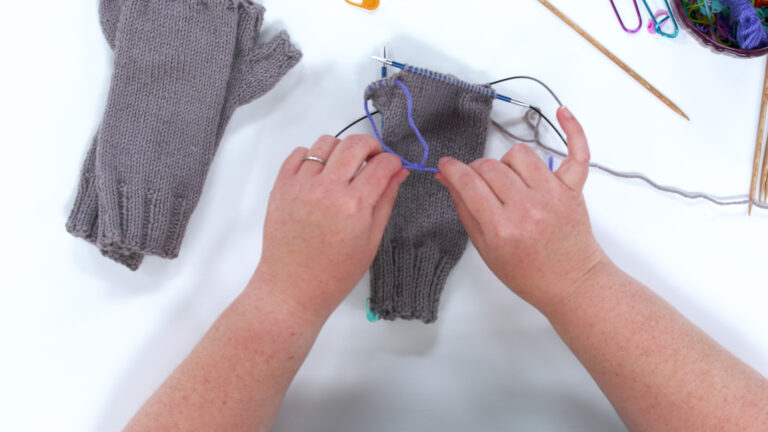
Jen LucasMake one increases are created by working into the strand in between two stitches on your knitting needles. In this video, Jen Lucas explains how to work the make one (m1) increase. You’ll find this increase used in many different types of projects, like fingerless mitts or mittens. It’s a great increase to have in your knitting toolbox!
MAKE ONE INCREASE
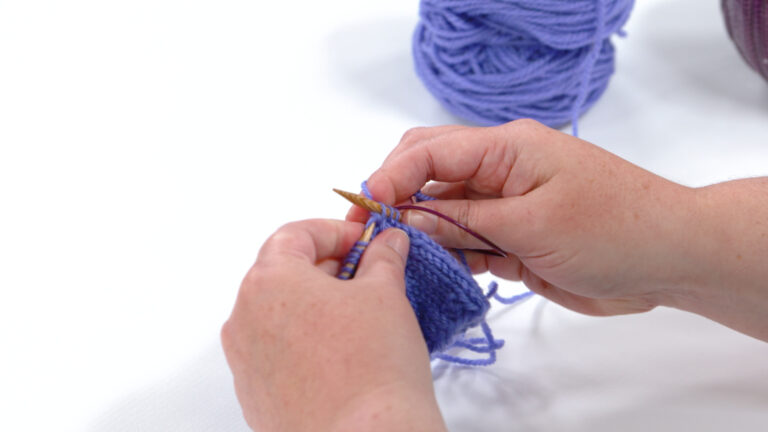
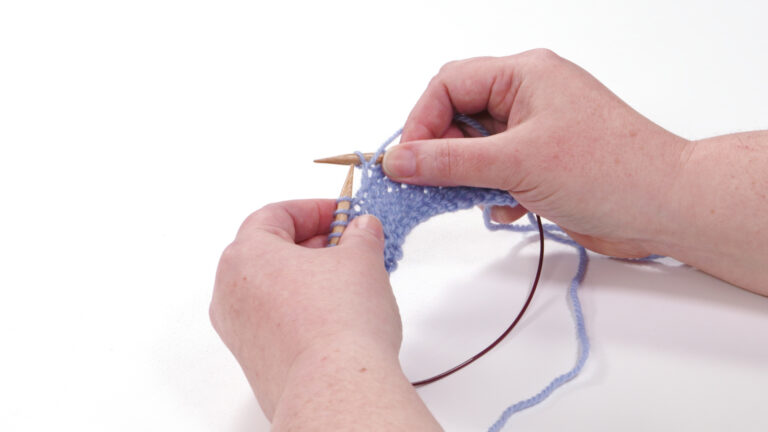
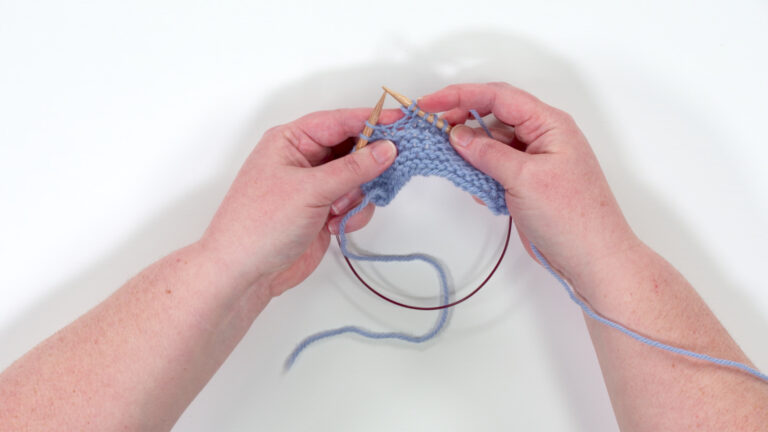
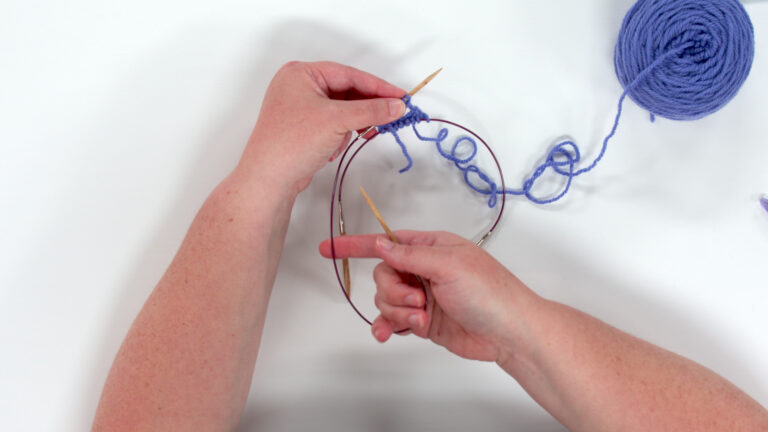
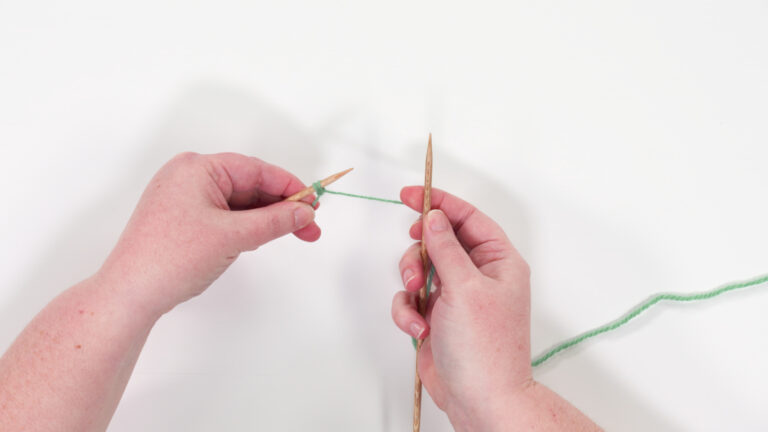
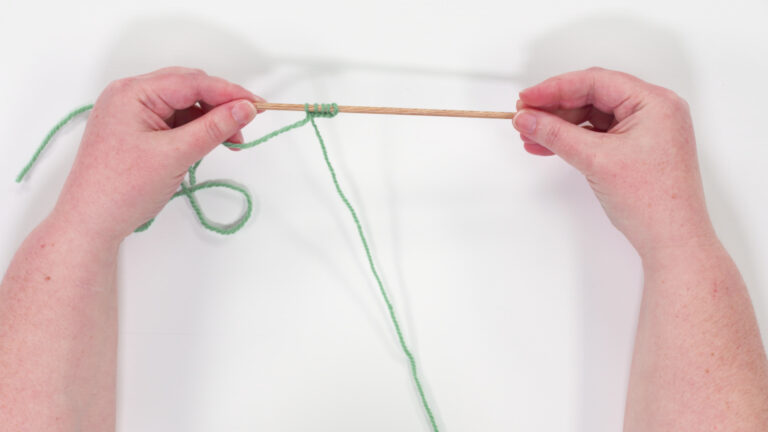
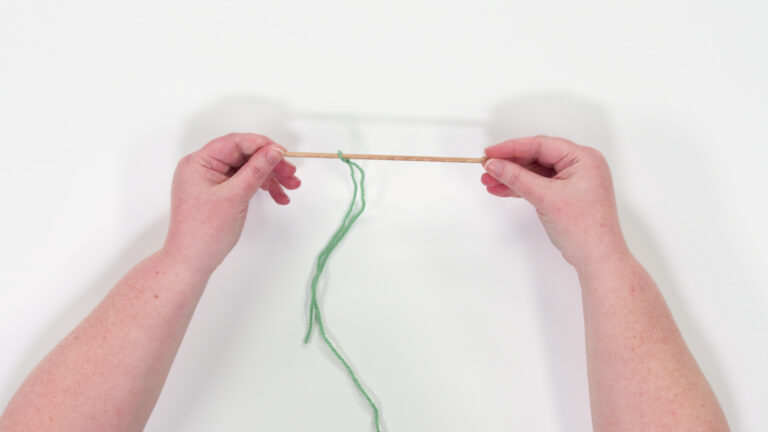
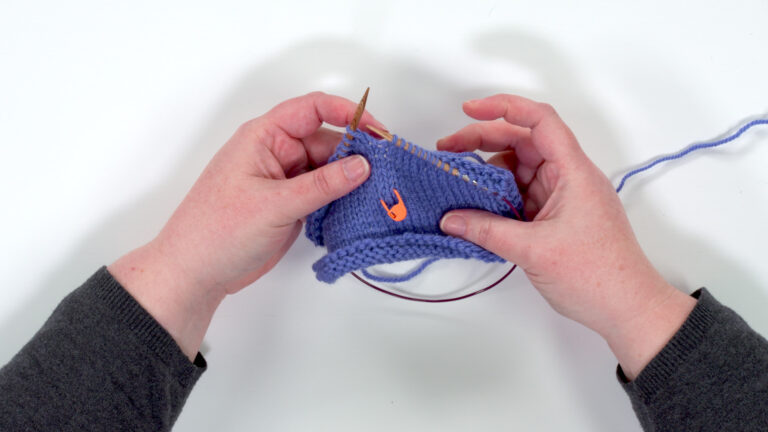
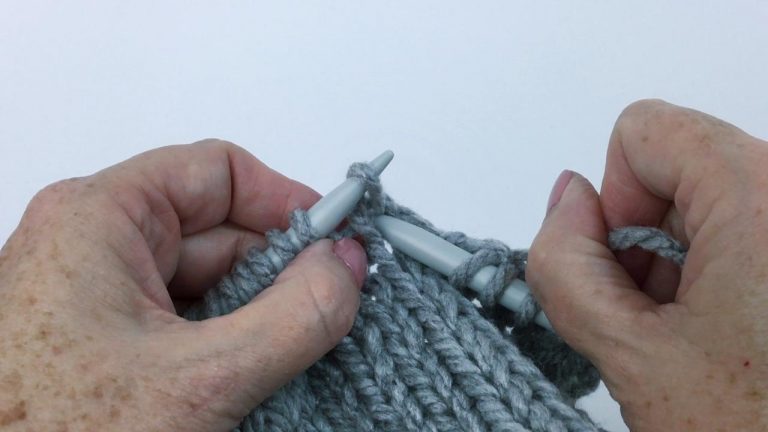
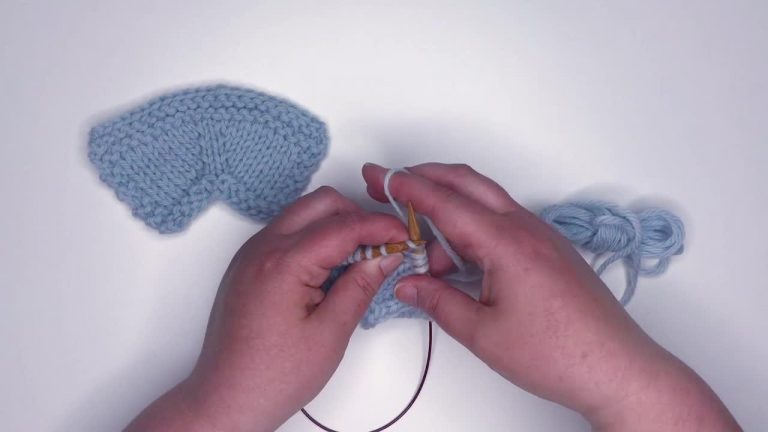
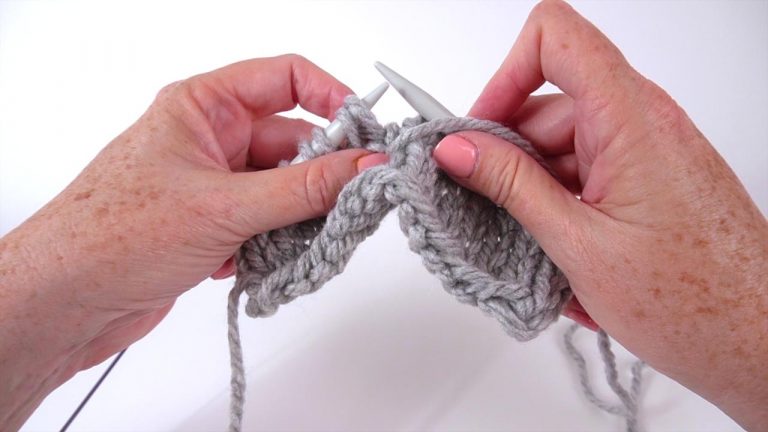
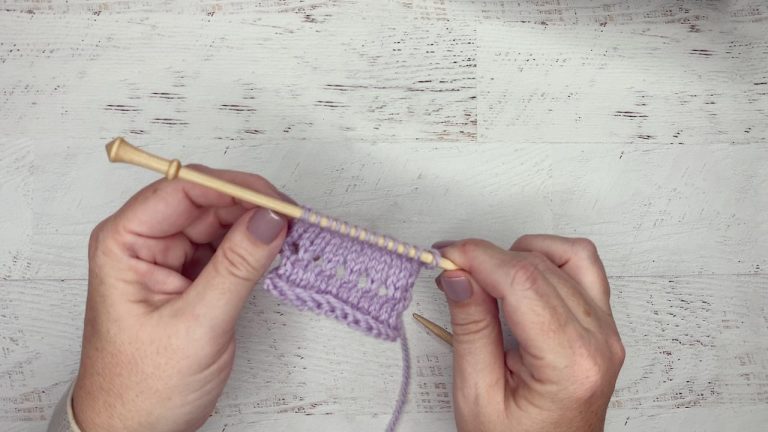
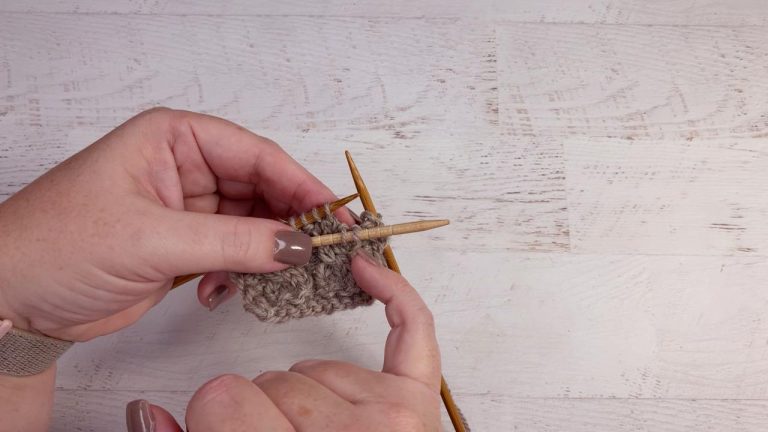
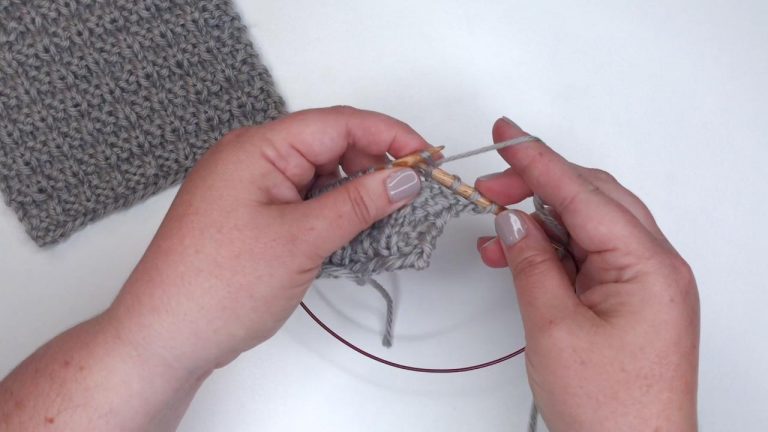
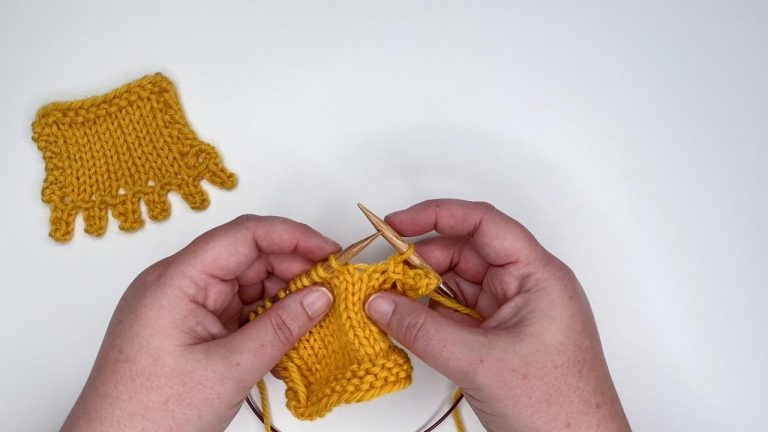
The make one is an increase that has the new stitch coming out to the left of the old stitch. It’s often abbreviated in knitting patterns as m1. You’ll notice that this increase is the same as a make one left (m1L) increase. It’s created by working into the strand in between the stitch just worked and the next stitch. With the left-hand needle, lift this strand by inserting the needle from front to back and placing it onto the left needle. With the yarn in the back, insert the right needle from front to back and knit through the back of the stitch. You’ve created the make one or make one left increase.
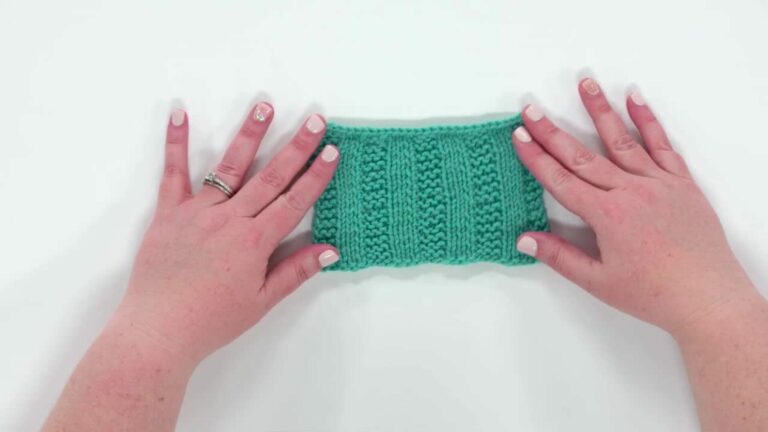
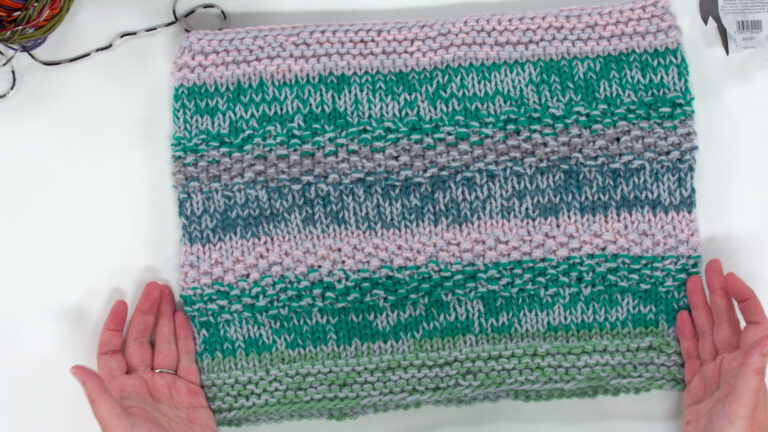
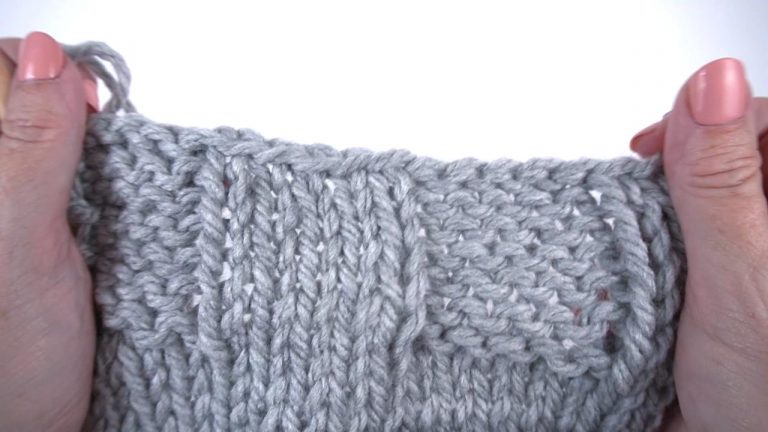
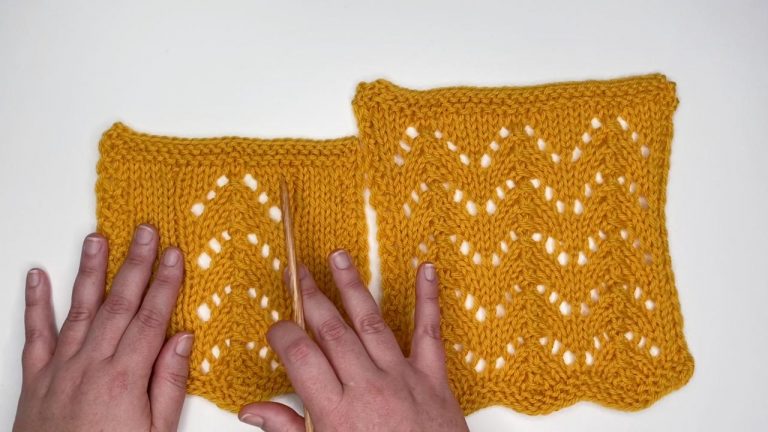
These increases are easy to work and create a clean look in your knitted fabric. Use these increases the next time you’re working a top-down sweater or the thumb gusset of a mitten!

Explore videos by Jen Lucas


You may be interested in


Premium Membership
Unlock exclusive member content from our industry experts.
- 24/7 Access to Premium Knitting Videos, Projects, and Tips
- Step-by-Step Instructional Demos, Patterns, and Tutorials
- 50% Off Video Downloads Purchased in The Knitting Cirlce Shop
- Access to Ask the Expert Program
Unlock exclusive member content from our industry experts.
- 24/7 Access to Premium Knitting Videos, Projects, and Tips
- Step-by-Step Instructional Demos, Patterns, and Tutorials
- 50% Off Video Downloads Purchased in The Knitting Cirlce Shop
- 2 Full-Length Video Downloads to Watch Offline
- Access to Ask the Expert Program
Gold Membership
$379 Value
Get everything included in Premium plus exclusive Gold Membership benefits.
- 24/7 Access to Premium Knitting Videos, Projects, and Tips
- Step-by-Step Instructional Demos, Patterns, and Tutorials
- 3 Full-Length Video Downloads to Watch Offline
- 5 Full-Length Knitting Classes to Keep for Life
- 10 Printable Knitting Patterns
- Discounts on Purchase-to-Own Content in The Knitting Circle Shop
- Access to Ask the Expert Program
- Exclusive GOLD LIVE Streaming Events
Share tips, start a discussion or ask one of our experts or other students a question.
Already a member? Sign in
No Responses to “How to Work the Make One (m1) Increase”