How to Work the Andalusian Stitch
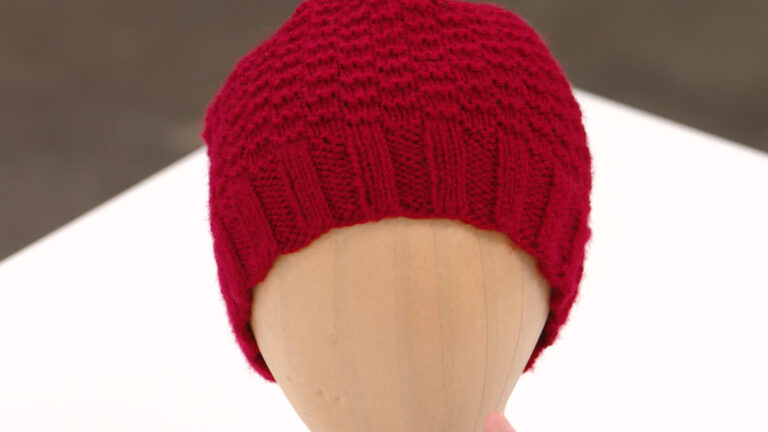
Mary Beth TempleThere are thousands of stitch patterns that can be worked into your knitting. The Andalusian stitch is a simple textured pattern that can be used for a many different types of projects. You might find this stitch pattern used in baby blankets for beginners, socks, hats, and so much more.
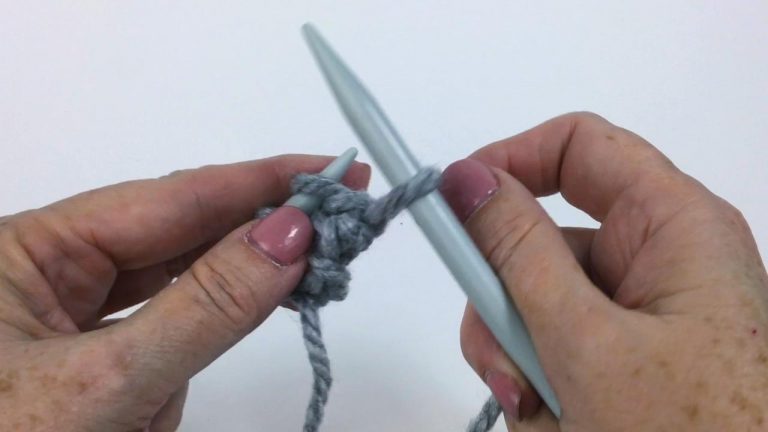
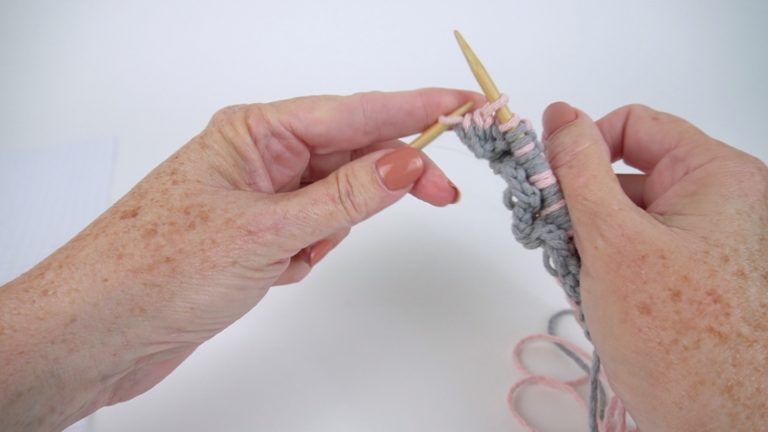
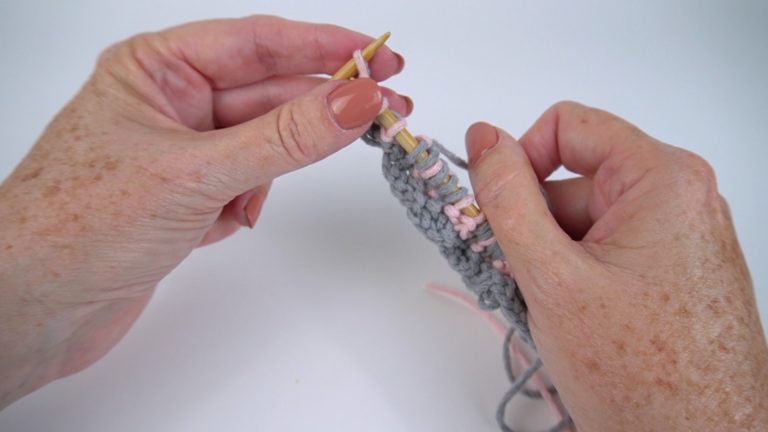
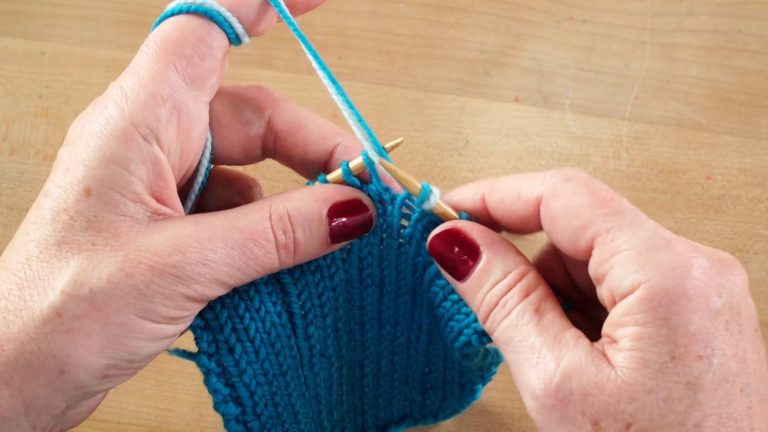
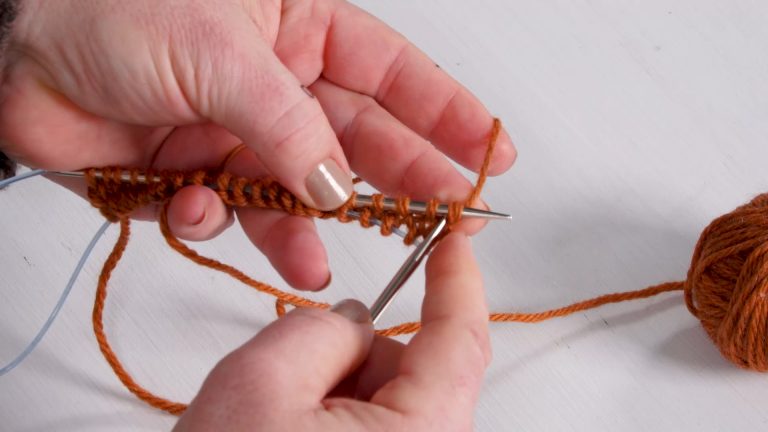
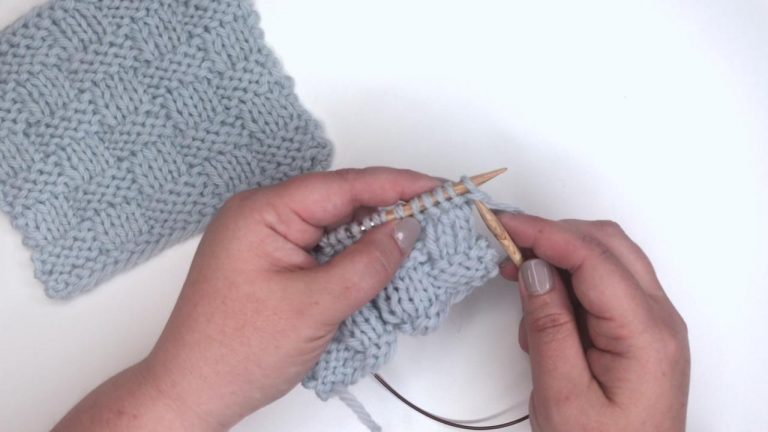
Knitting expert Mary Beth Temple demonstrates just how easy the Andalusian stitch is to knit. All it takes is knit stitches and purl stitches to create this delicate pattern. It’s worked by purling all the stitches when working the wrong side rows. On the right side rows, you will either work a row of knit stitches or a row of alternating knits and purls.
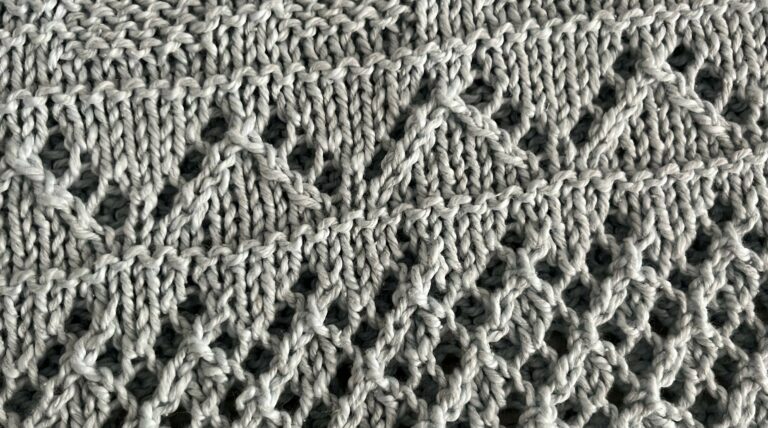
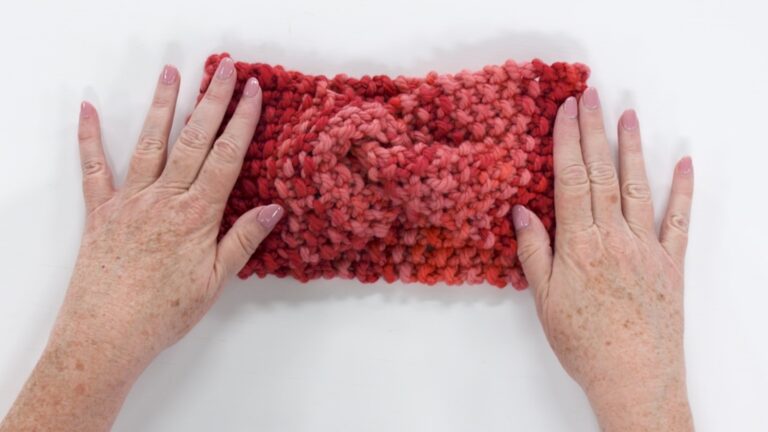
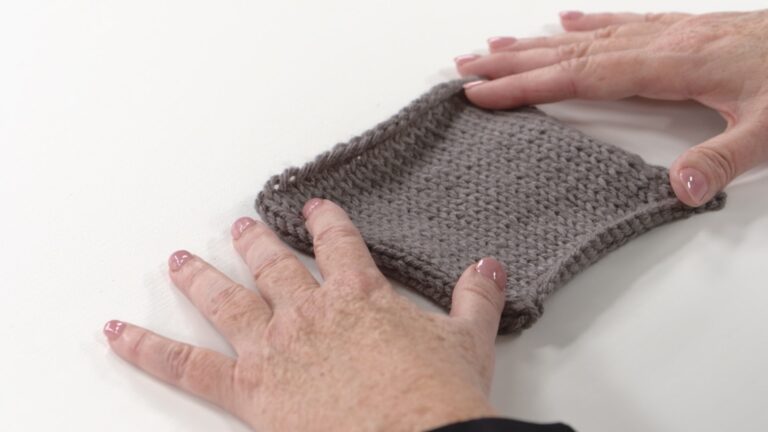
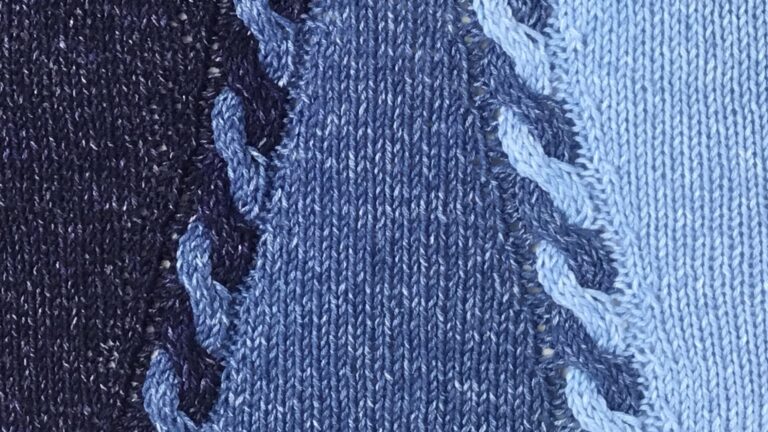
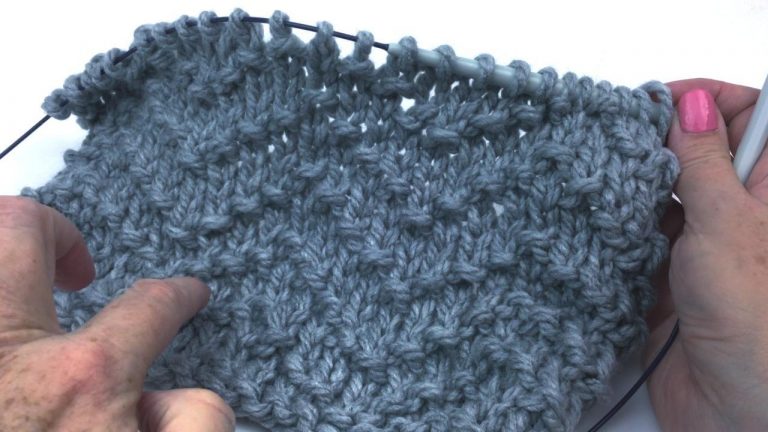
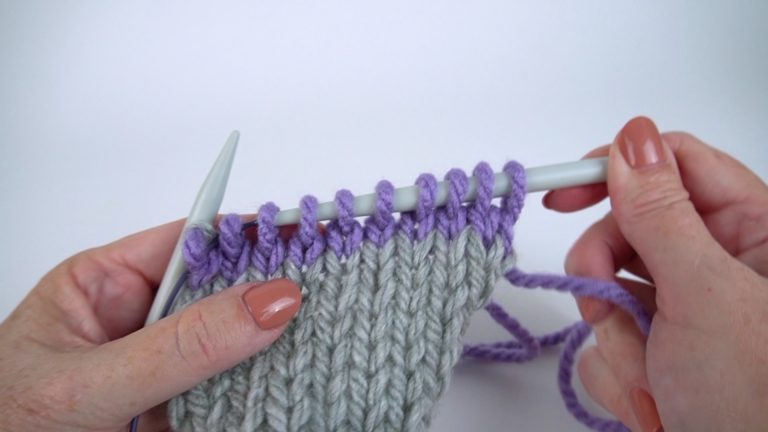
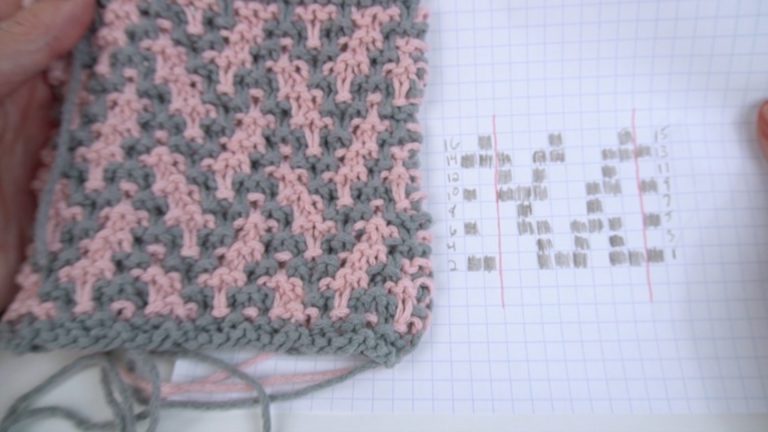
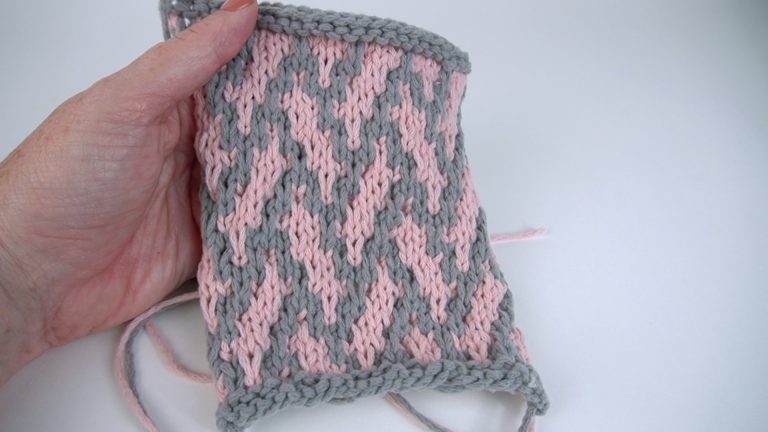
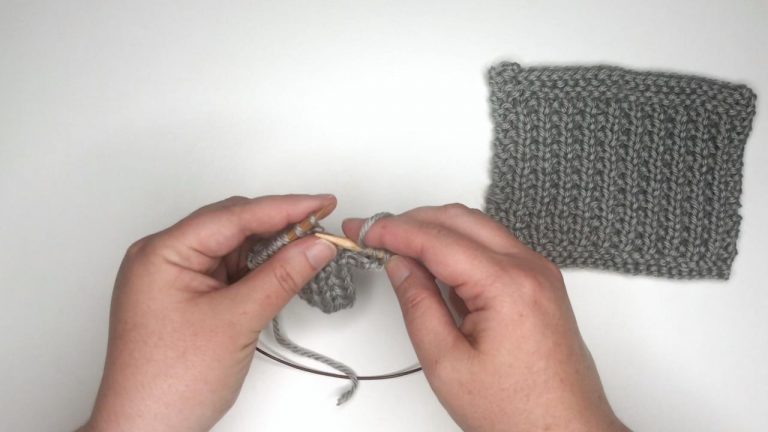
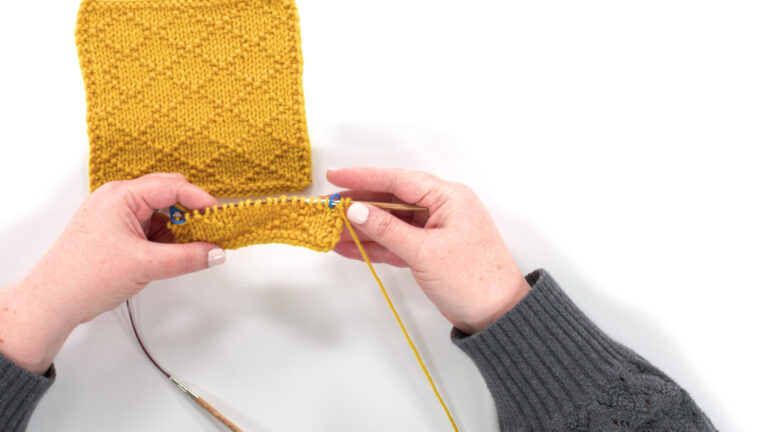
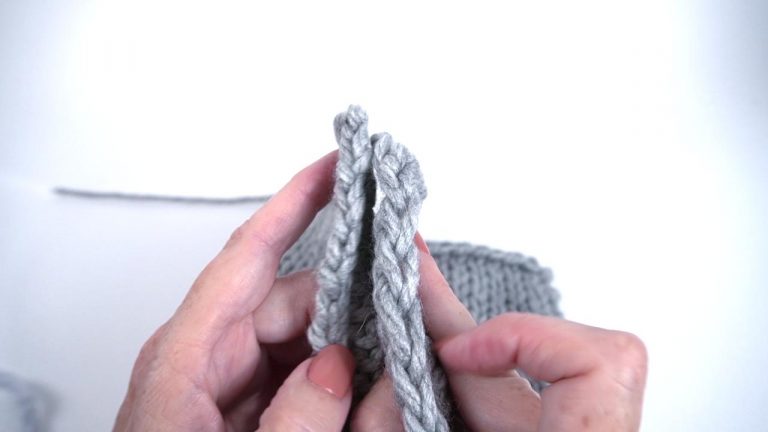
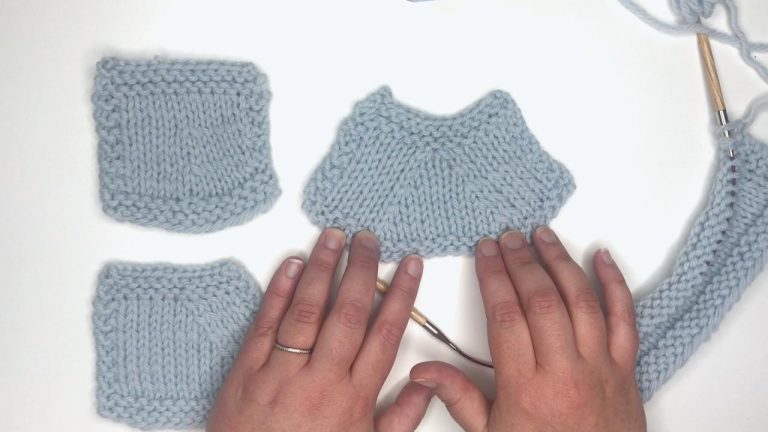
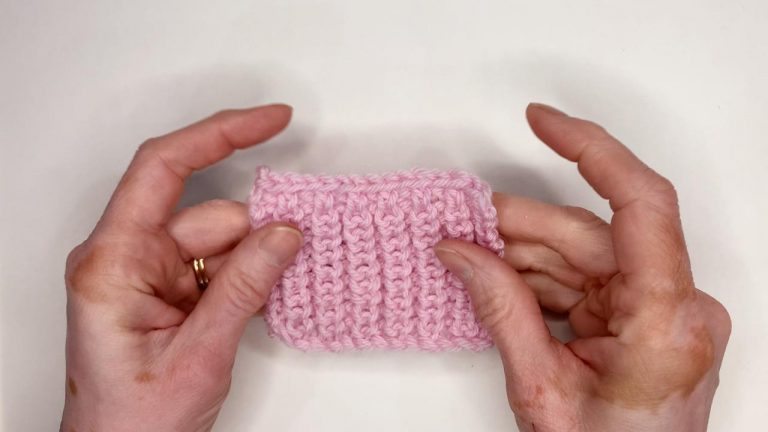
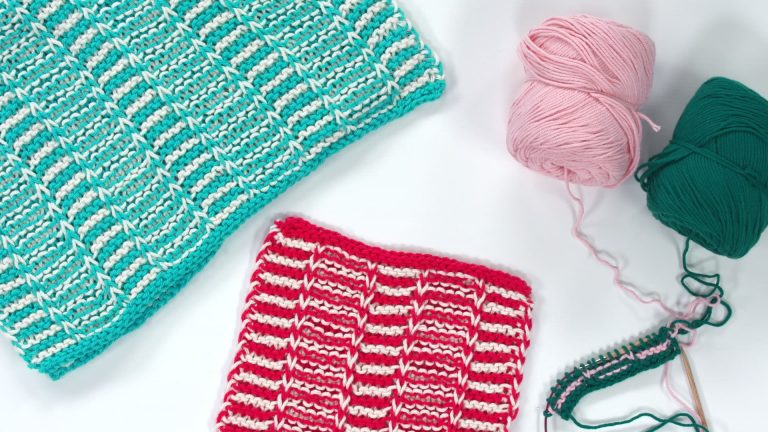
You’ll notice that this pattern is not reversible. Mary Beth shows both the right and wrong sides of her swatch, and you can easily see that the right side of the fabric is a background of Stockinette stitch, with the purl ridges creating texture and interest every fourth row.
![]()
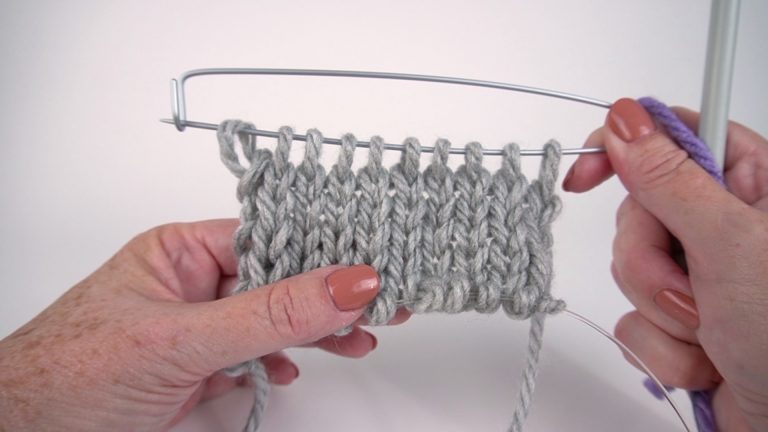
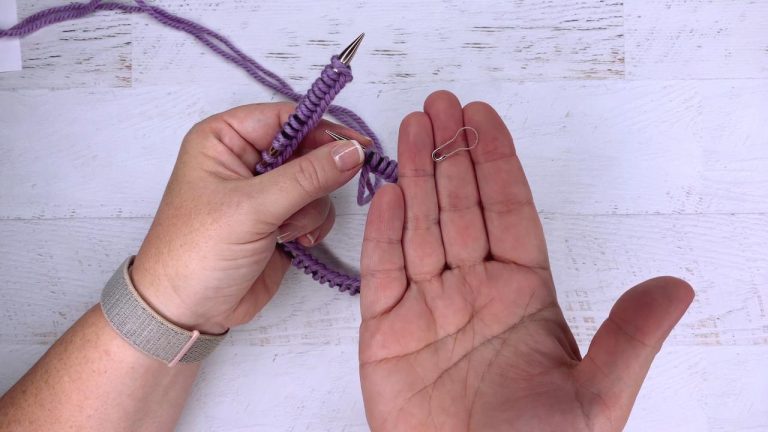
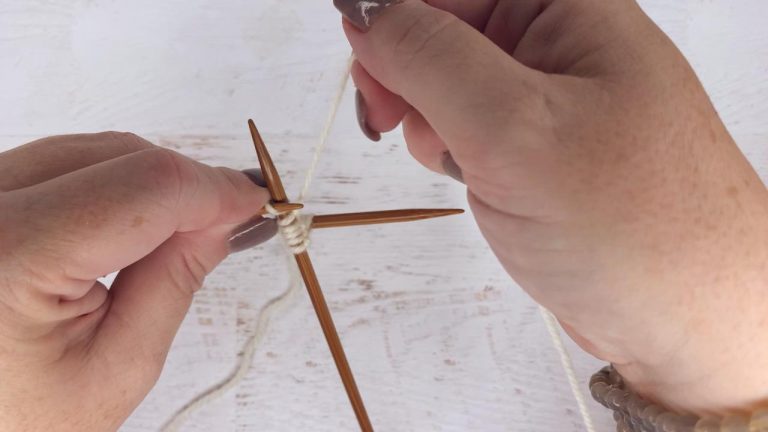
If you are working a particular knitting pattern, such as a baby blanket, the pattern will tell you how many stitches to cast on and work. You may commonly find this stitch pattern worked over an odd number of stitches and worked flat, in rows, as follows:
– Row 1 (Right Side): Knit all stitches.
– Row 2 (Wrong Side): Purl all stitches.
– Row 3: (K1, P1) to last stitch, K1.
– Row 4: Purl all stitches.
Repeating these four rows will create the Andalusian stitch and you’ll be on your way to creating lovely, delicate knitting projects with it.
Share tips, start a discussion or ask one of our experts or other students a question.
Already a member? Sign in
3 Responses to “How to Work the Andalusian Stitch”
Explore videos by Mary Beth Temple


You may be interested in

Premium Membership
Unlock exclusive member content from our industry experts.
- 24/7 Access to Premium Knitting Videos, Projects, and Tips
- Step-by-Step Instructional Demos, Patterns, and Tutorials
- 50% Off Video Downloads Purchased in The Knitting Cirlce Shop
- Access to Ask the Expert Program
Unlock exclusive member content from our industry experts.
- 24/7 Access to Premium Knitting Videos, Projects, and Tips
- Step-by-Step Instructional Demos, Patterns, and Tutorials
- 50% Off Video Downloads Purchased in The Knitting Cirlce Shop
- 2 Full-Length Video Downloads to Watch Offline
- Access to Ask the Expert Program
Gold Membership
$379 Value
Get everything included in Premium plus exclusive Gold Membership benefits.
- 24/7 Access to Premium Knitting Videos, Projects, and Tips
- Step-by-Step Instructional Demos, Patterns, and Tutorials
- 3 Full-Length Video Downloads to Watch Offline
- 5 Full-Length Knitting Classes to Keep for Life
- 10 Printable Knitting Patterns
- Discounts on Purchase-to-Own Content in The Knitting Circle Shop
- Access to Ask the Expert Program
- Exclusive GOLD LIVE Streaming Events
I guess I should have read the comments first. No response needed...Thank you
I'm confused.....your written instructions are completely different than your video HELP 😉
Confused as to how to start after casting on. What is the correct order of the four stitch pattern. I really like this!