Using a Lifeline in Lace Knitting
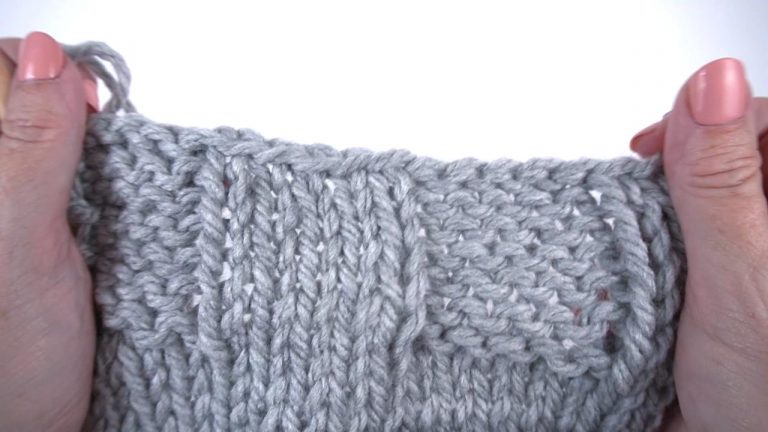
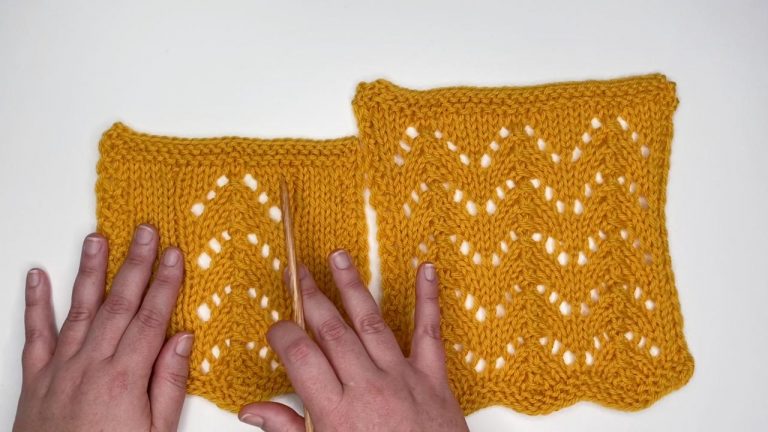
Mary Beth TempleWhile knitting lace patterns is enjoyable for many knitters, it’s not so enjoyable to have to rip out your knitting or try to fix a mistake. In this video, Mary Beth Temple demonstrates how to place a lifeline into your project so that if you do make a mistake, you can easily rip back your project to a spot that you know is correct.
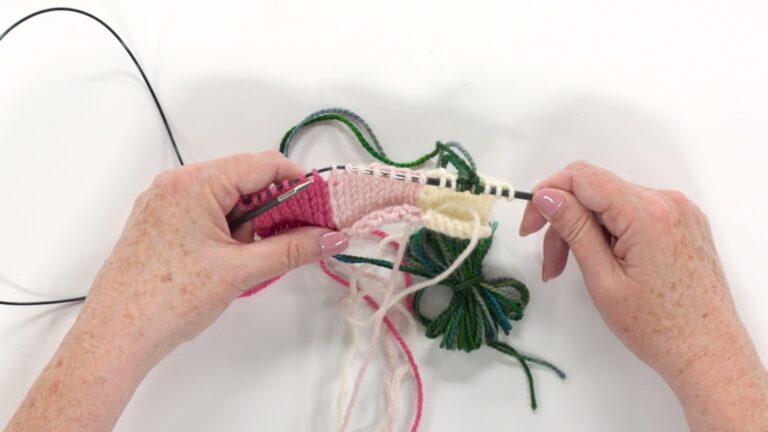
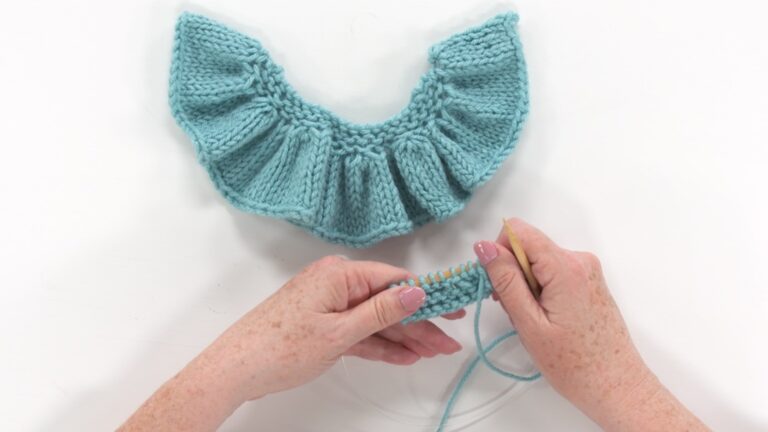
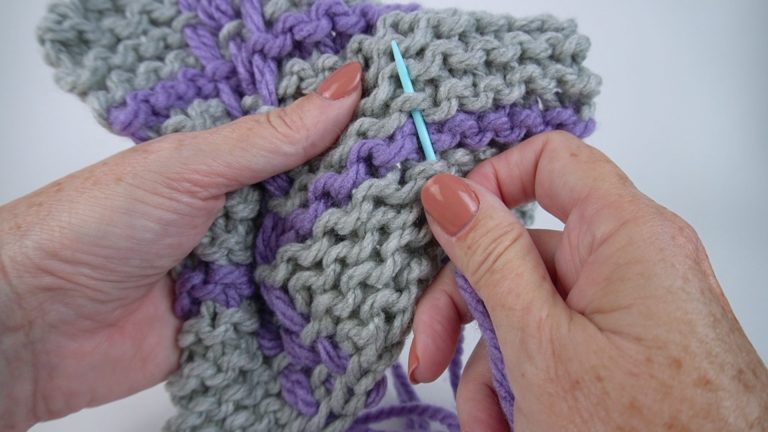
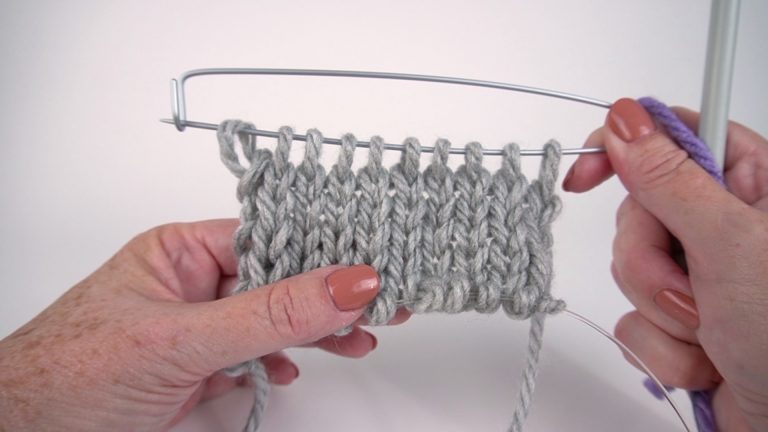
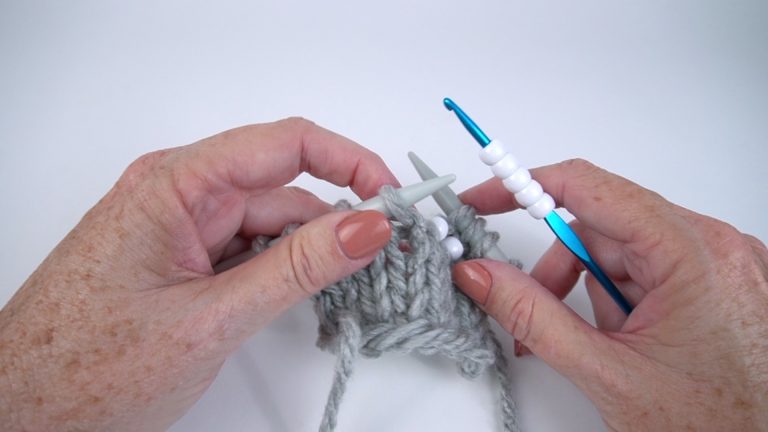
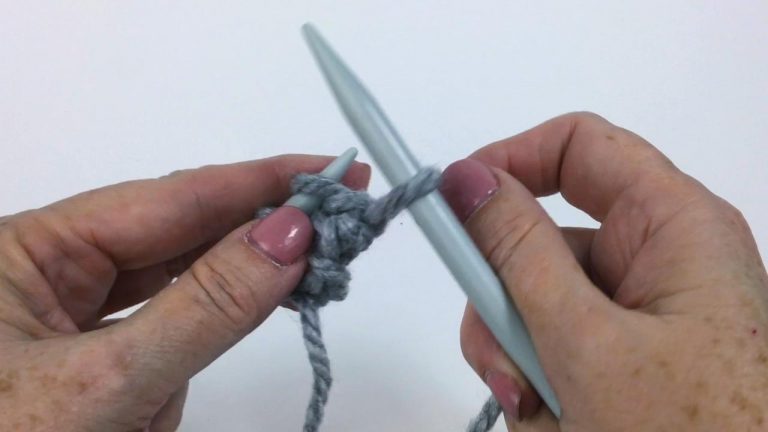
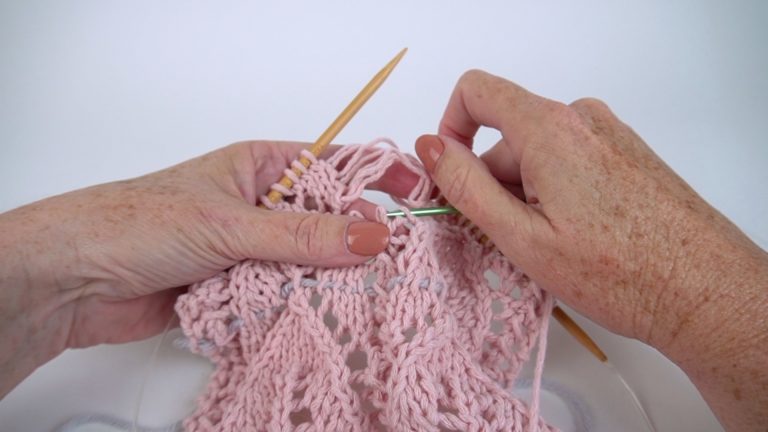
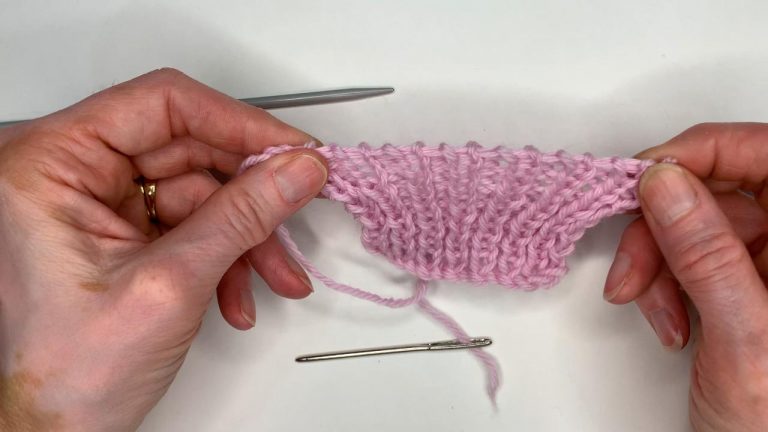
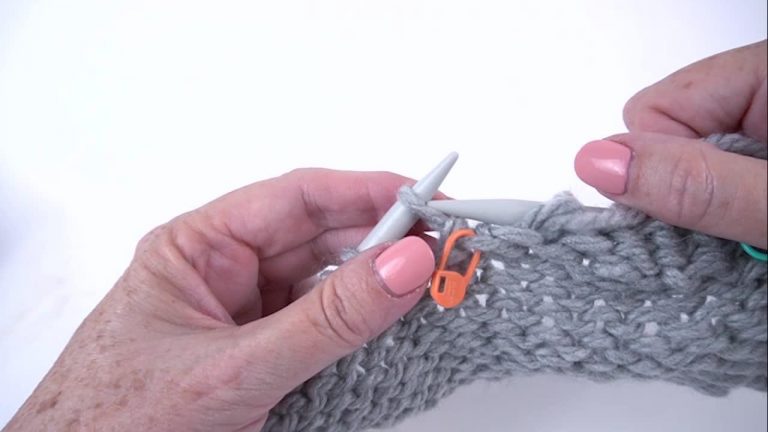
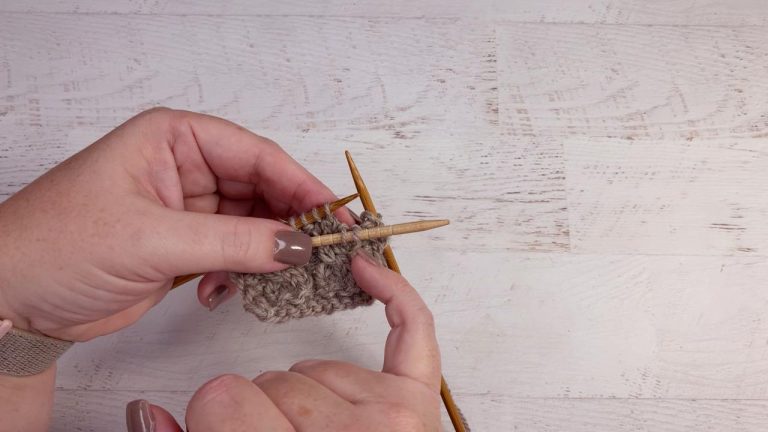
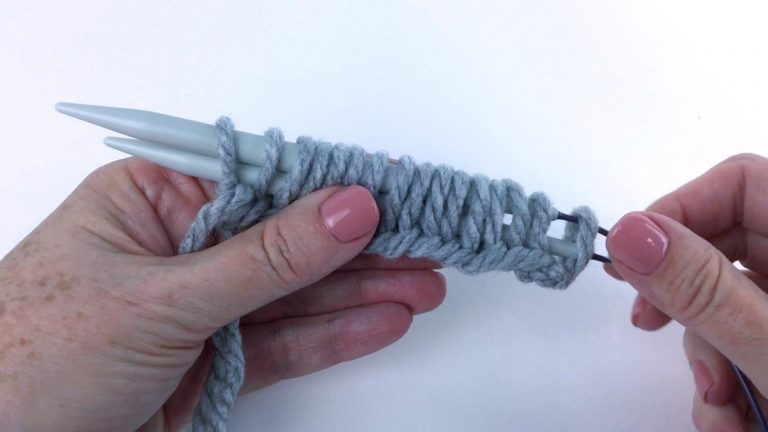
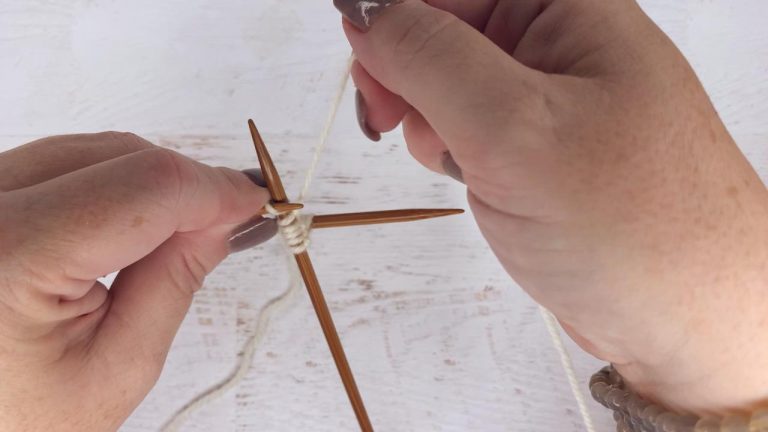
To place a lifeline, Mary Beth uses smooth, contrasting-colored yarn that’s about 1.5 times longer than the width of her swatch. She notes the yarn should be a similar weight or thinner than the yarn being used in the project. Mary Beth threads the yarn onto a yarn needle and begins bringing the needle under the stitches on the knitting needle, while leaving the stitches on the knitting needle. She is careful to capture each stitch to not split the plies of the yarn as she works the lifeline through the swatch.
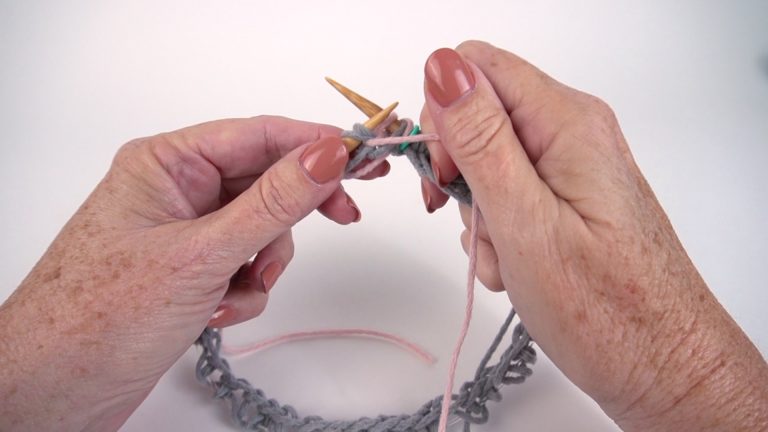
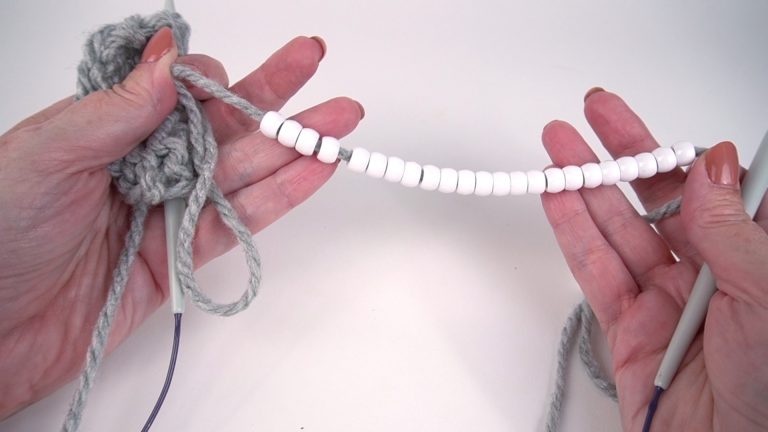
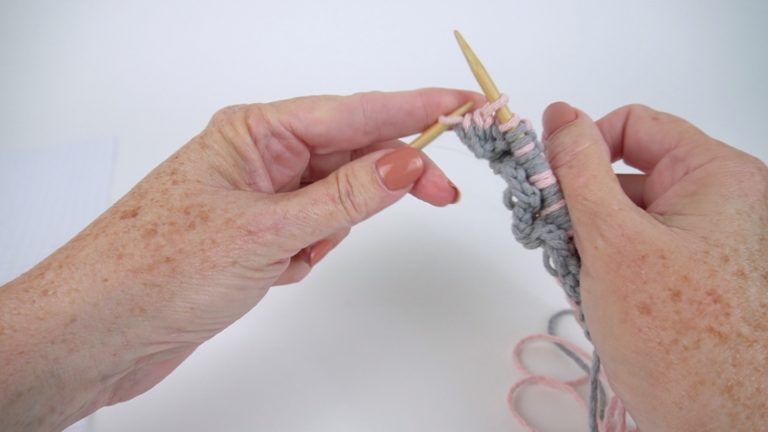
Once the lifeline is in place, the yarn needle is removed, and the lifeline is adjusted slightly so that there is yarn hanging off both ends of the swatch. Mary Beth mentions that she prefers to place a lifeline after a pattern repeat is complete, so that if she needs to rip back to the lifeline, she knows what row to knit next.
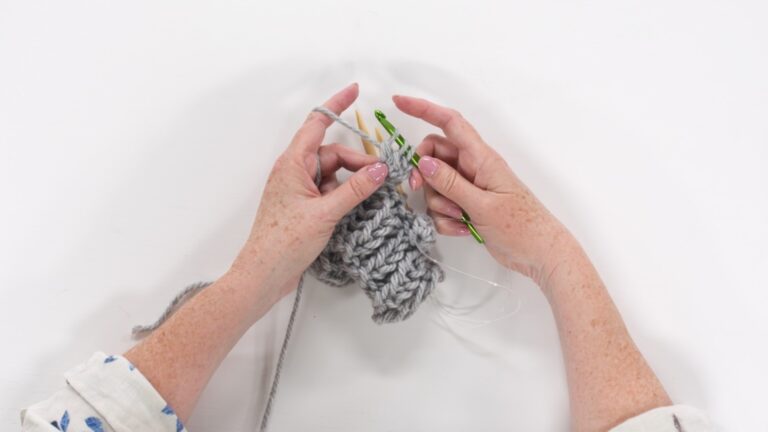
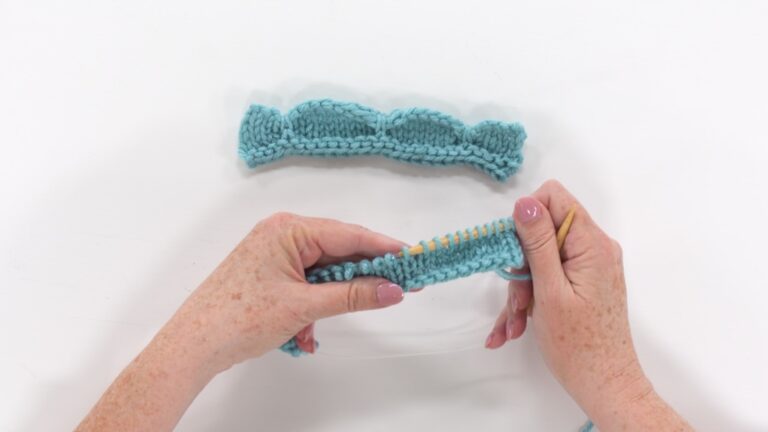
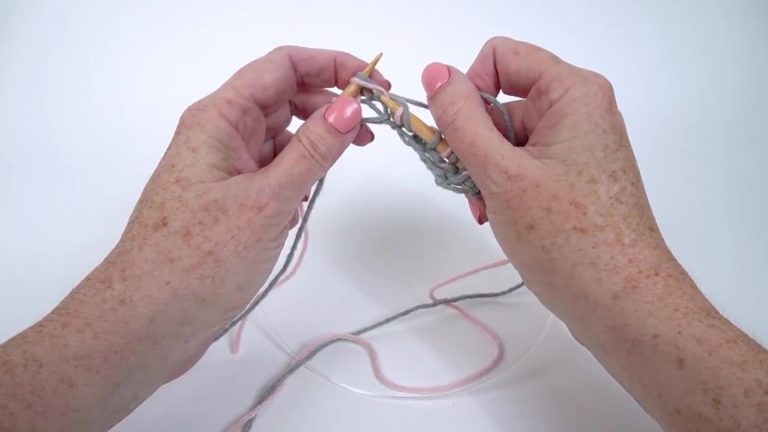
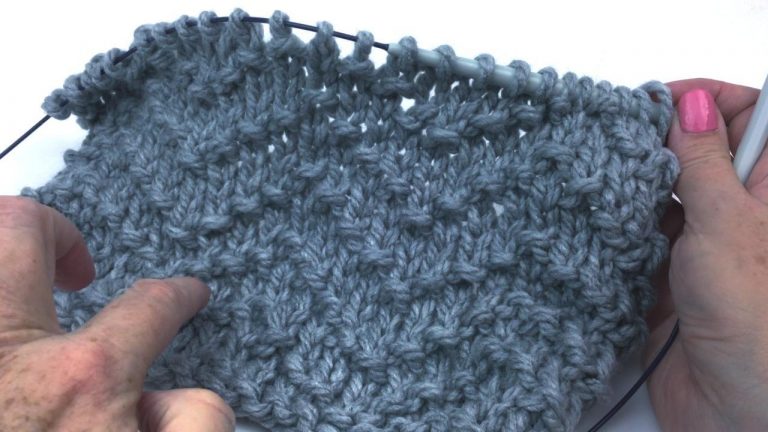
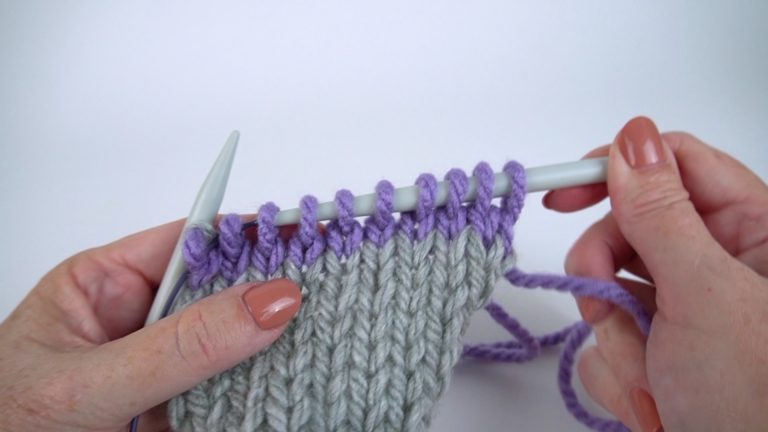
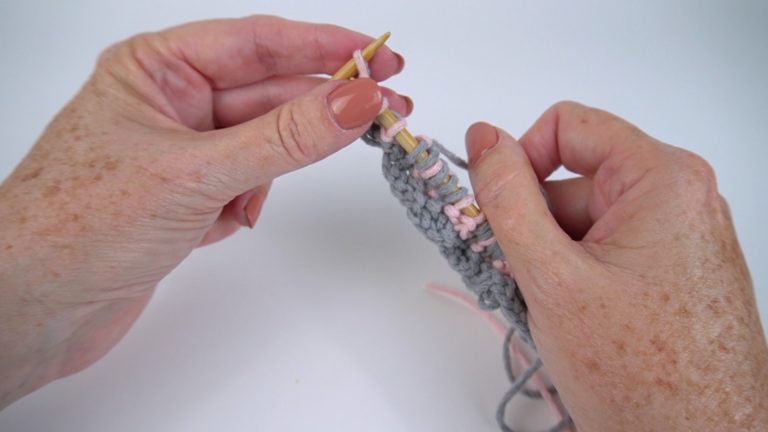
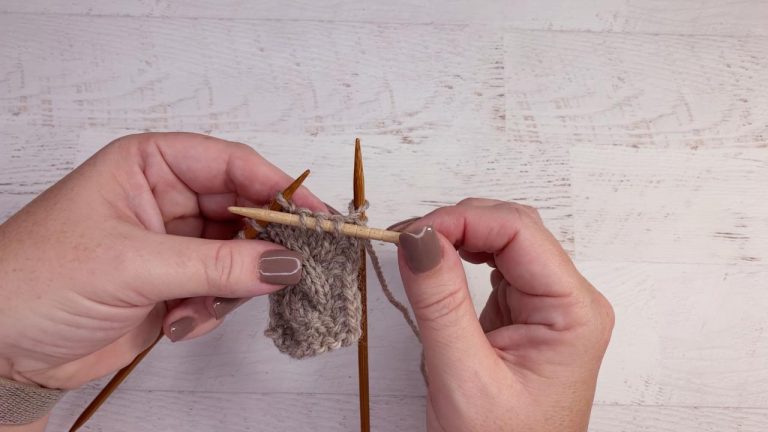
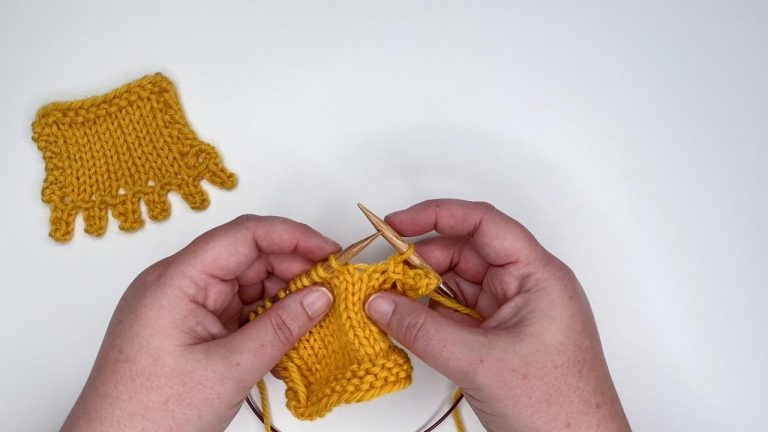
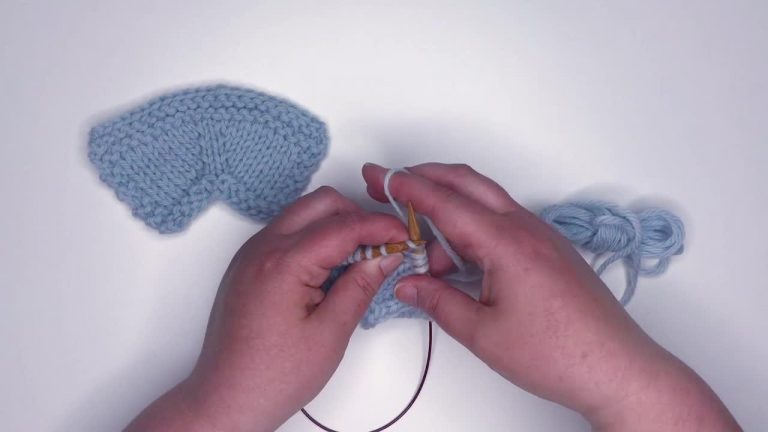
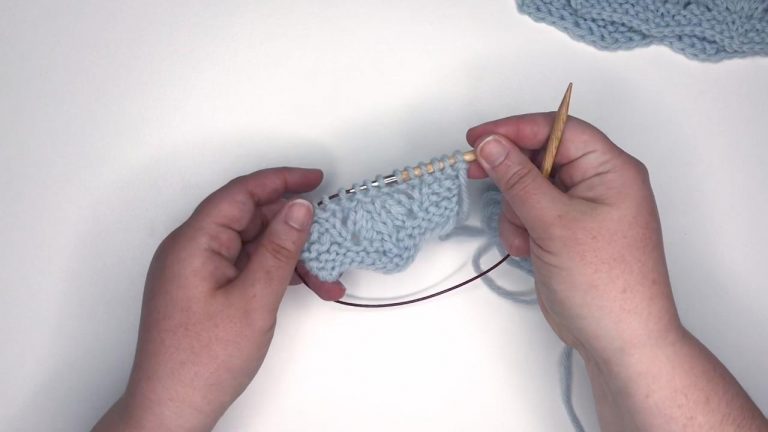
Mary Beth begins knitting the lace pattern with the lifeline in place. She shows how to rip out the knitting, showing that the stitches can’t drop further than the lifeline. The stitches can be picked back up onto the needle to knit.
Explore videos by Mary Beth Temple


You may be interested in

Premium Membership
Unlock exclusive member content from our industry experts.
- 24/7 Access to Premium Knitting Videos, Projects, and Tips
- Step-by-Step Instructional Demos, Patterns, and Tutorials
- 50% Off Video Downloads Purchased in The Knitting Cirlce Shop
- Access to Ask the Expert Program
Unlock exclusive member content from our industry experts.
- 24/7 Access to Premium Knitting Videos, Projects, and Tips
- Step-by-Step Instructional Demos, Patterns, and Tutorials
- 50% Off Video Downloads Purchased in The Knitting Cirlce Shop
- 2 Full-Length Video Downloads to Watch Offline
- Access to Ask the Expert Program
Gold Membership
$379 Value
Get everything included in Premium plus exclusive Gold Membership benefits.
- 24/7 Access to Premium Knitting Videos, Projects, and Tips
- Step-by-Step Instructional Demos, Patterns, and Tutorials
- 3 Full-Length Video Downloads to Watch Offline
- 5 Full-Length Knitting Classes to Keep for Life
- 10 Printable Knitting Patterns
- Discounts on Purchase-to-Own Content in The Knitting Circle Shop
- Access to Ask the Expert Program
- Exclusive GOLD LIVE Streaming Events