Honeycomb Cable Pattern
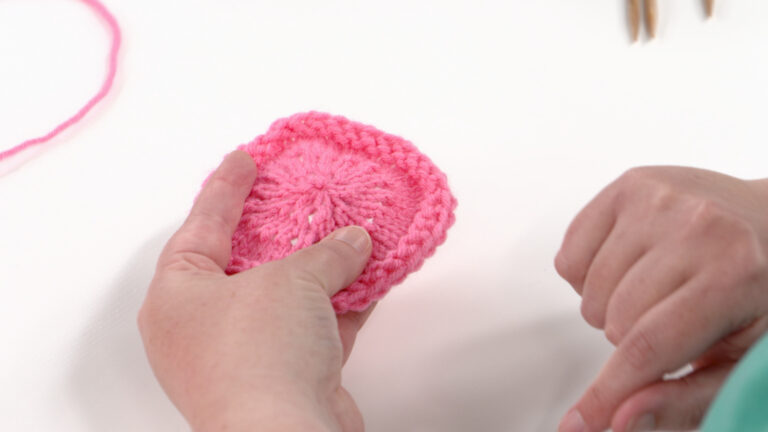
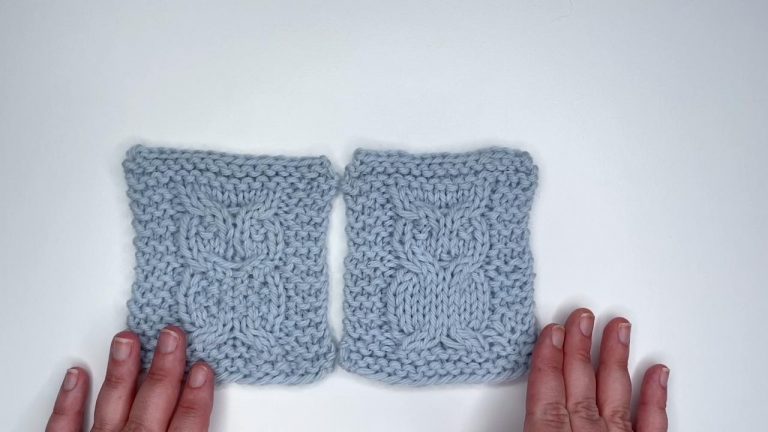
Jen LucasThe Honeycomb Cable stitch pattern is a beautiful but simple cable pattern that uses two basic cables, the C4F (cable 4 front) and C4B (cable 4 back). In this video, Jen Lucas demonstrates how to knit this versatile cable stitch pattern.
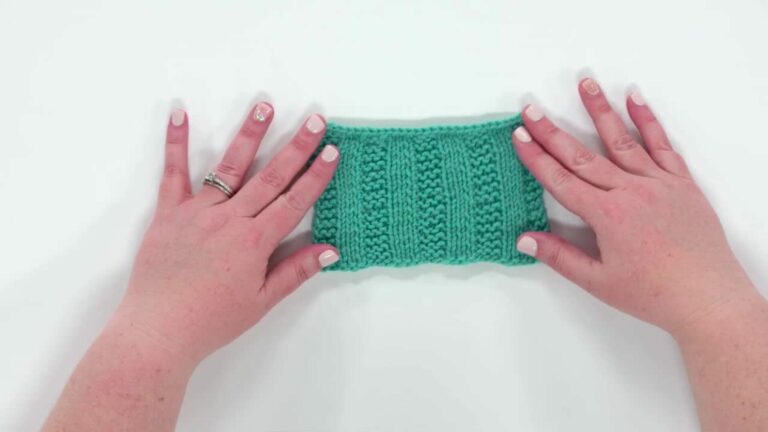
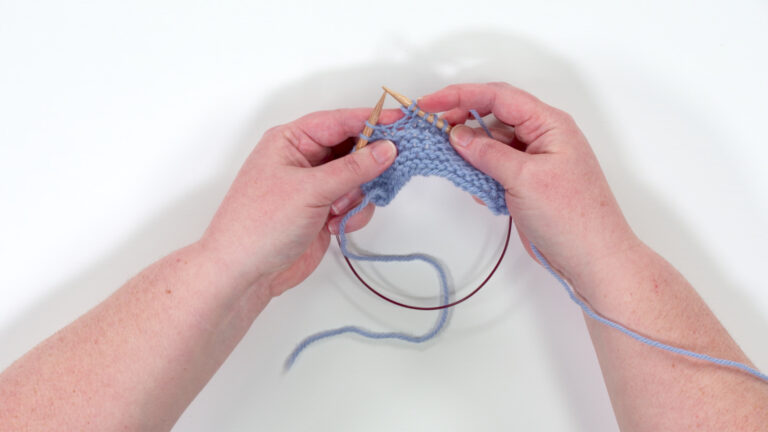
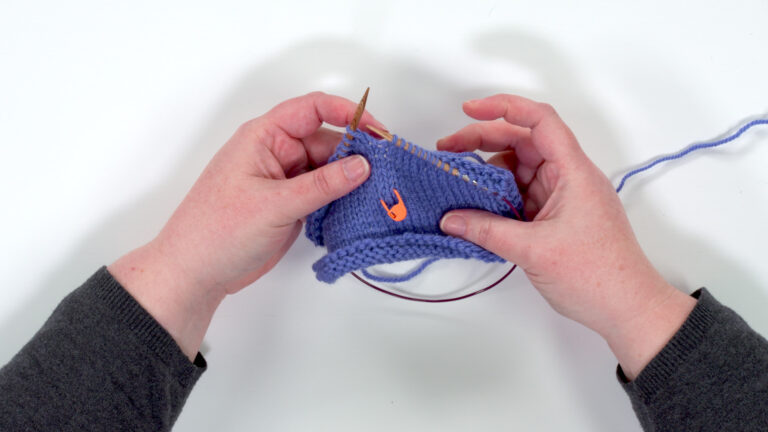
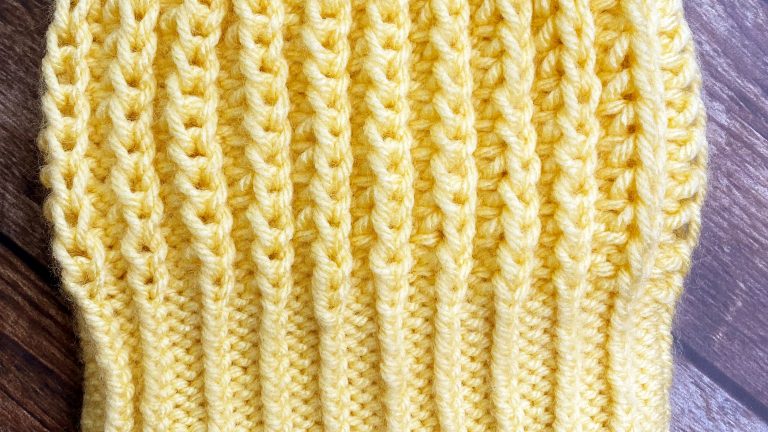
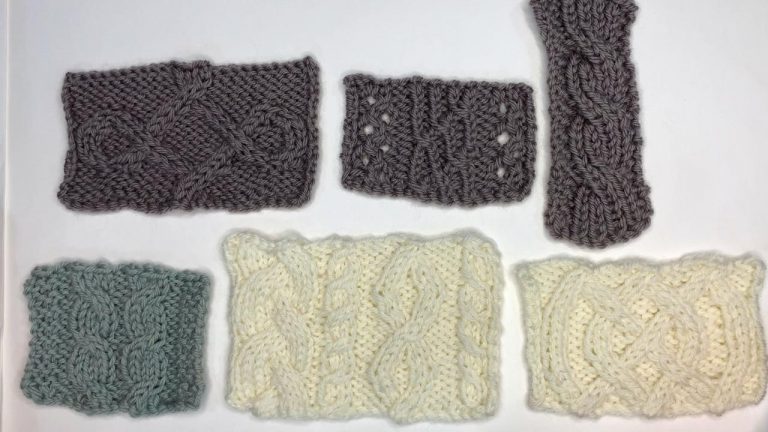
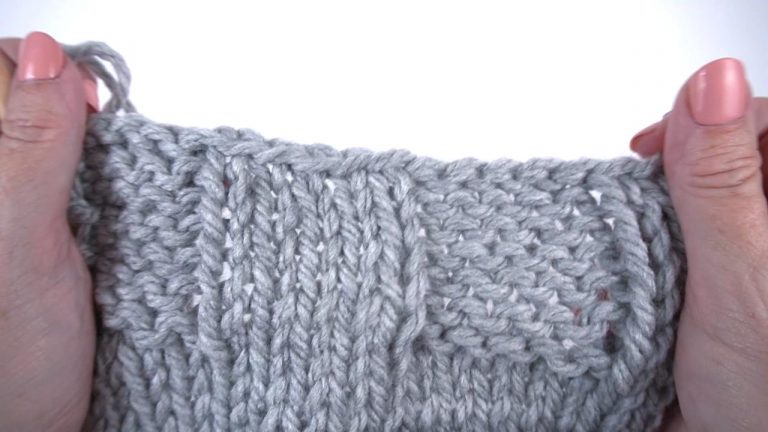
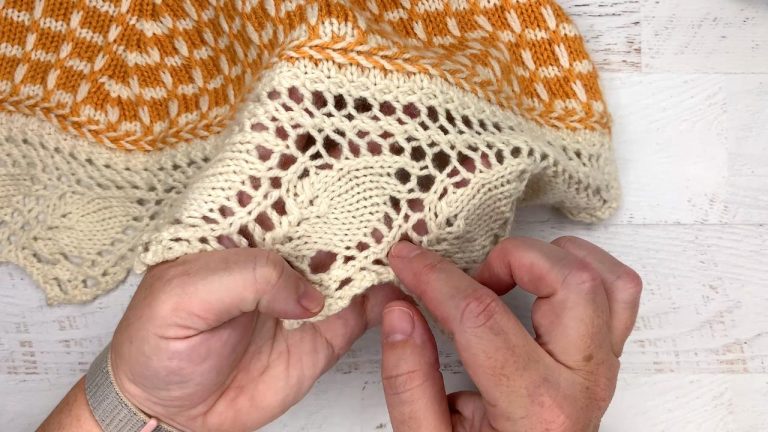
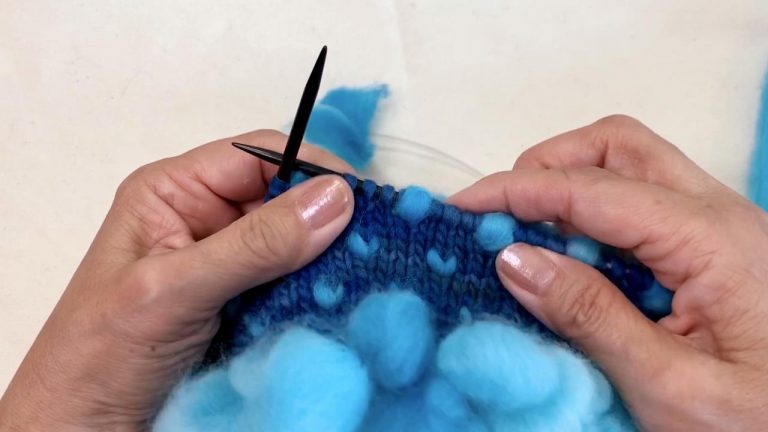
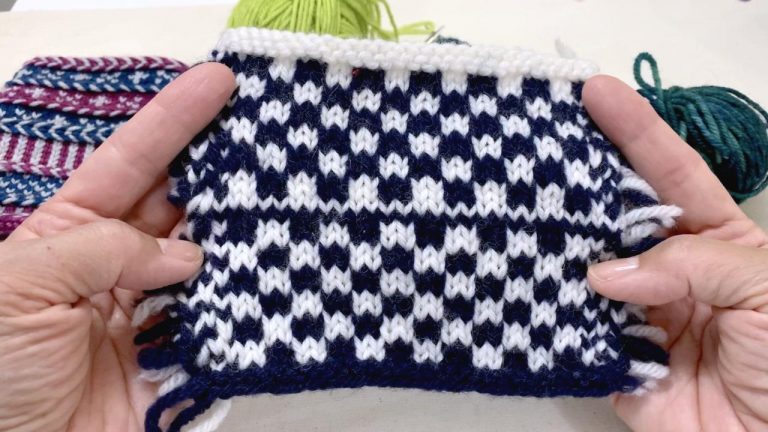
Jen begins by discussing traditional cable patterns. Many cables are worked on a background of Reverse Stockinette stitch (purl on Right Side/knit on Wrong Side), which allow the cables to really pop off the knitting fabric. With the Honeycomb Cable stitch pattern, the cables are worked right next to each other. The order of the cables is alternated to create the honeycomb effect.
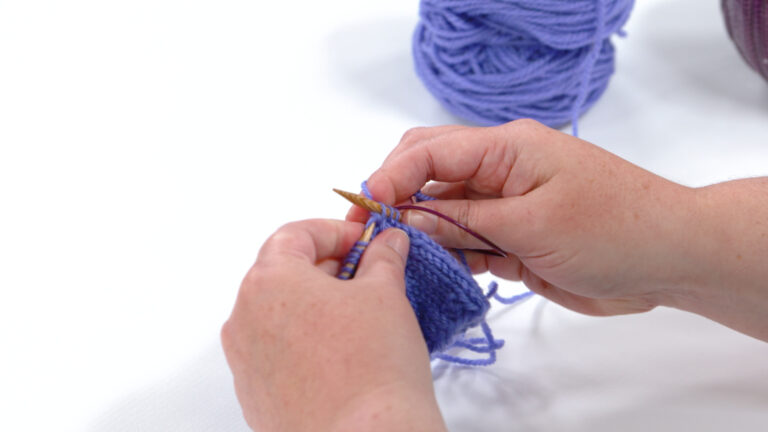
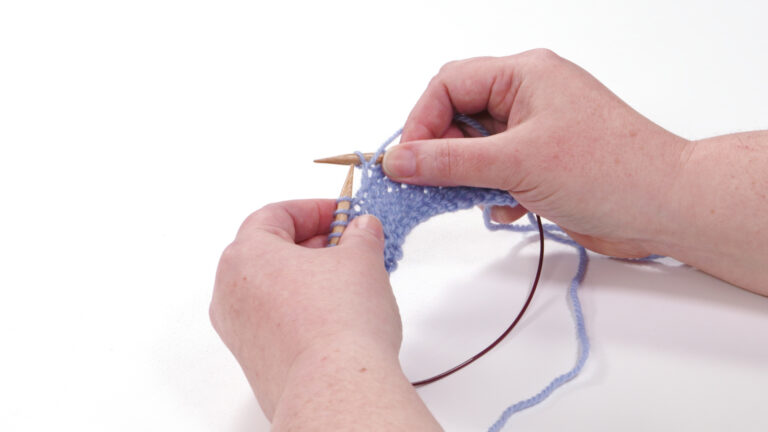
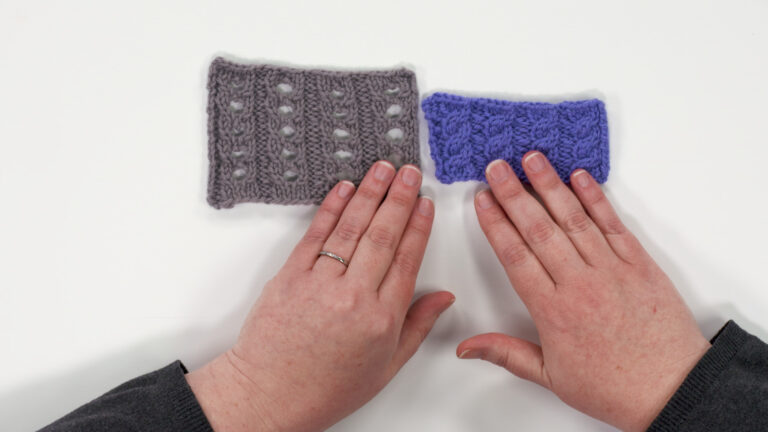
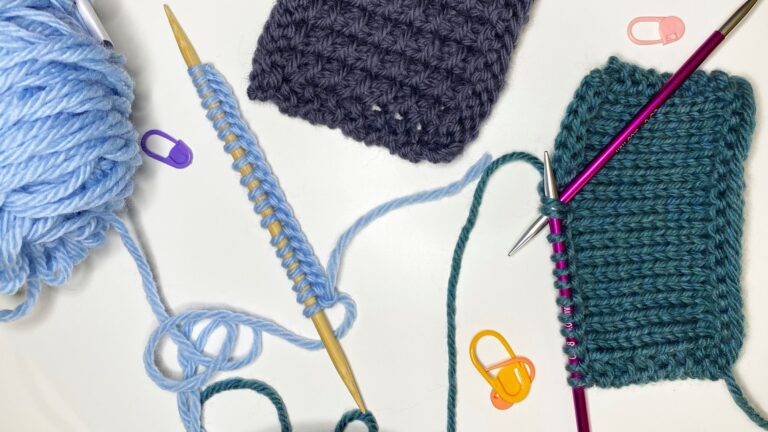
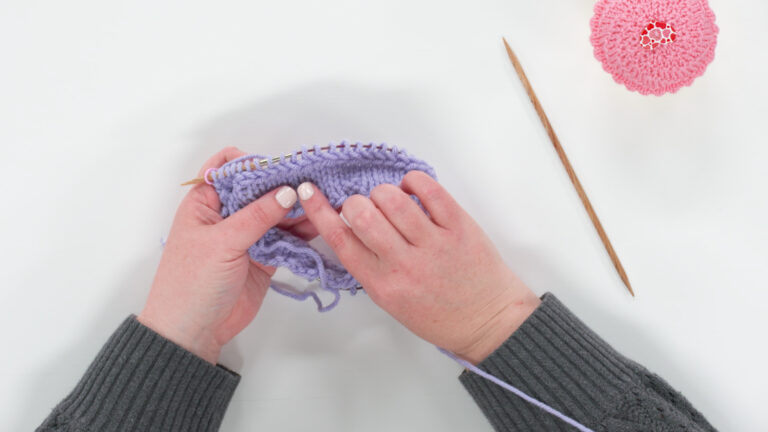
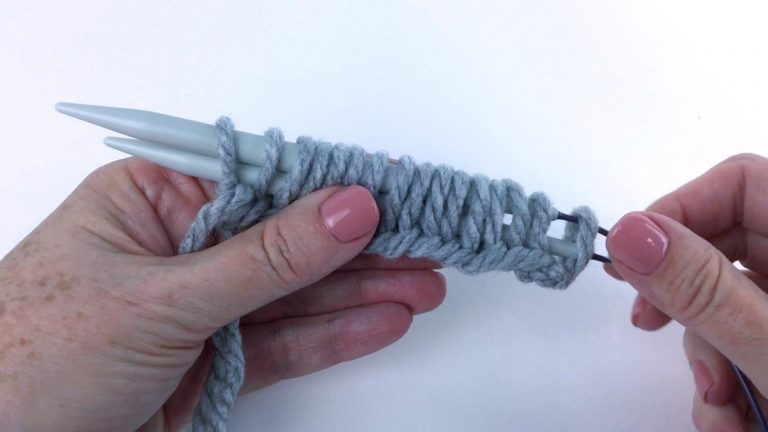
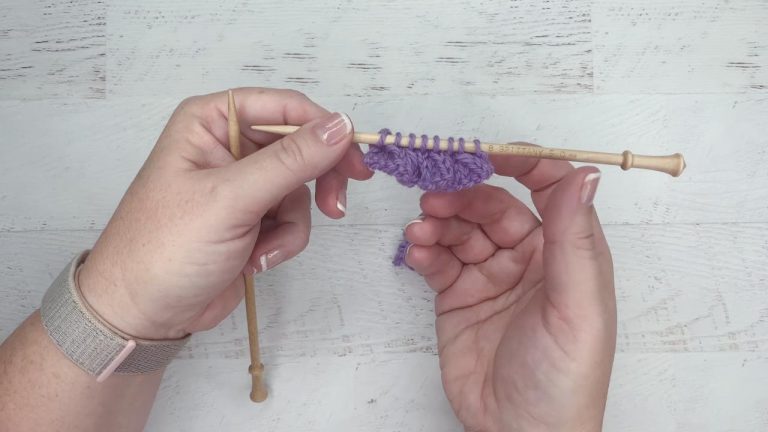
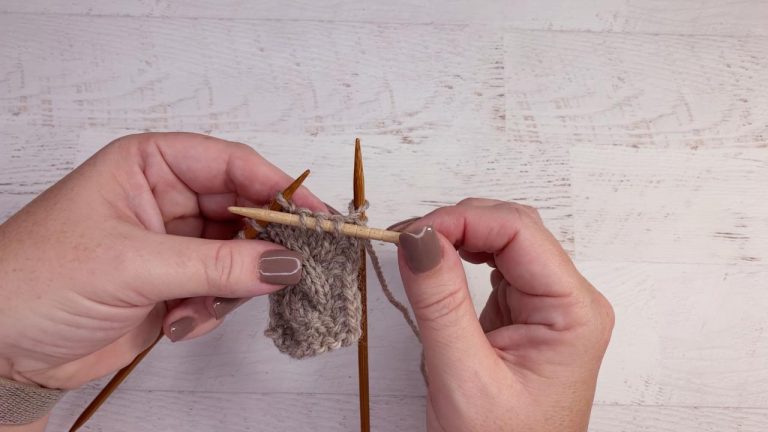
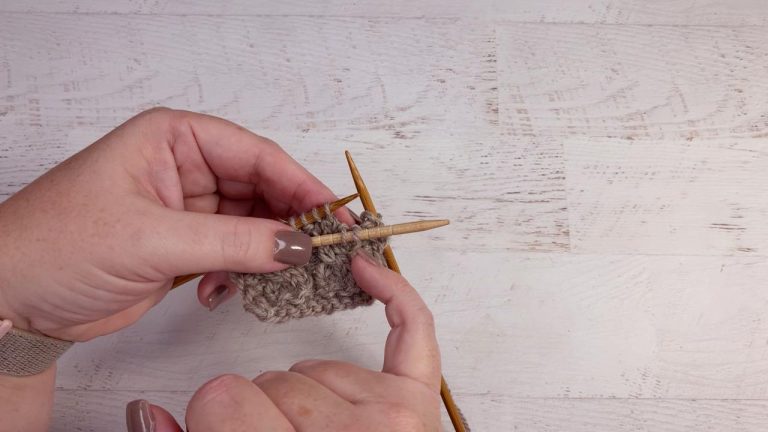
A swatch of basic four-stitch cables is shown, and Jen reviews the construction of these cables. The four stitch cables are the C4B (cable 4 back) and the C4F (cable 4 front). They are created as follows:
– C4B: Cable 4 Back. Slip 2 stitches purlwise to cable needle, hold in back. Knit 2 stitches, knit 2 stitches from cable needle.
– C4F: Cable 4 Front. Slip 2 stitches purlwise to cable needle, hold in front. Knit 2 stitches, knit 2 stitches from cable needle.
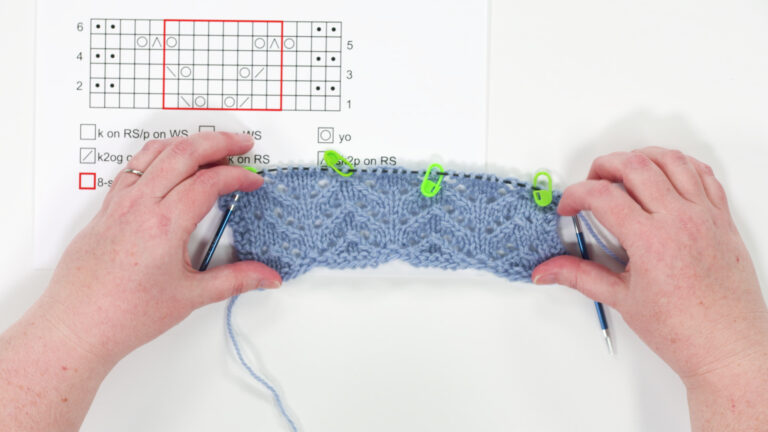
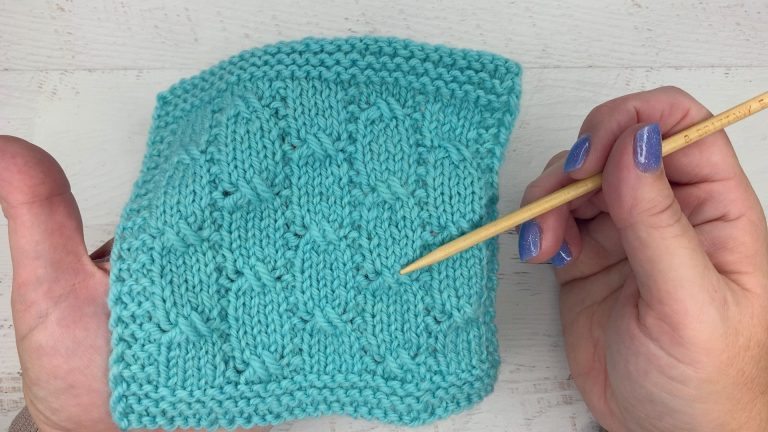
She then begins working the Honeycomb Cable stitch pattern on her swatch, over a multiple of 8 stitches, as follows:
- Row 1 (Right Side): *C4F, C4B; repeat from * to end.
- Row 2 (Wrong Side): Purl all stitches.
- Row 3: Knit all stitches.
- Row 4: Purl all stitches.
- Row 5: *C4B, C4F; repeat from * to end.
- Row 6: Purl all stitches.
- Row 7: Knit all stitches.
- Row 8: Purl all stitches.
Repeat
Explore videos by Jen Lucas


You may be interested in


Premium Membership
Unlock exclusive member content from our industry experts.
- 24/7 Access to Premium Knitting Videos, Projects, and Tips
- Step-by-Step Instructional Demos, Patterns, and Tutorials
- 50% Off Video Downloads Purchased in The Knitting Cirlce Shop
- Access to Ask the Expert Program
Unlock exclusive member content from our industry experts.
- 24/7 Access to Premium Knitting Videos, Projects, and Tips
- Step-by-Step Instructional Demos, Patterns, and Tutorials
- 50% Off Video Downloads Purchased in The Knitting Cirlce Shop
- 2 Full-Length Video Downloads to Watch Offline
- Access to Ask the Expert Program
Gold Membership
$379 Value
Get everything included in Premium plus exclusive Gold Membership benefits.
- 24/7 Access to Premium Knitting Videos, Projects, and Tips
- Step-by-Step Instructional Demos, Patterns, and Tutorials
- 3 Full-Length Video Downloads to Watch Offline
- 5 Full-Length Knitting Classes to Keep for Life
- 10 Printable Knitting Patterns
- Discounts on Purchase-to-Own Content in The Knitting Circle Shop
- Access to Ask the Expert Program
- Exclusive GOLD LIVE Streaming Events