
Interrupted Rib Stitch
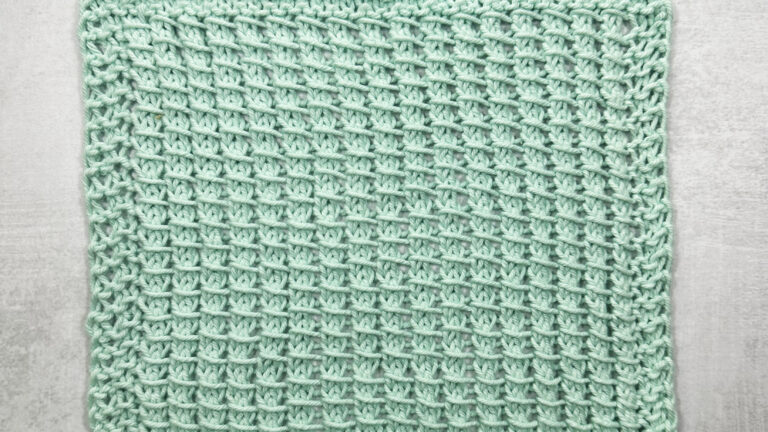
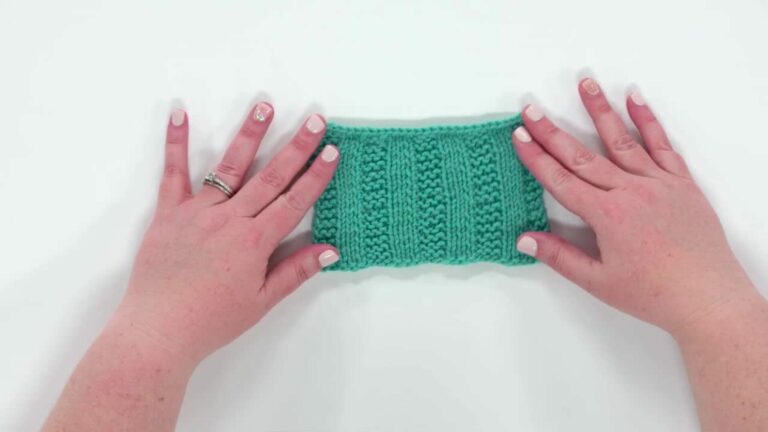
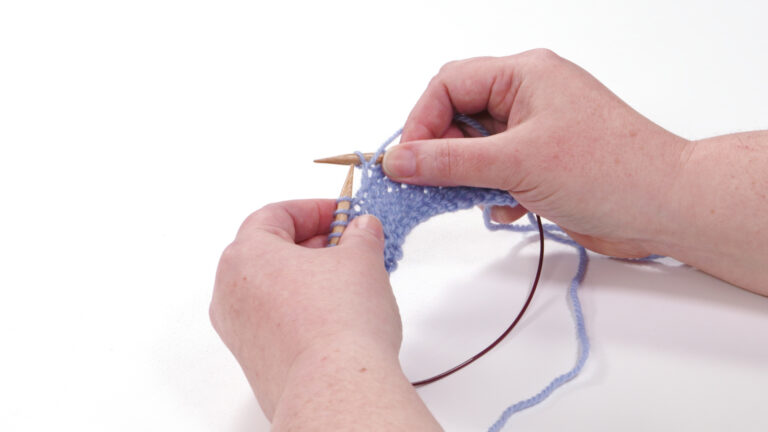
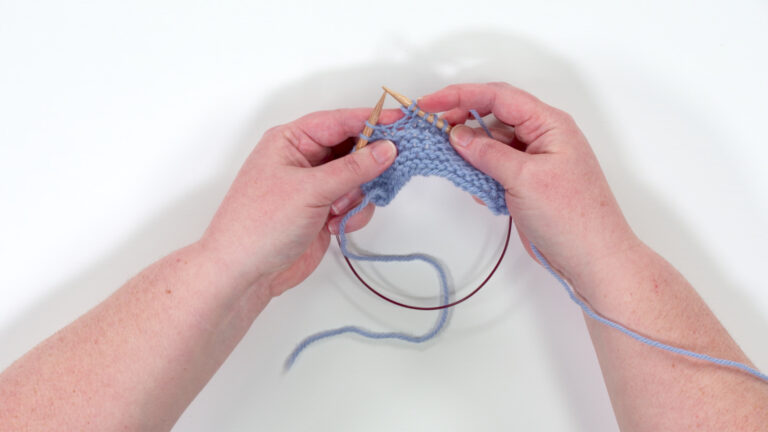
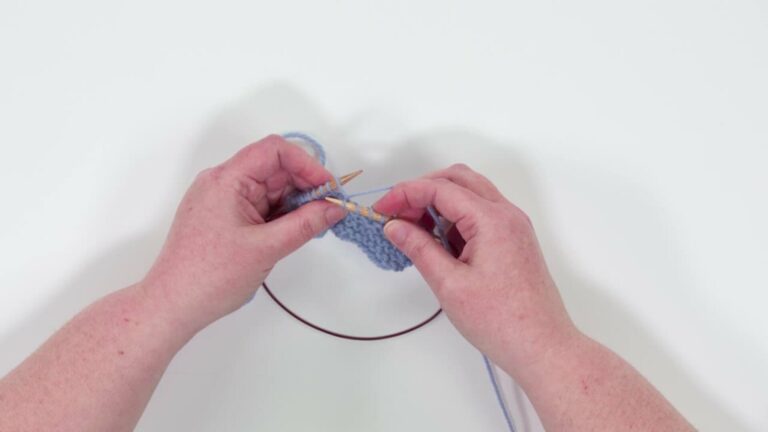
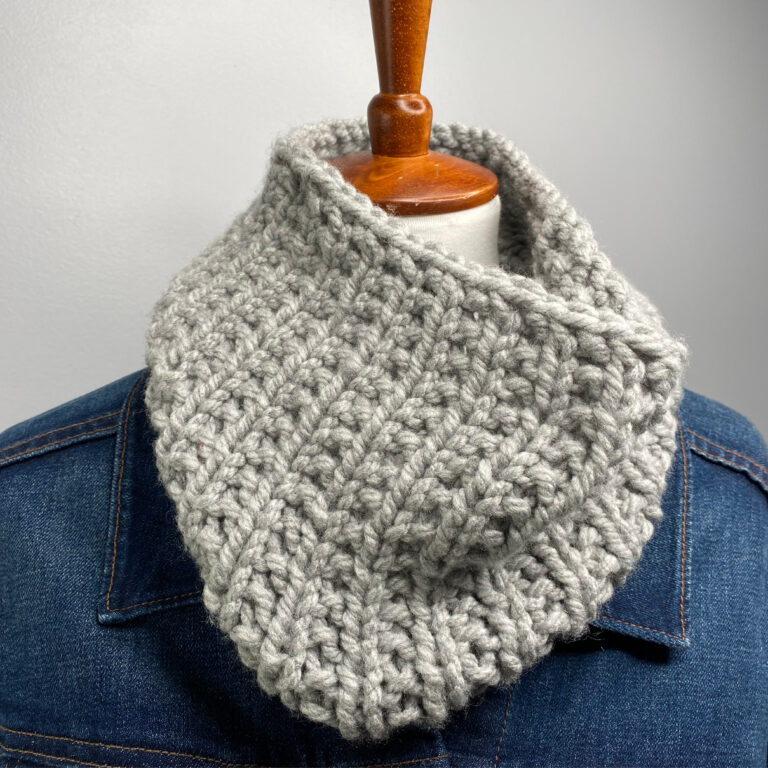
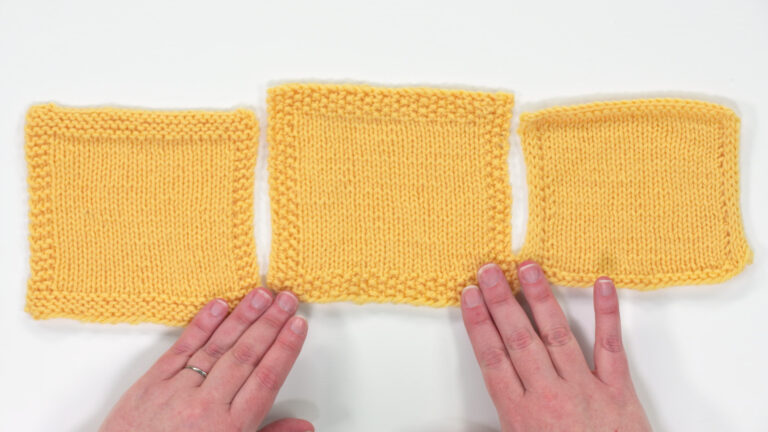
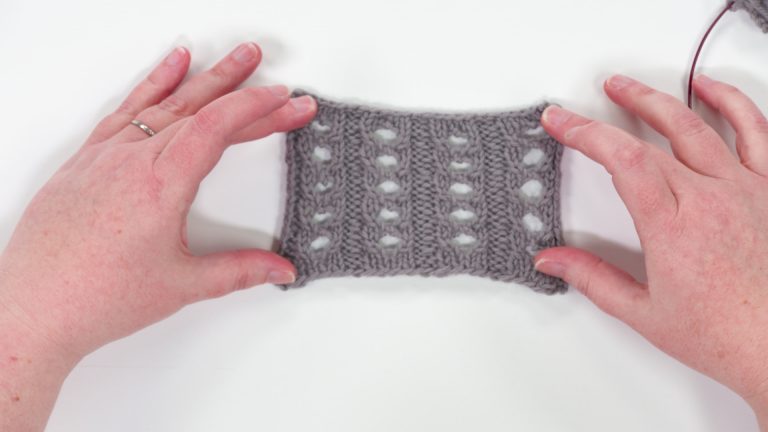
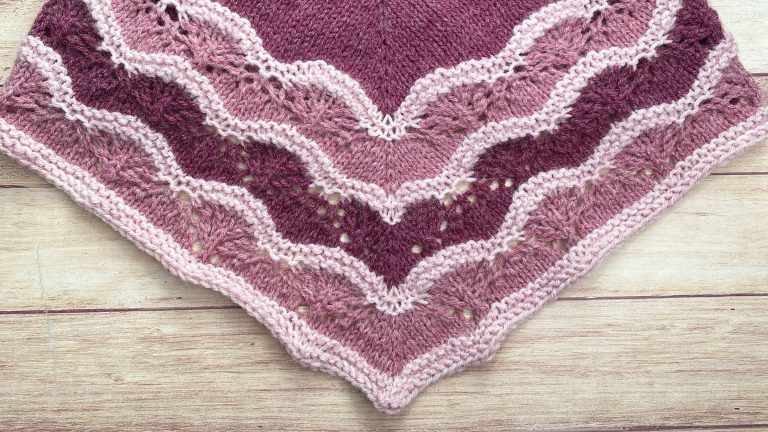
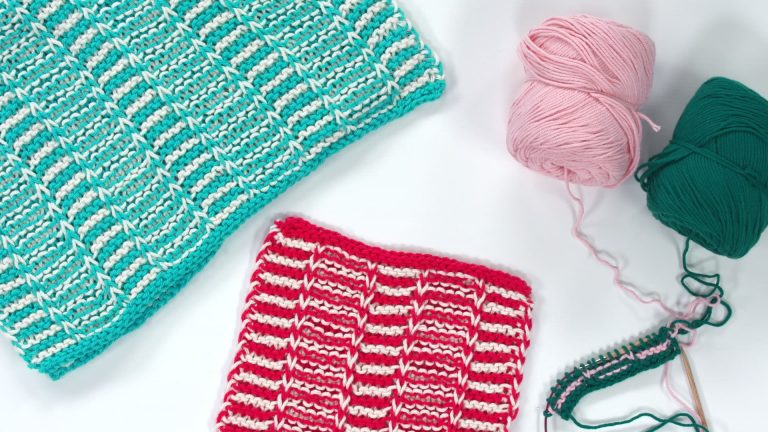
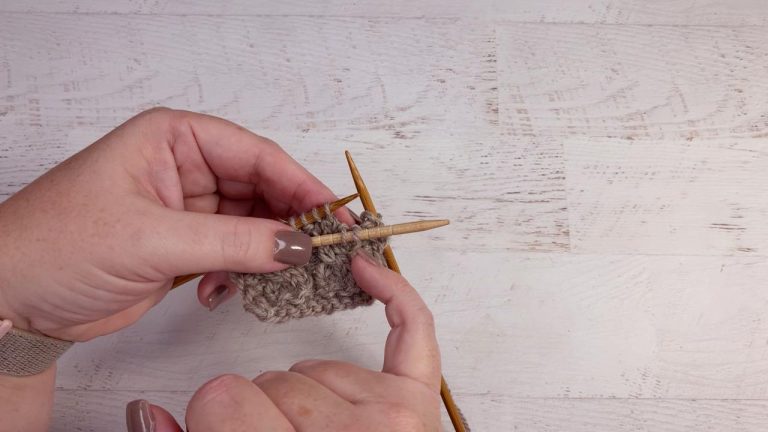
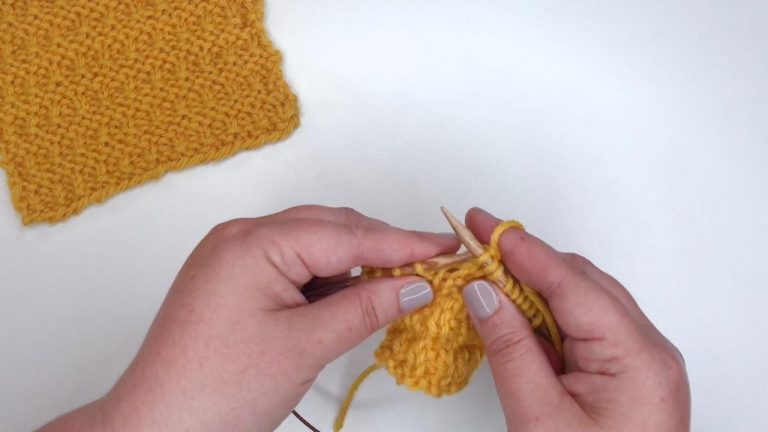
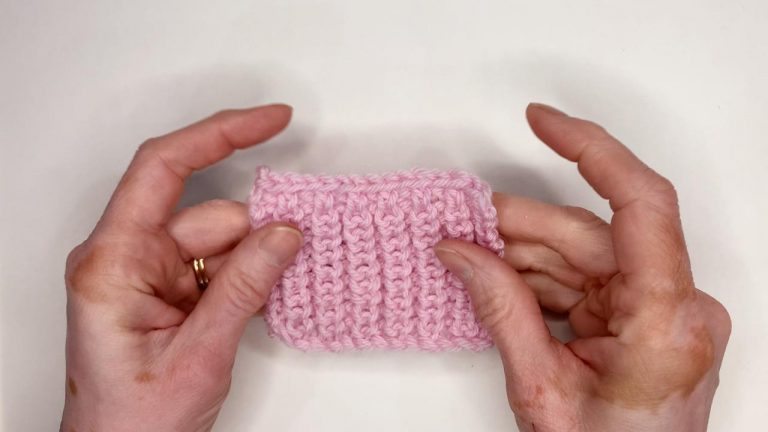
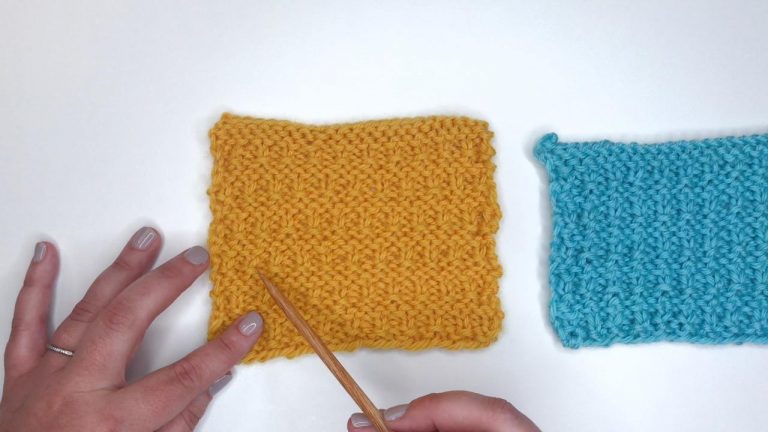
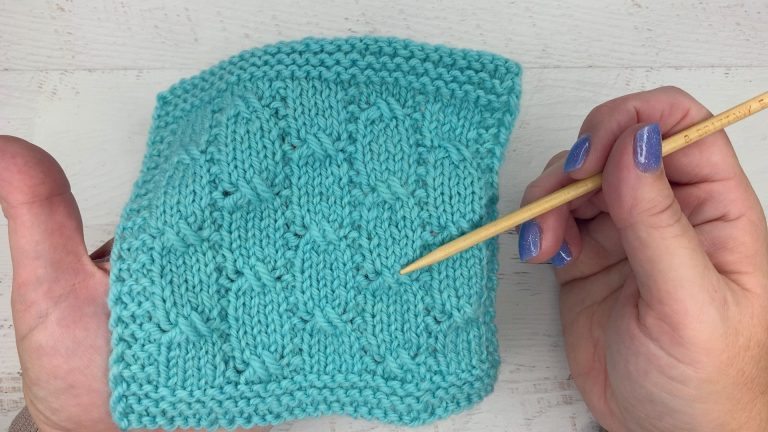
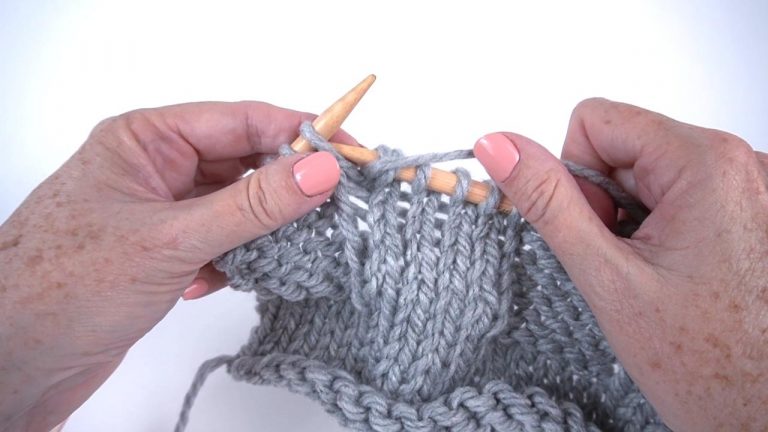
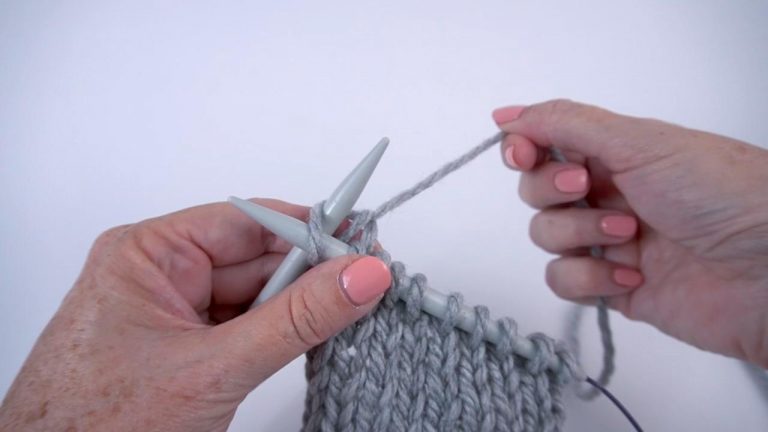
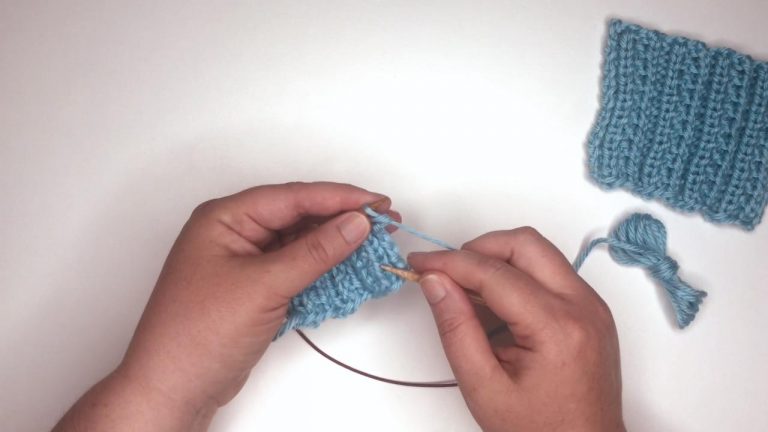
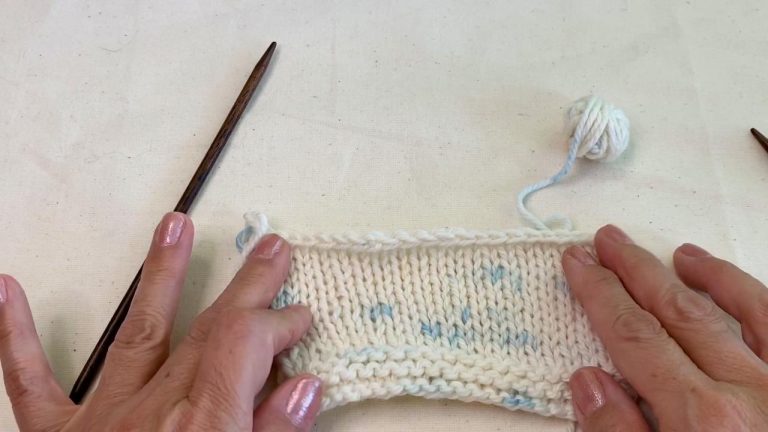
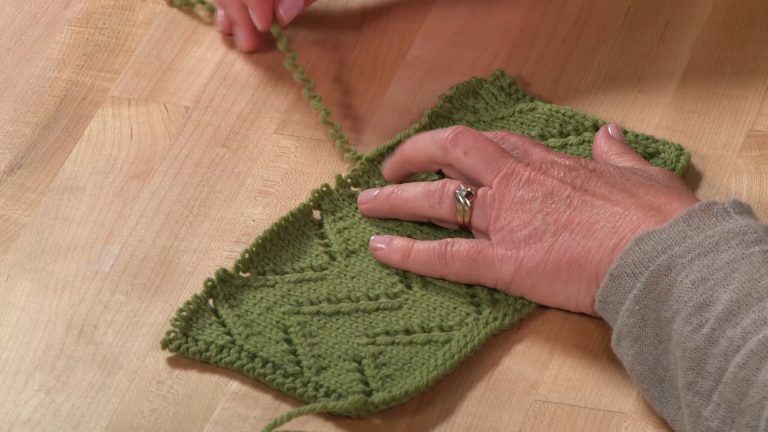
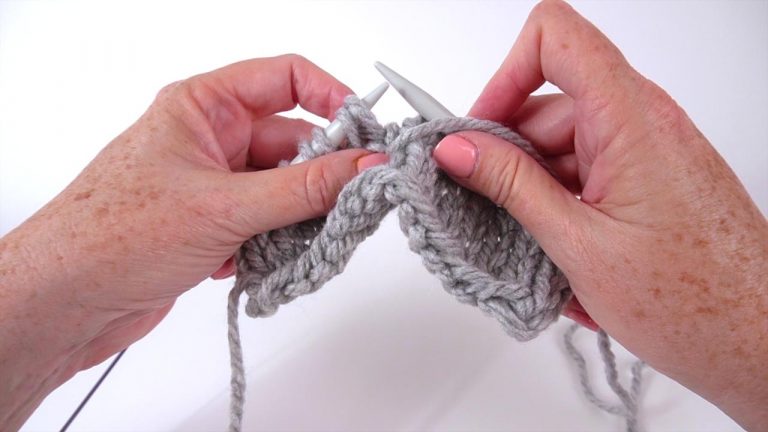
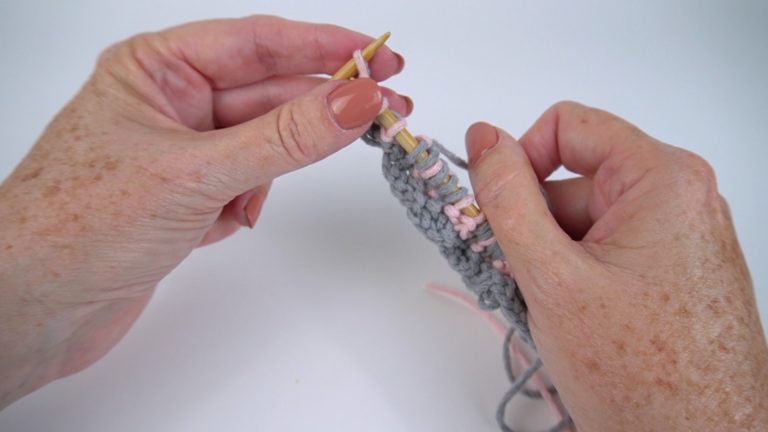
Jen LucasThe Interrupted Rib Stitch pattern is an easy 4-row repeat pattern that is perfect for beginner scarves and baby blankets. In this video, Jen Lucas demonstrates how to knit this simple and fun stitch pattern when working back and forth in rows. The fabric is created by working two rows of knit-1, purl-1 ribbing and is then “interrupted” by two rows of Reverse Stockinette Stitch. While this stitch pattern does involve working ribbing, it’s not as elastic as other ribbed patterns, due to the additional rows of Reverse Stockinette Stitch.
INTERRUPTED RIB STITCH PATTERN
Worked over a multiple of 2+1 stitches, or an odd number of stitches.
– Row 1 (RS): *P1, k1; rep from * to last stitch, p1.
– Row 2 (WS): *K1, p1; rep from * to last stitch, k1.
– Row 3: Purl all stitches.
– Row 4: Knit all stitches.
Rep rows 1 – 4 for pattern.
ABBREVIATIONS
k: knit
p: purl
rep: repeat
RS: Right Side
WS: Wrong Side
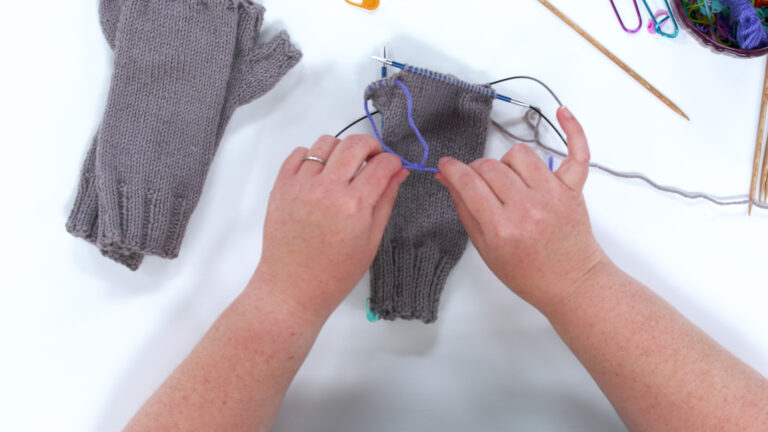
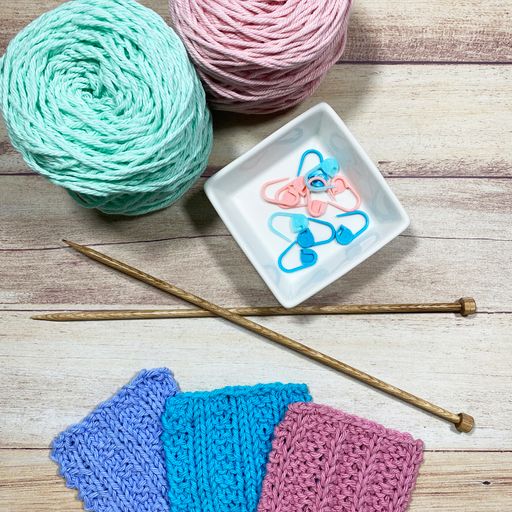
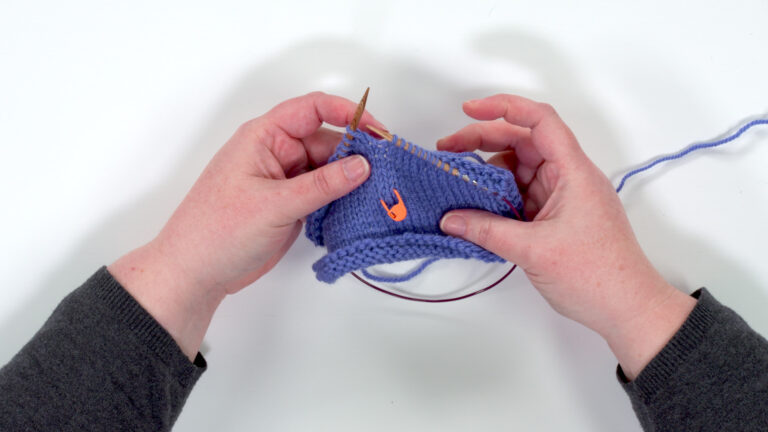
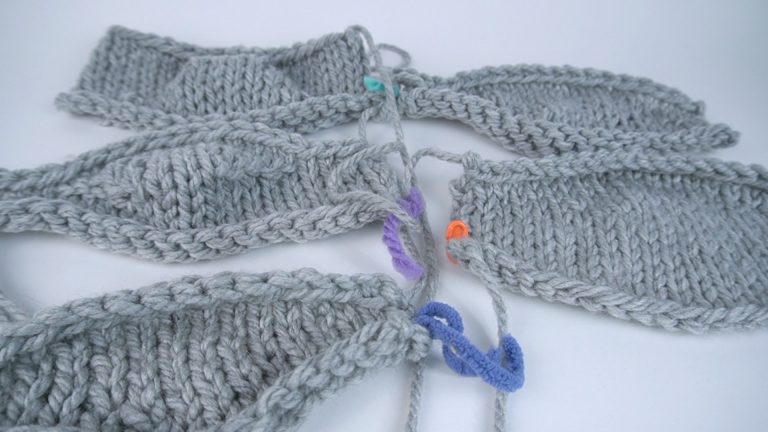
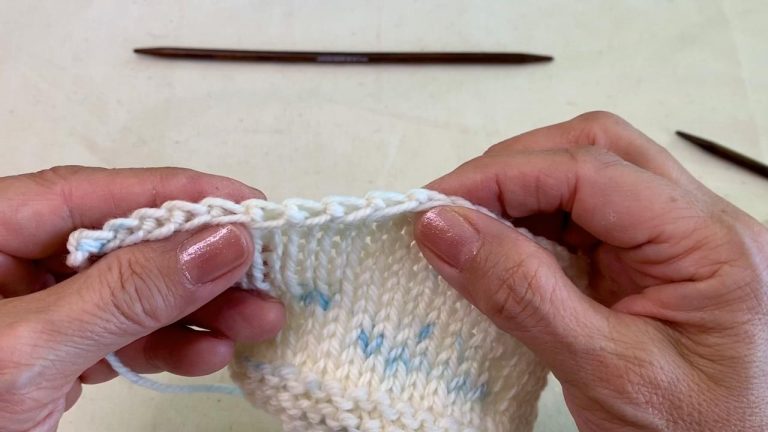
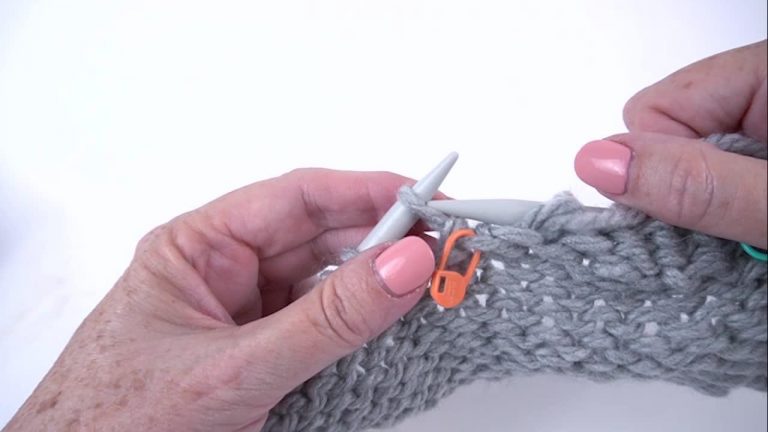
While this stitch pattern is not completely reversible (the Right Side looks different than the Wrong Side), both sides of the fabric are beautiful, making it a good choice for those reversible knitting projects. Even though the Right Side and Wrong Side look different, you may find it helpful to use a locking stitch marker to mark the Right Side of the work to help keep track of your place.
Explore videos by Jen Lucas
You may be interested in
Premium Membership
Unlock exclusive member content from our industry experts.
- 24/7 Access to Premium Knitting Videos, Projects, and Tips
- Step-by-Step Instructional Demos, Patterns, and Tutorials
- 50% Off Video Downloads Purchased in The Knitting Cirlce Shop
- Access to Ask the Expert Program
Unlock exclusive member content from our industry experts.
- 24/7 Access to Premium Knitting Videos, Projects, and Tips
- Step-by-Step Instructional Demos, Patterns, and Tutorials
- 50% Off Video Downloads Purchased in The Knitting Cirlce Shop
- 2 Full-Length Video Downloads to Watch Offline
- Access to Ask the Expert Program
Gold Membership
$379 Value
Get everything included in Premium plus exclusive Gold Membership benefits.
- 24/7 Access to Premium Knitting Videos, Projects, and Tips
- Step-by-Step Instructional Demos, Patterns, and Tutorials
- 3 Full-Length Video Downloads to Watch Offline
- 5 Full-Length Knitting Classes to Keep for Life
- 10 Printable Knitting Patterns
- Discounts on Purchase-to-Own Content in The Knitting Circle Shop
- Access to Ask the Expert Program
- Exclusive GOLD LIVE Streaming Events
Share tips, start a discussion or ask one of our experts or other students a question.
Already a member? Sign in
No Responses to “Interrupted Rib Stitch”